Part 4: Surface Finish and the Visor
In part 3, I said the surface finish plan was electroplating. That plan is dead. Here’s what replaced it - and how the visor window finally came together.
1. Abandoning Electroplating Link to heading
In the beginning of this project, the goal was always to achieve a mirror finish. The original helmets were reflective and I wanted to reproduce what they did as best I could. I’ve read a bit about how the original helmets were made, and as far as I can tell they were metallized professionally. I don’t have access to those kinds of tools, so electroplating seemed like an obvious alternative.
Unfortunately, it turns out that this approach is just as expensive, and perhaps a bit more dangerous. Doing it at home would require buying hundreds or thousands of euros worth of chemistry and equipment, and I’d be left with around 45 liters of corrosive copper salt solution by the end of it. I didn’t really want to deal with that, so I reached out to a few professional electroplating services and all of them quoted me prices that were a fair bit beyond my budget. I needed a new plan.
A Different Kind of Chrome Link to heading
I’m fortunate that the cosplay community has thought about this problem so much over the years. And I’m doubly fortunate that so many people have taken a keen interest in the Mandalorian series since its release a few years ago. One of the key elements of that character is the shiny metallic armor that he wears throughout the whole series.
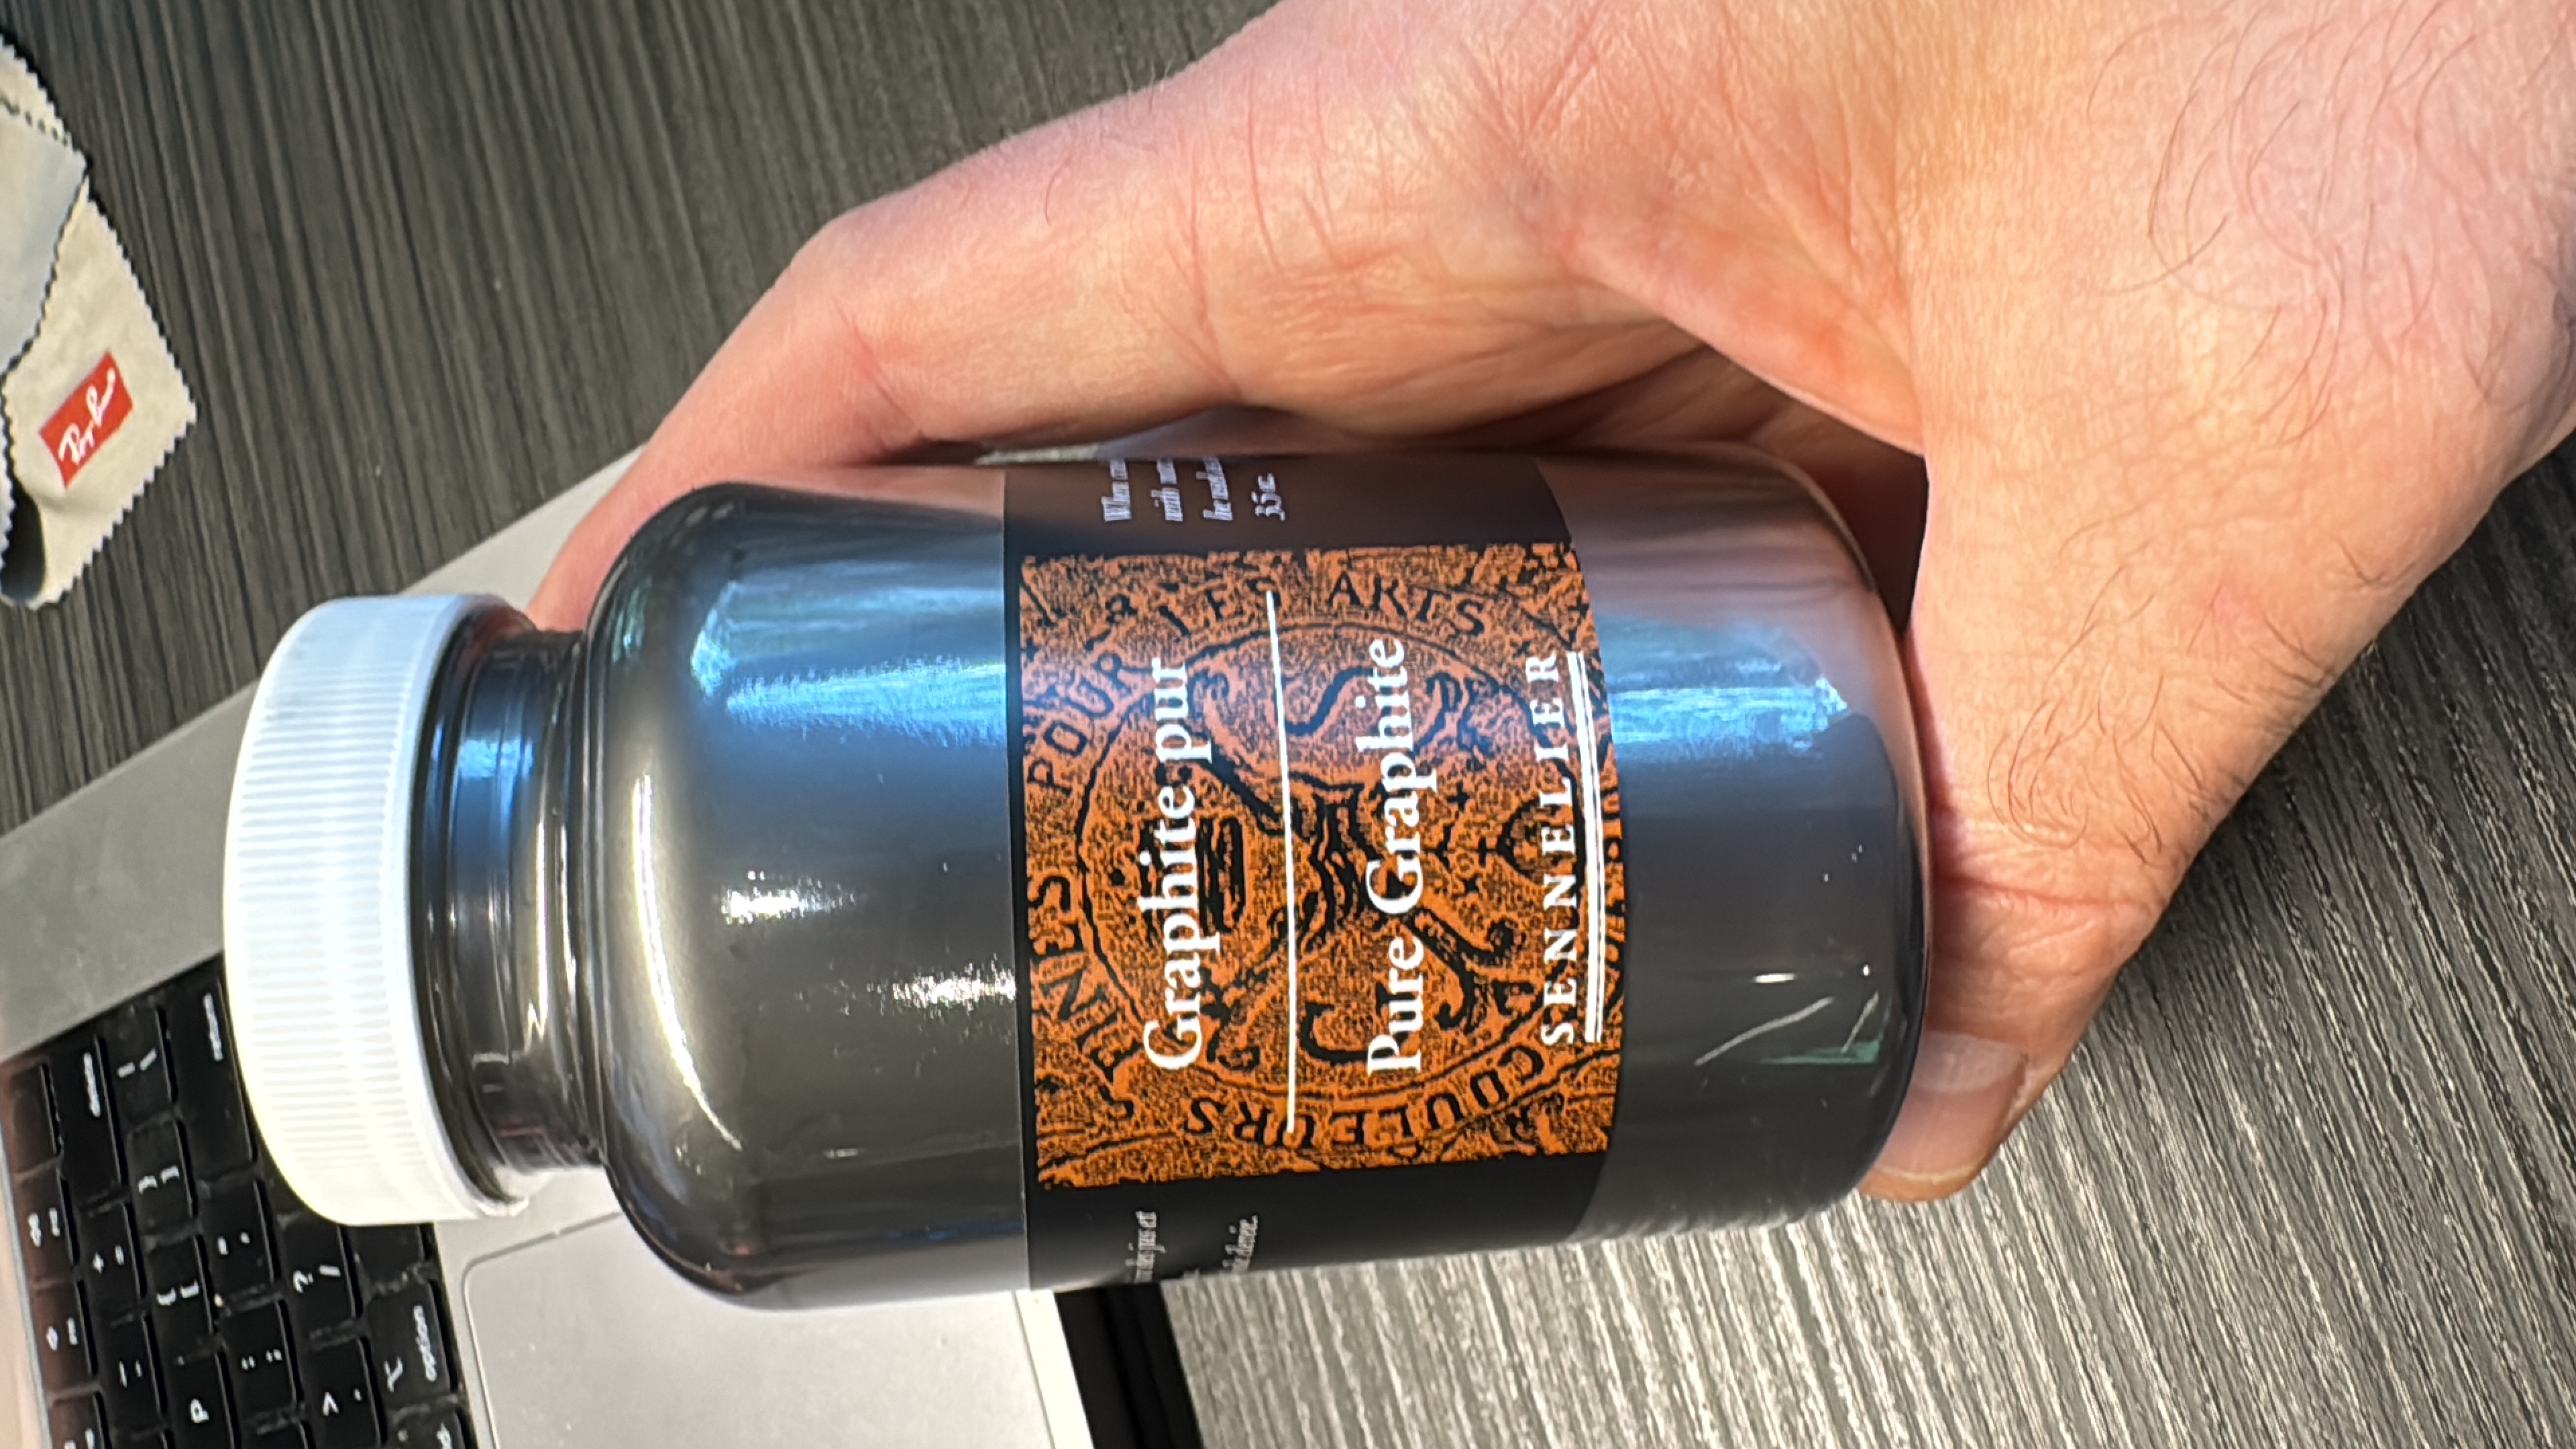
Many people have tried to reproduce this, with varying degrees of success. The original props used in the film were made with a metallic chrome paint (which is also prohibitively expensive and difficult to work with). Ruling that out, I went down a YouTube rabbit hole and found a lot of people who were using graphite powder to produce a metallic finish with a (nearly) mirror finish. The process involved layers of clear spray enamel with graphite burnished into the surface. The results were compelling enough that I went straight to the local art supply shop and bought myself a lifetime supply:
Getting the Shell Ready Link to heading
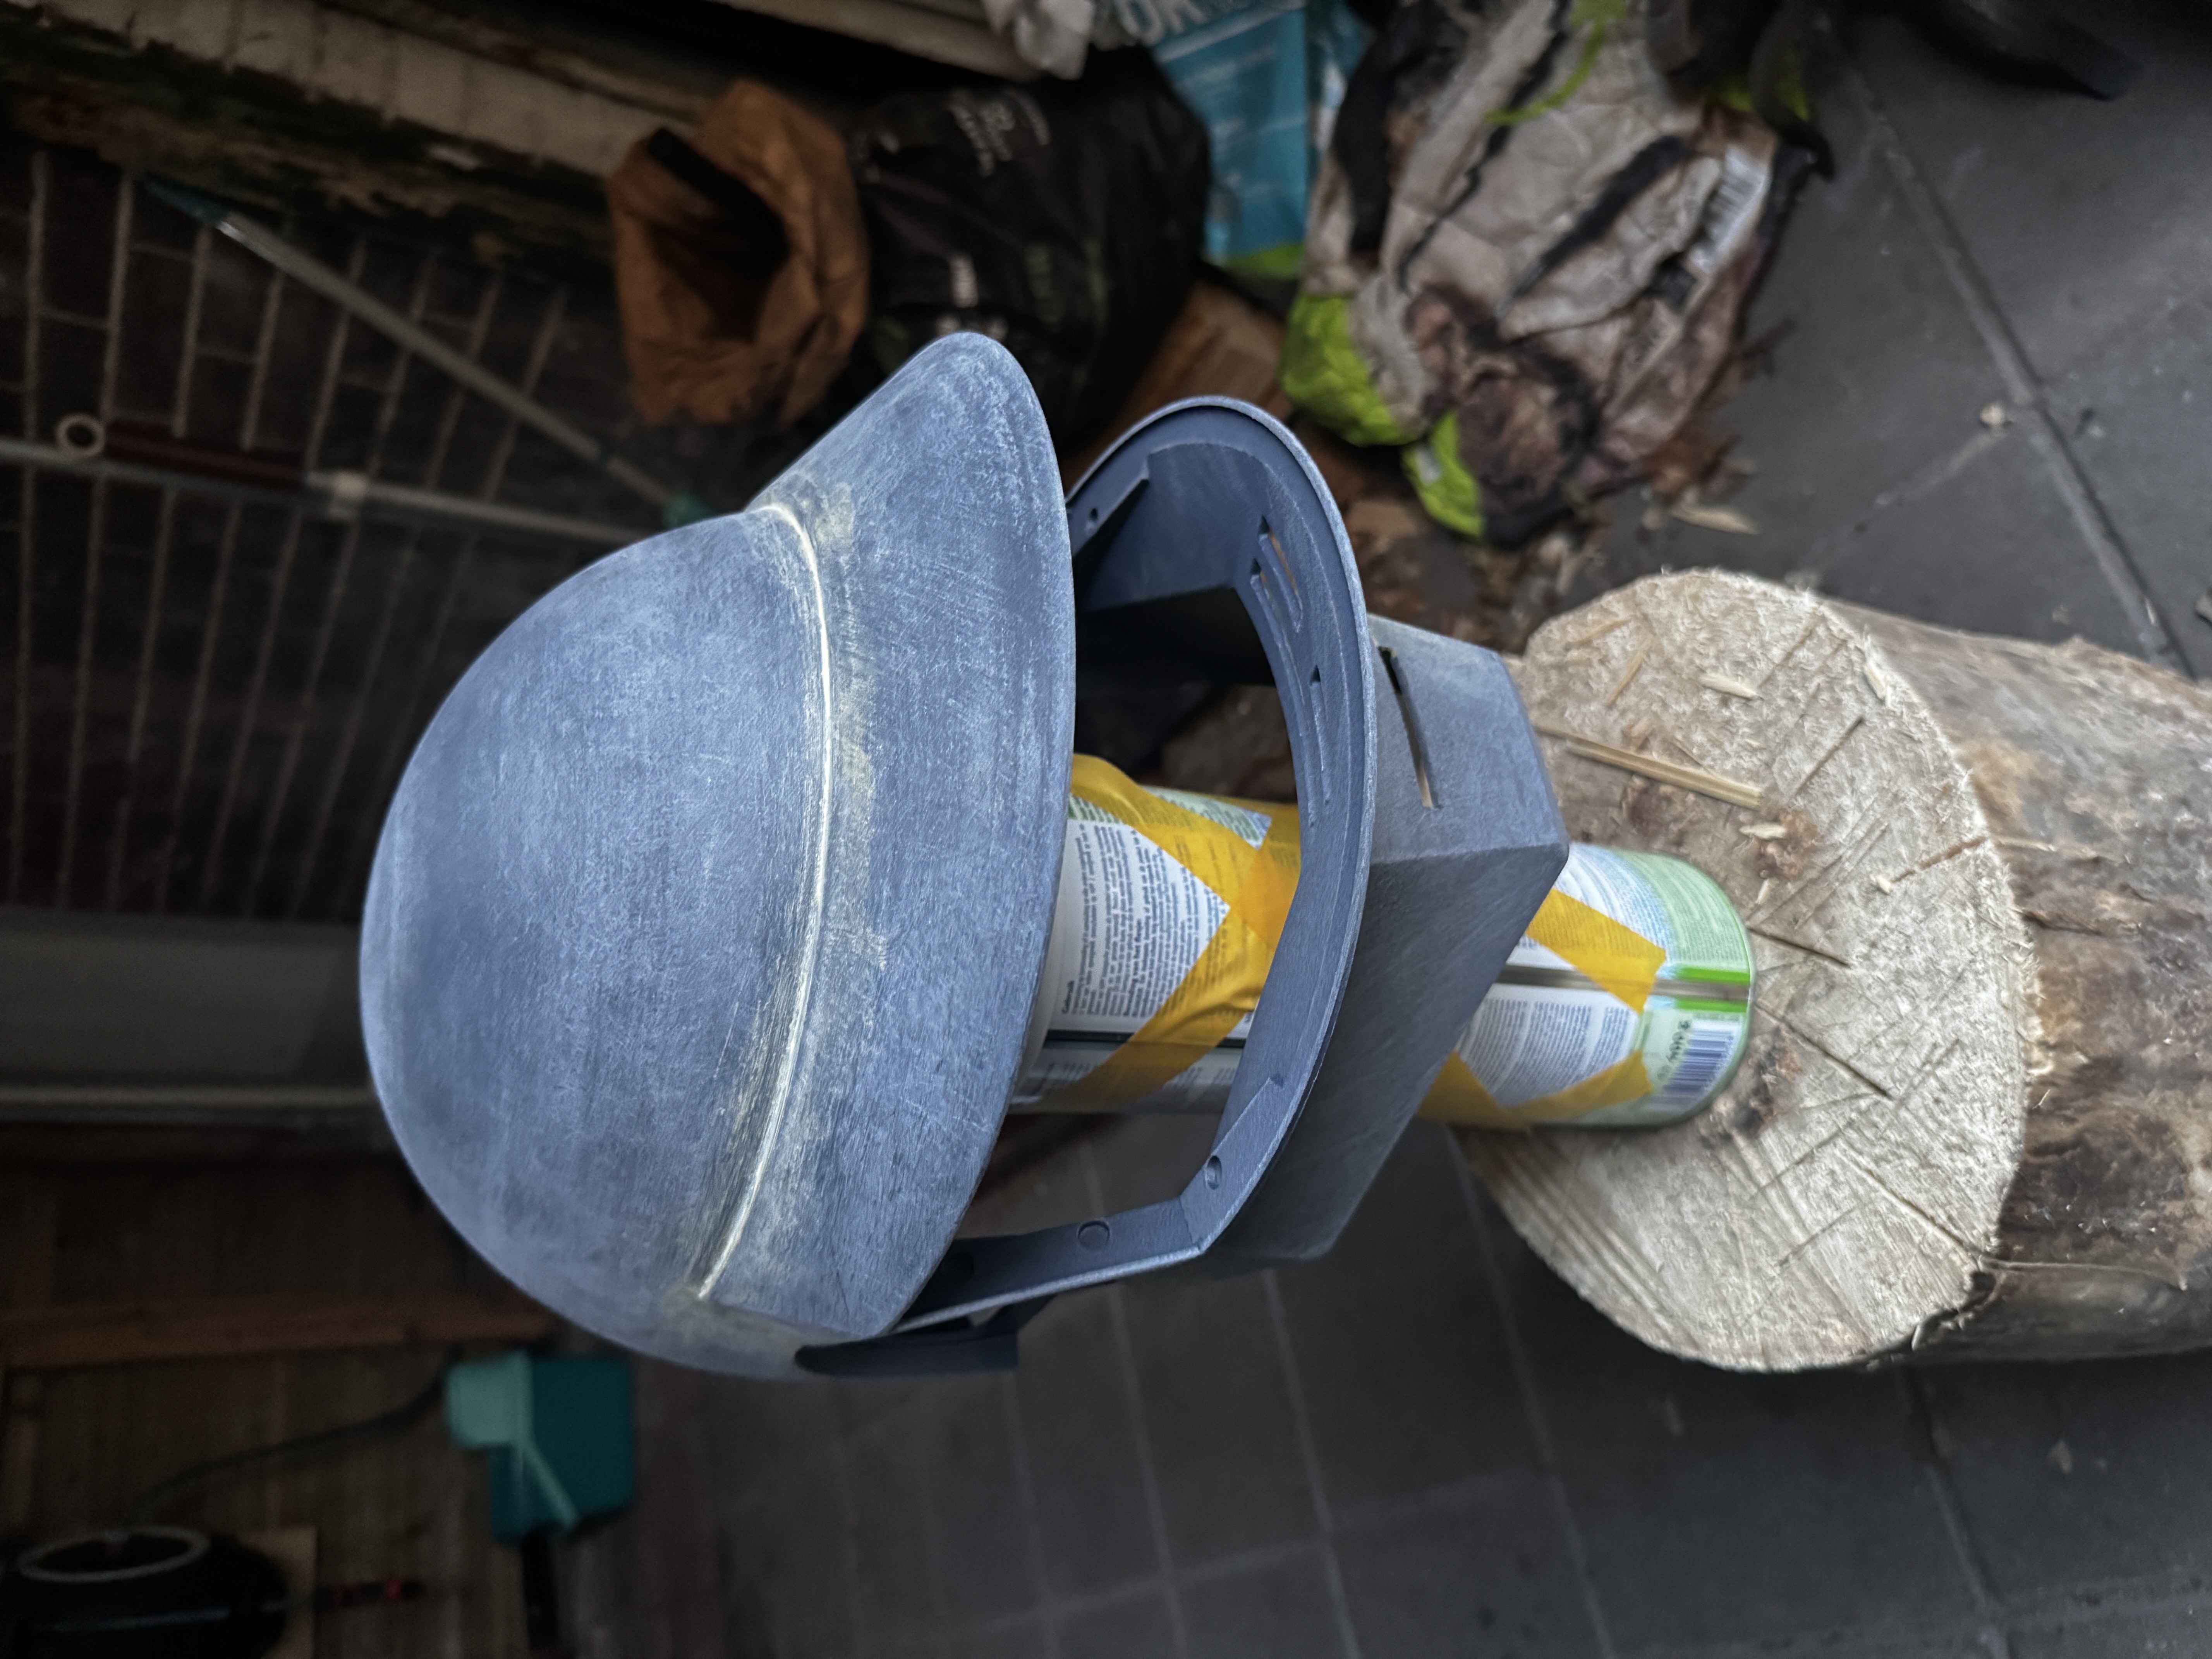
Before any of this could happen, the surface needed to be right. There were still some layer lines and imperfections from the print that sanding alone wasn’t going to fix. I mixed up some Bondo spot filler and worked it into the worst areas, then let it cure fully before knocking it back down.
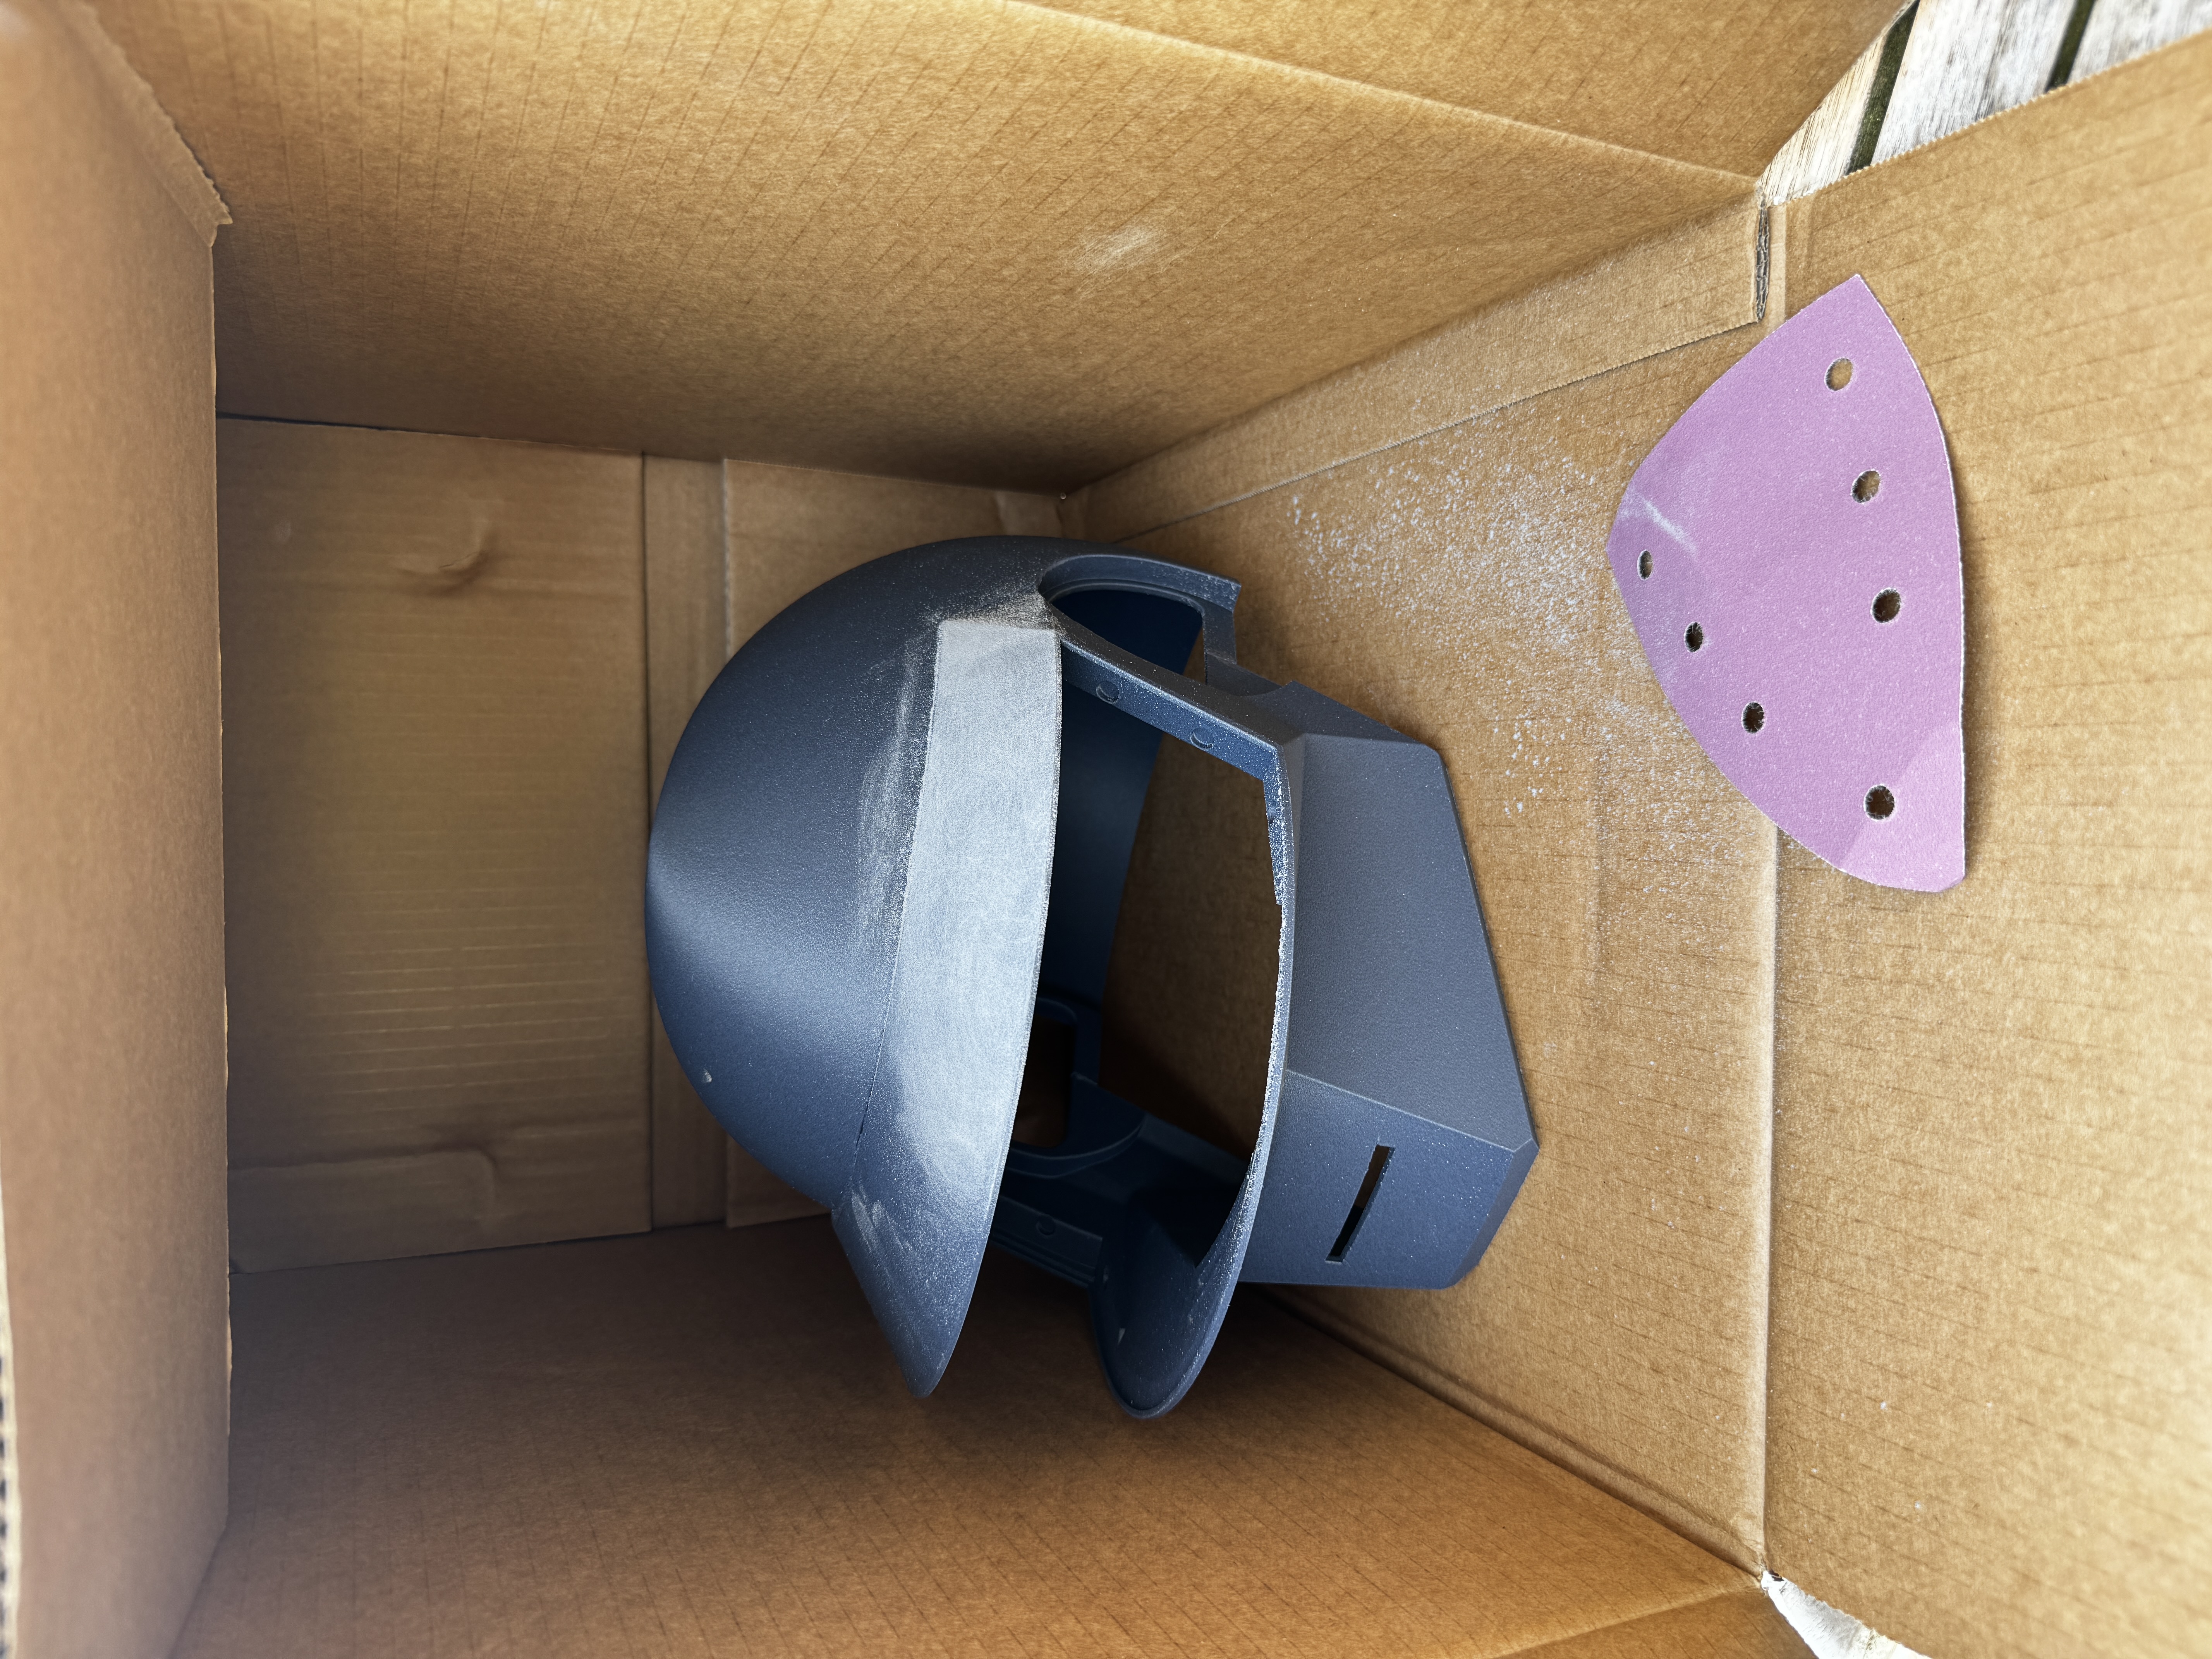
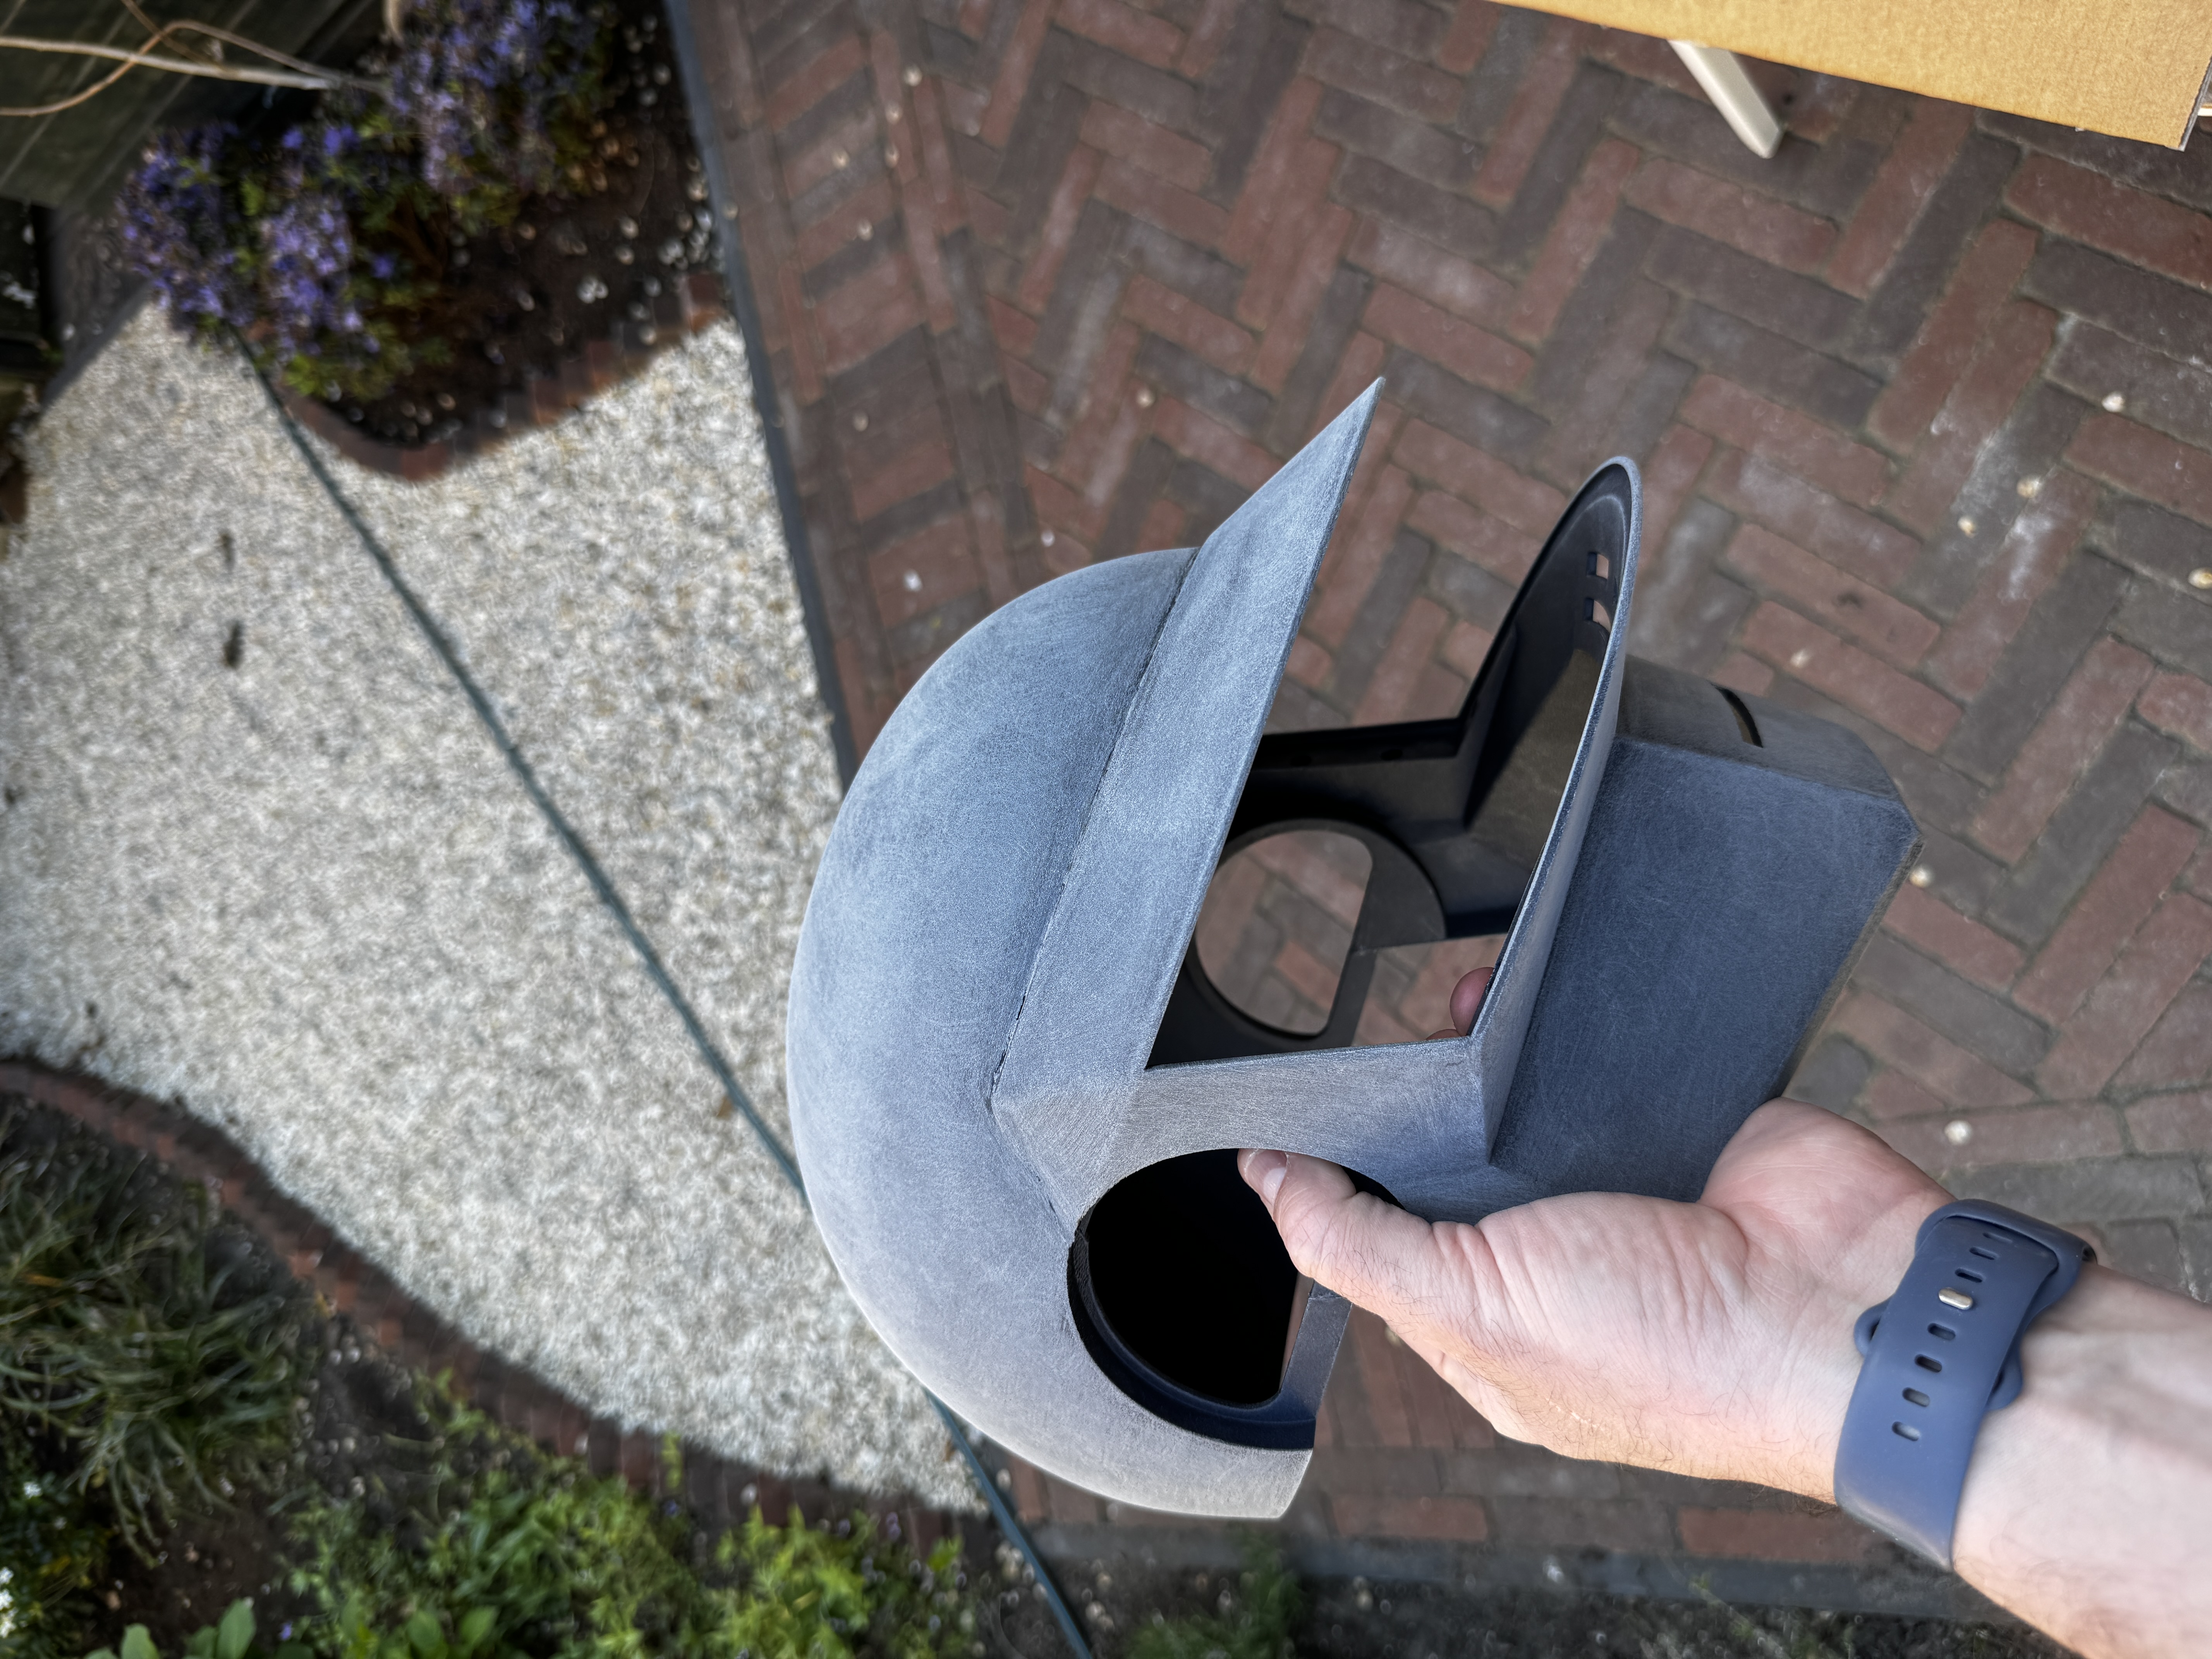
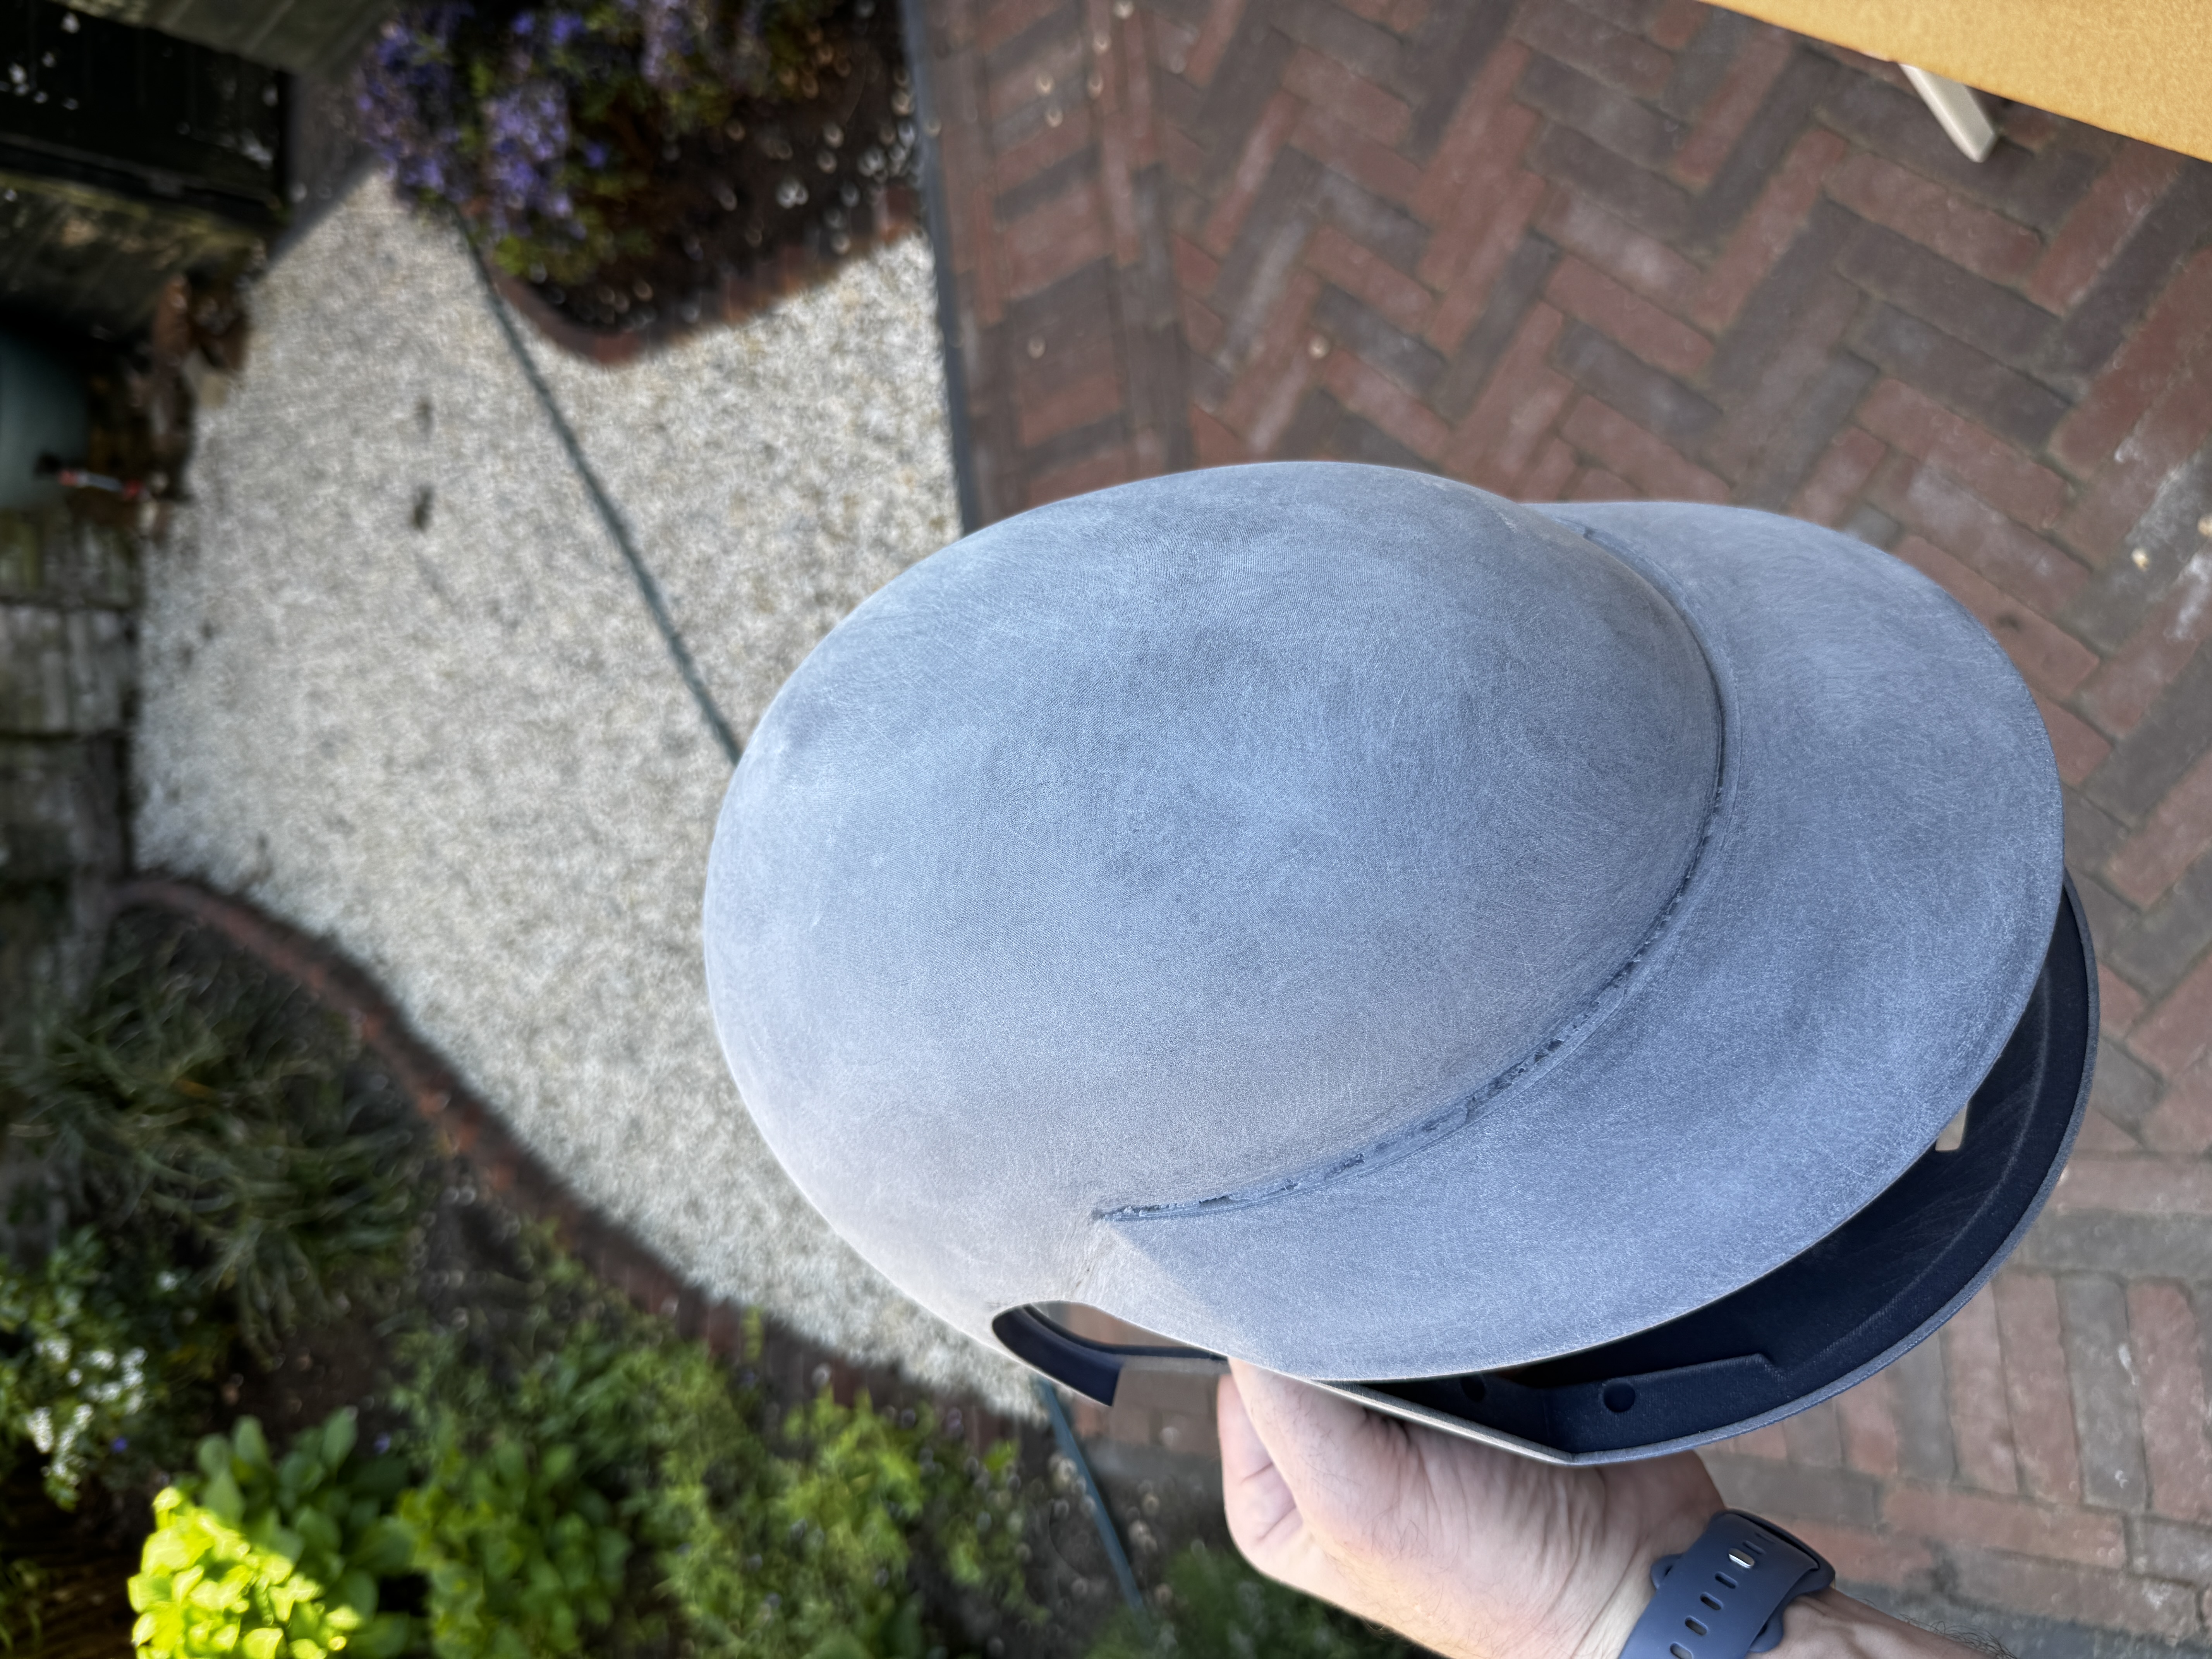
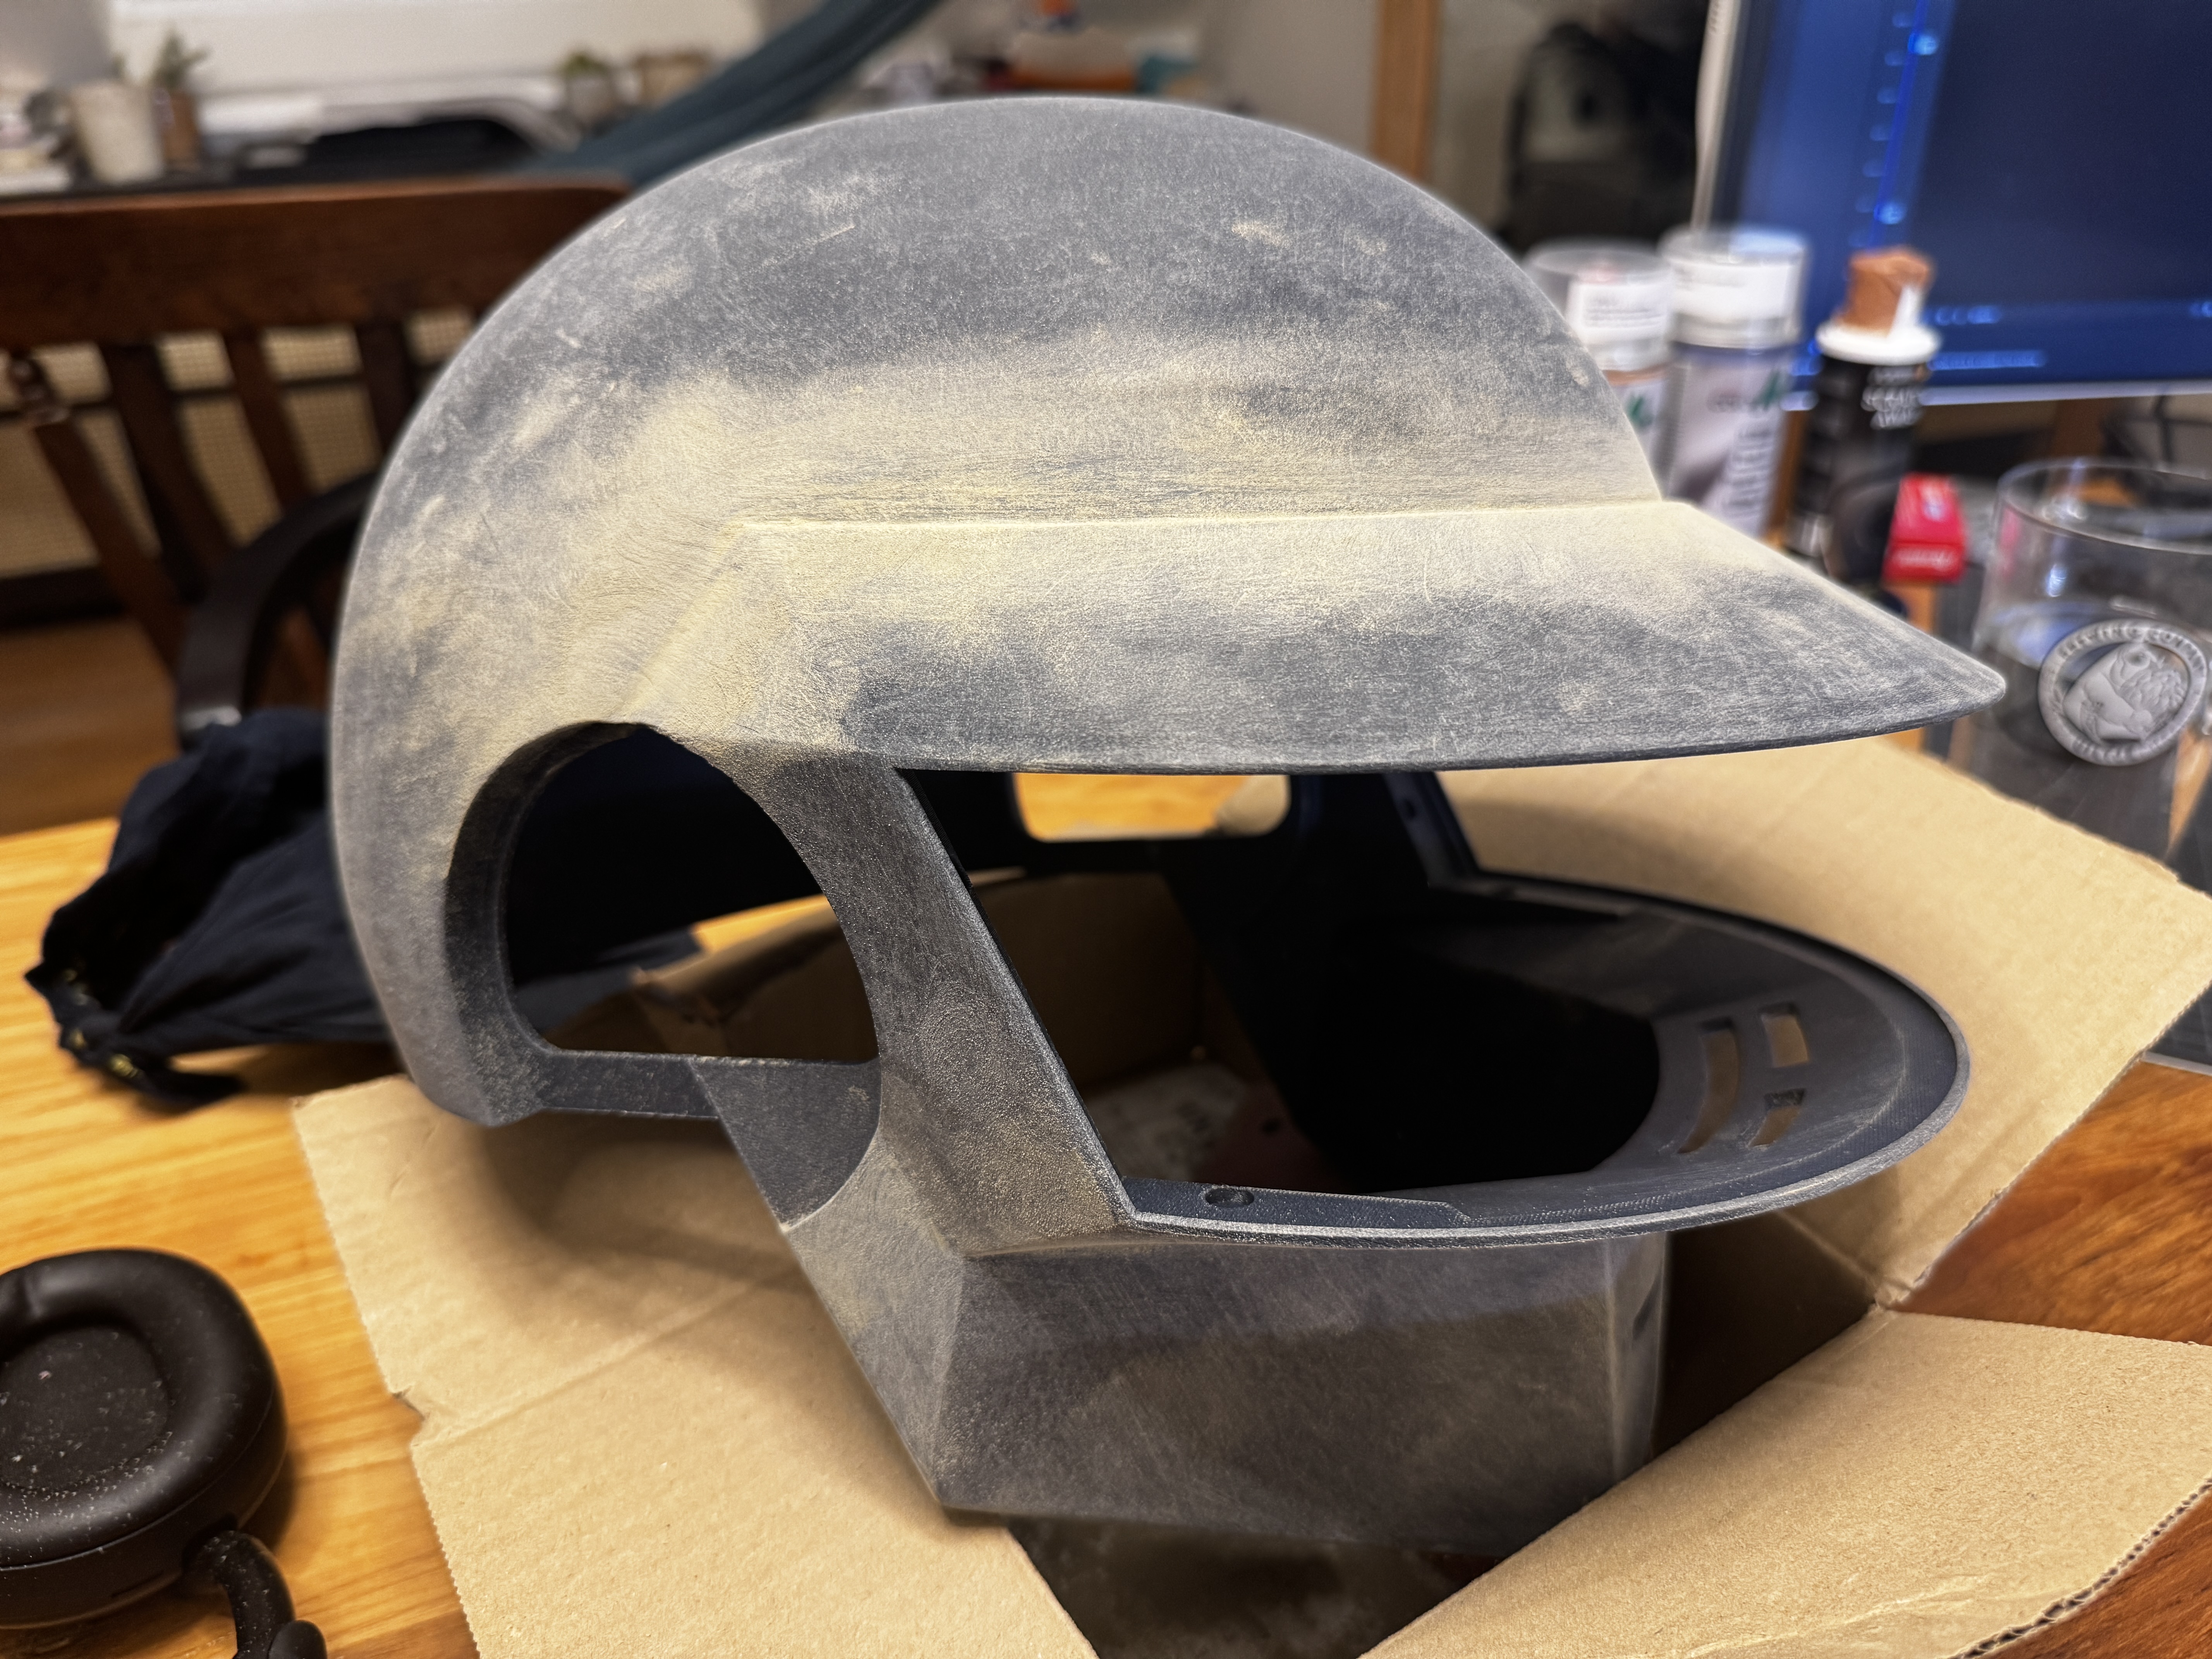
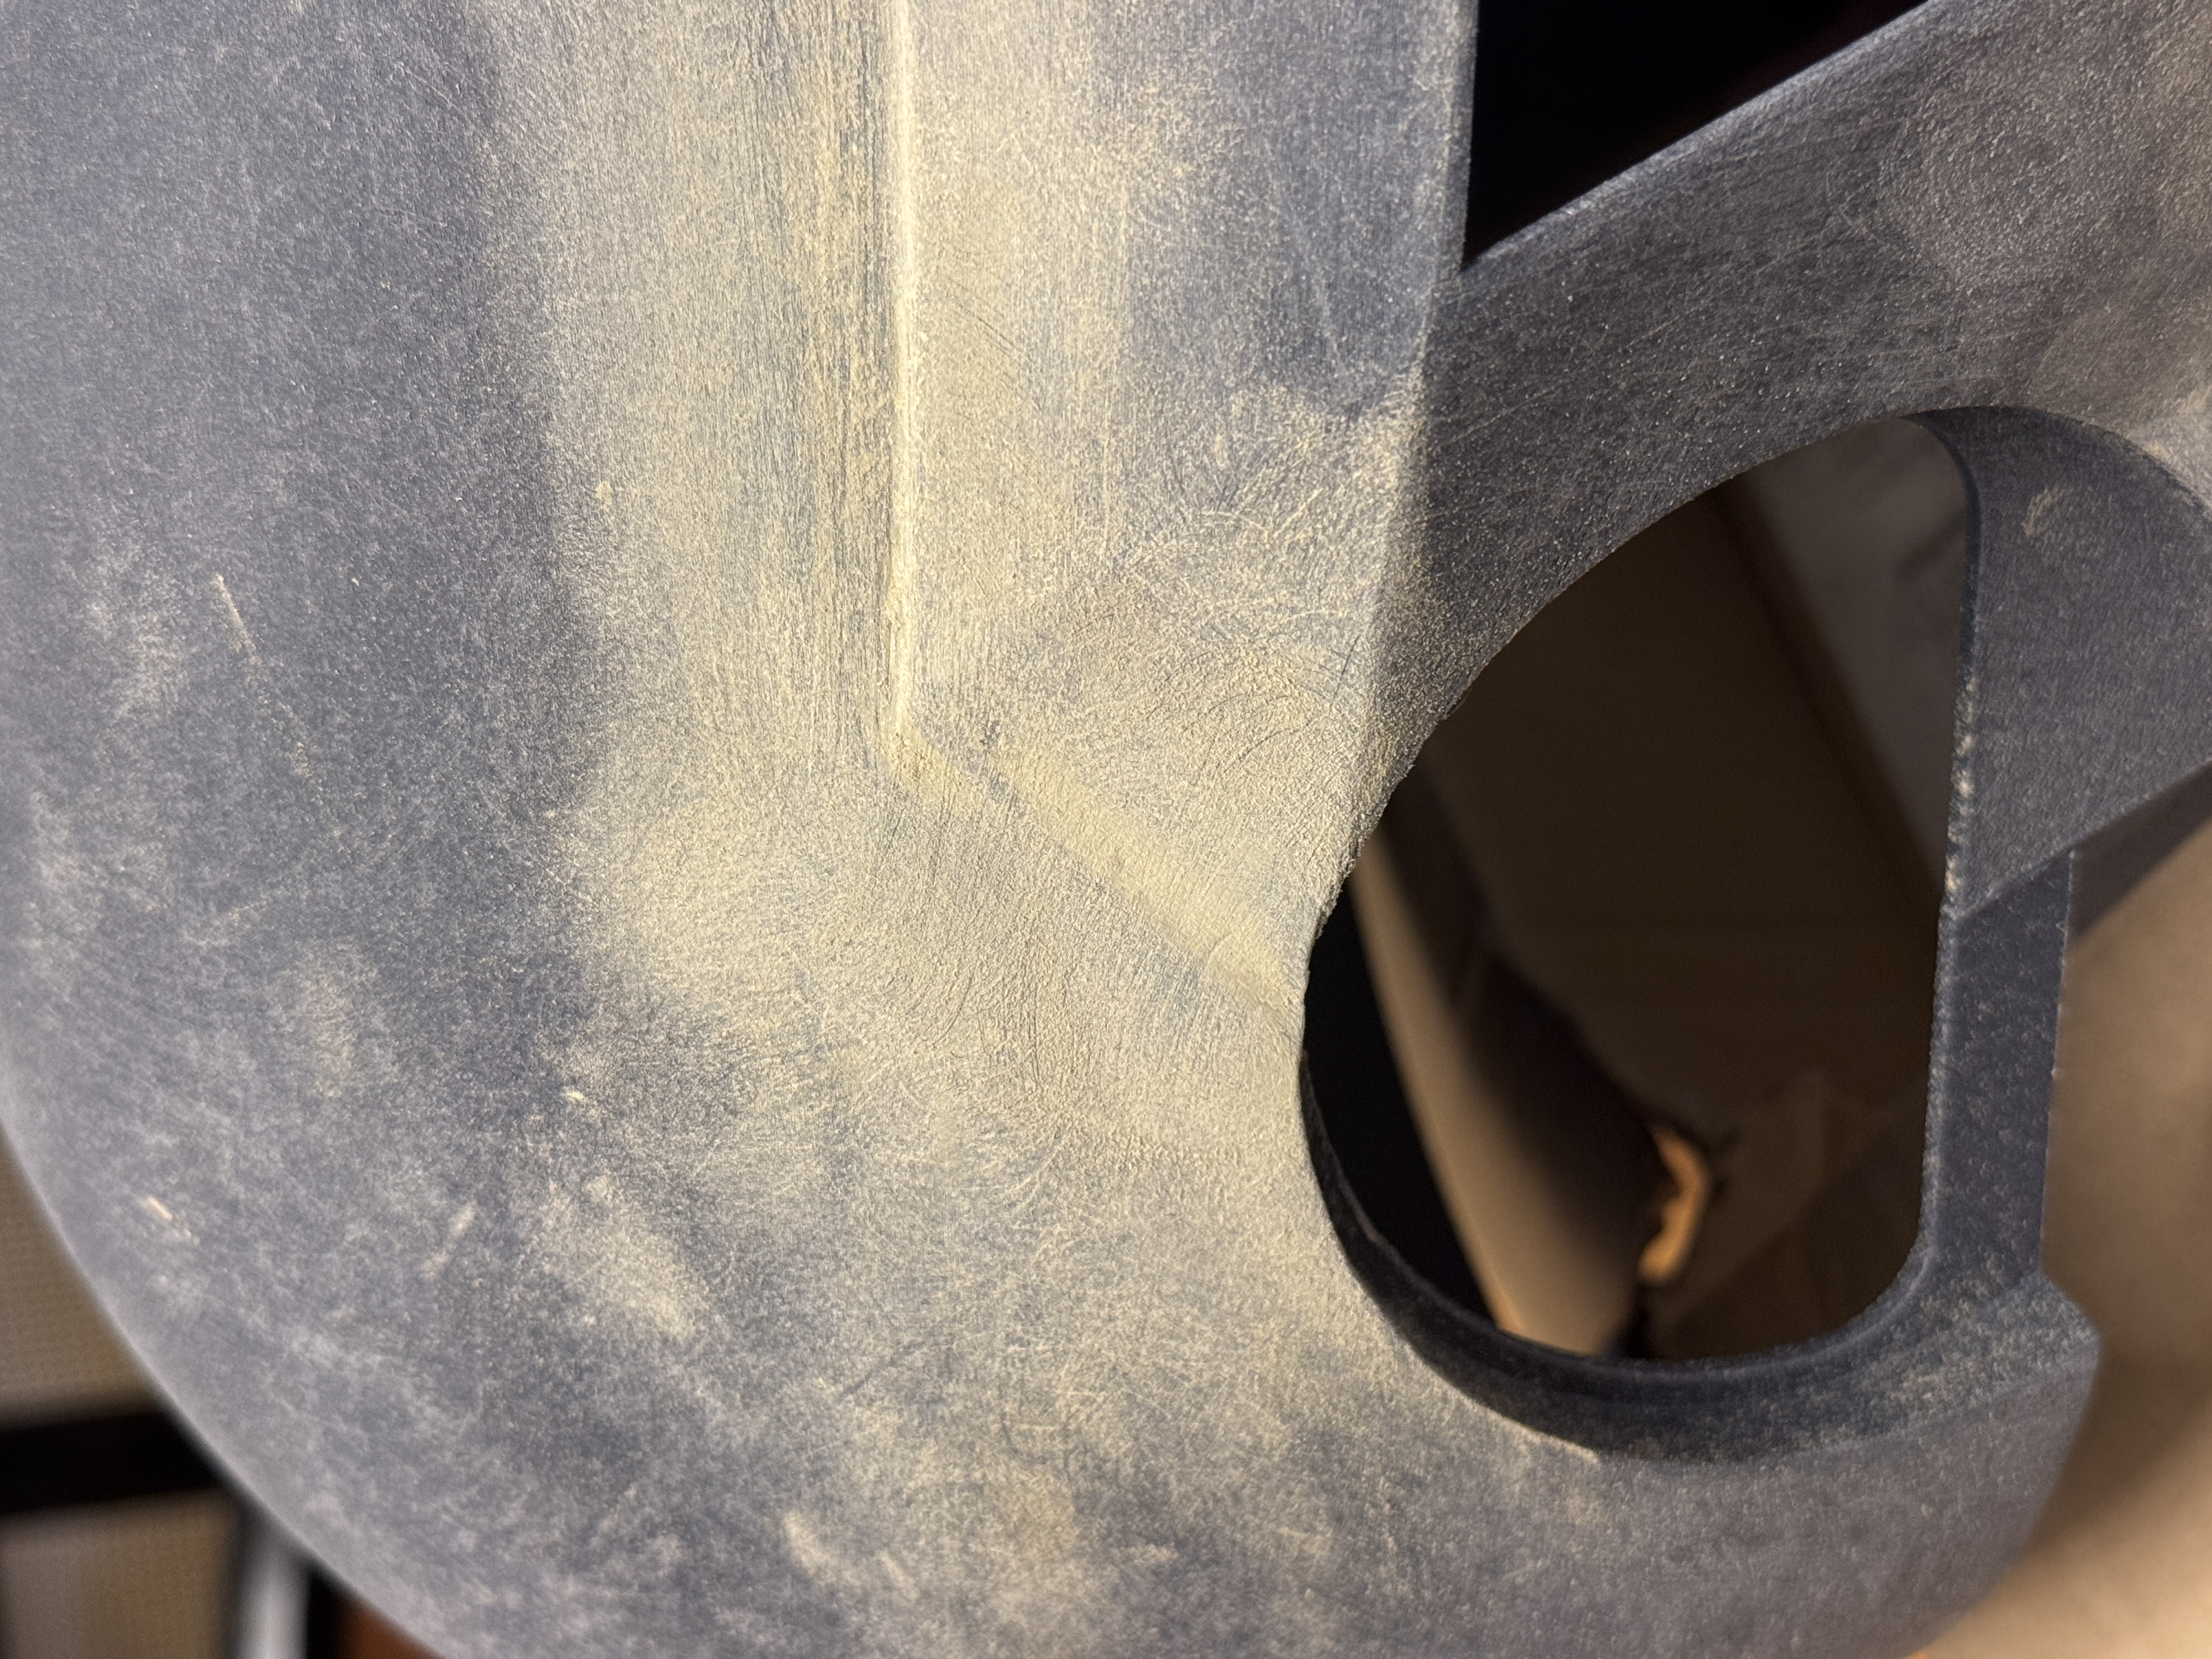
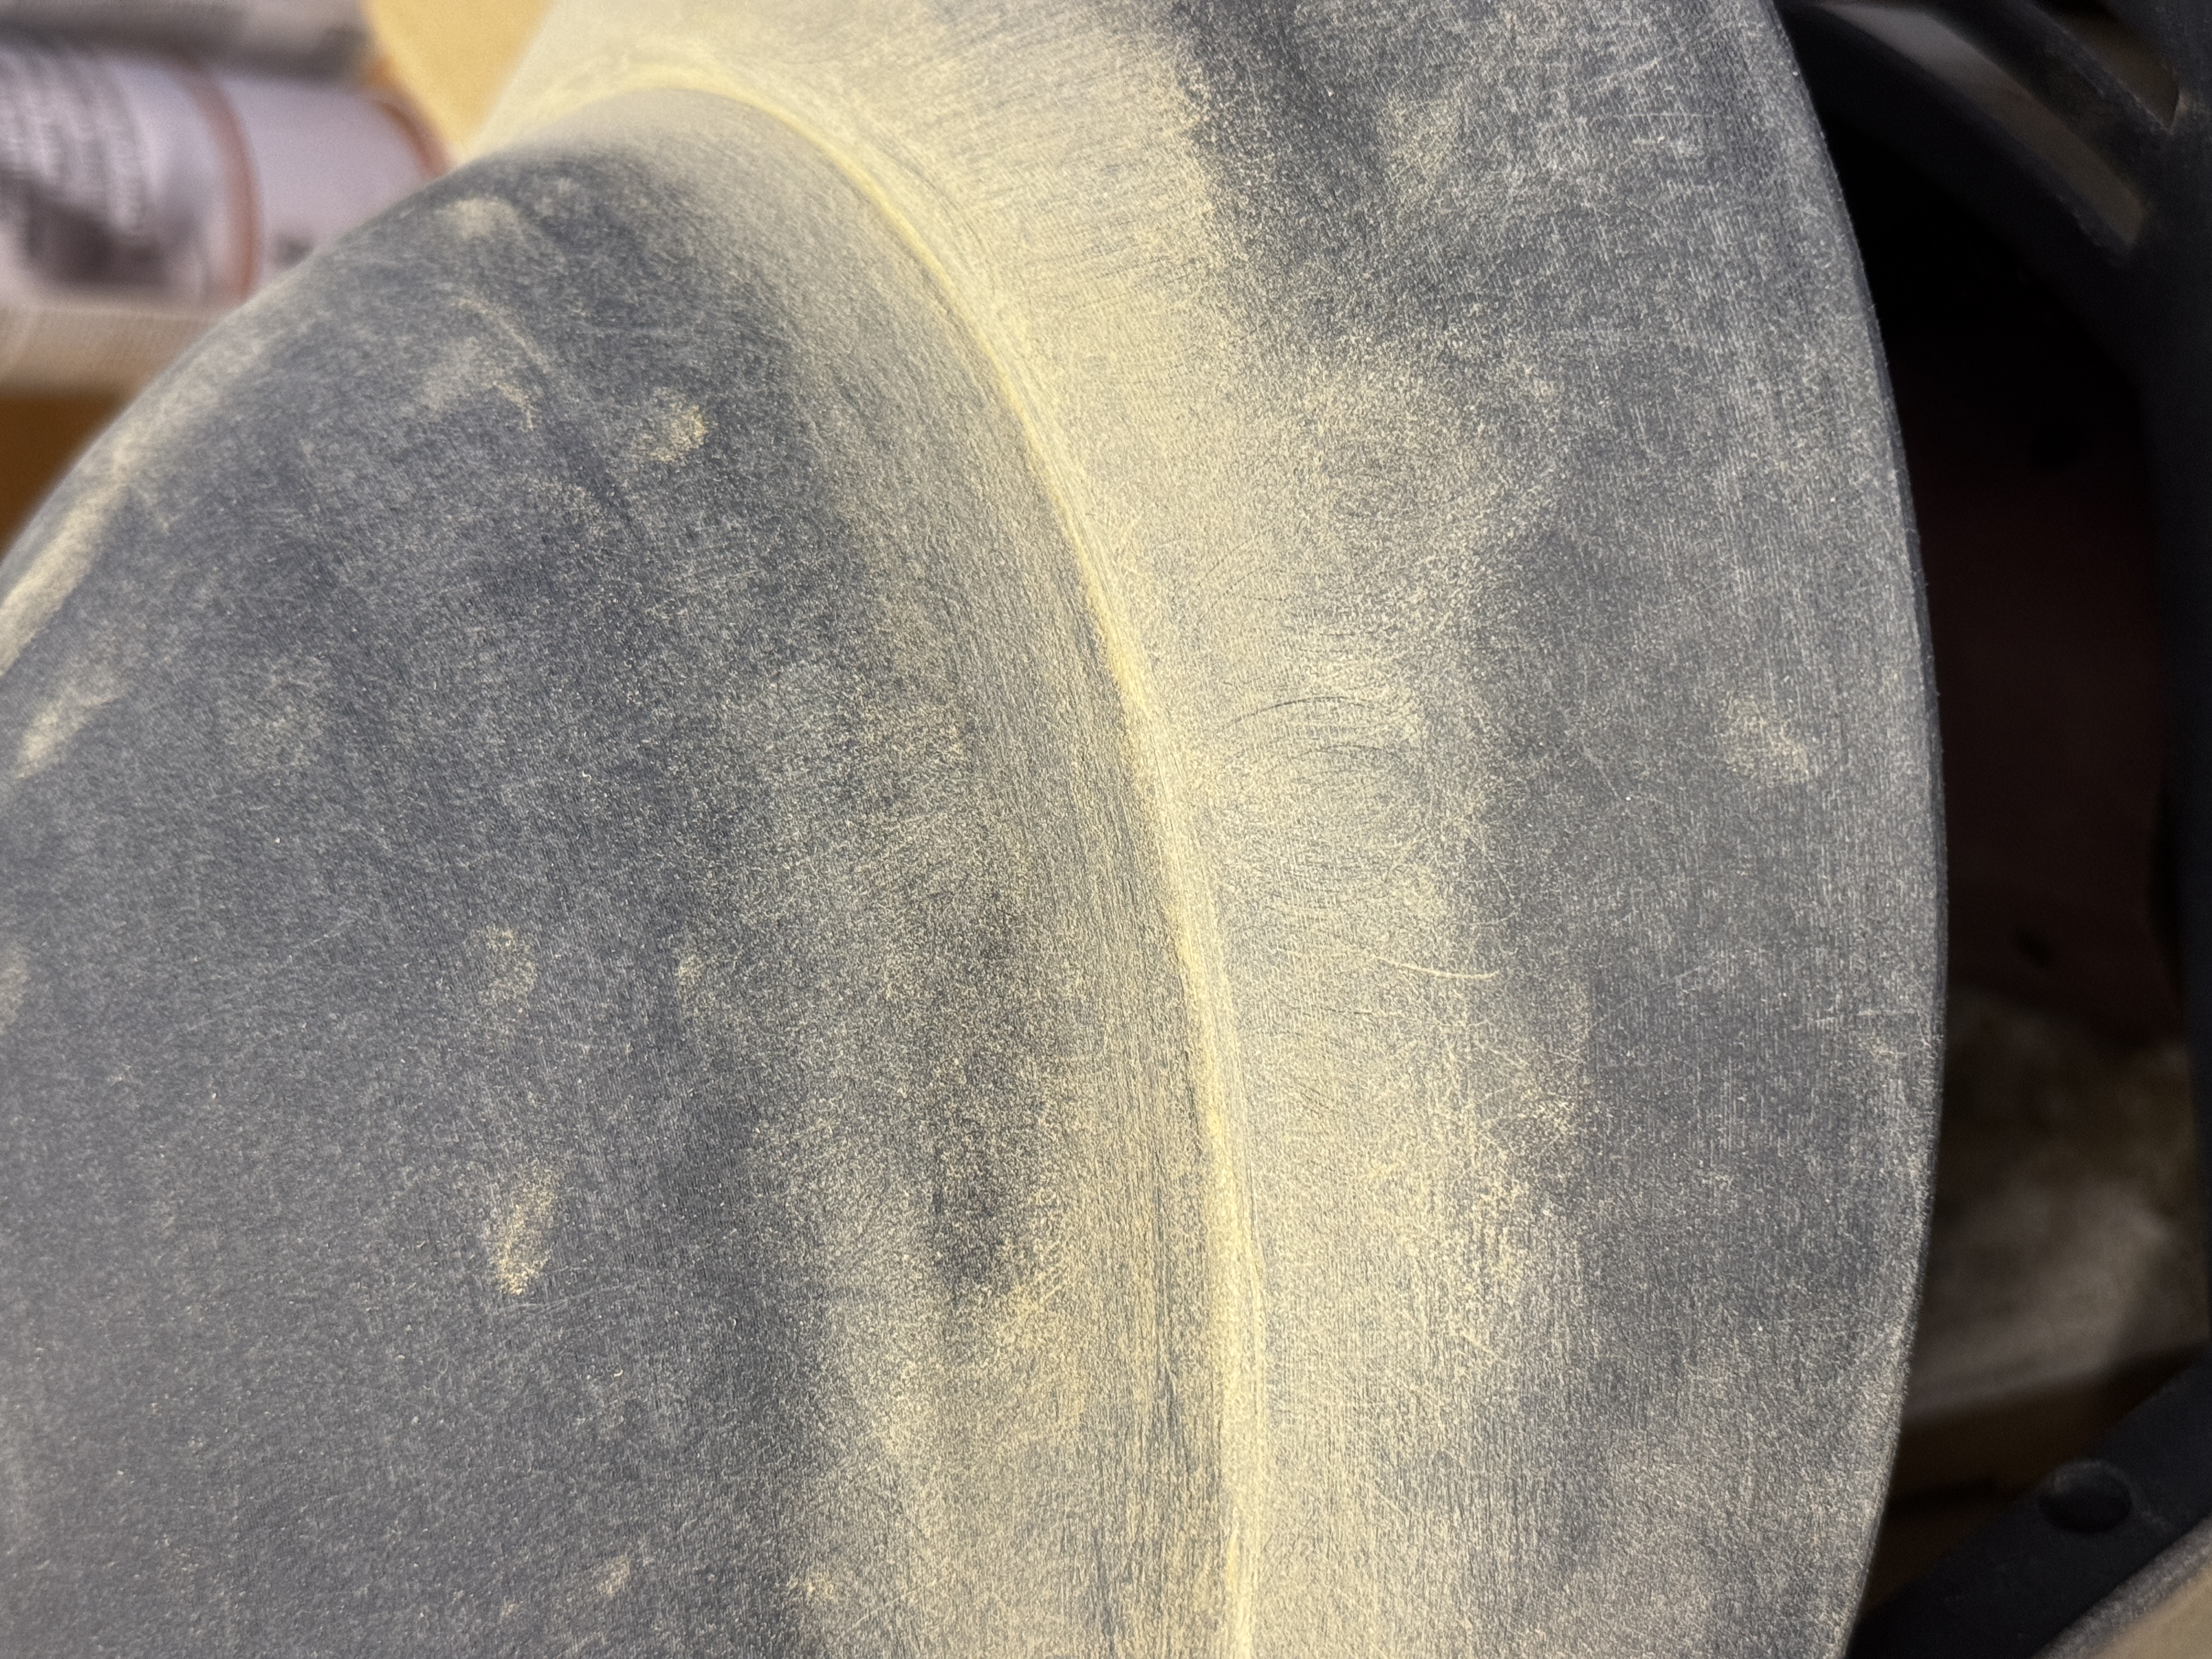
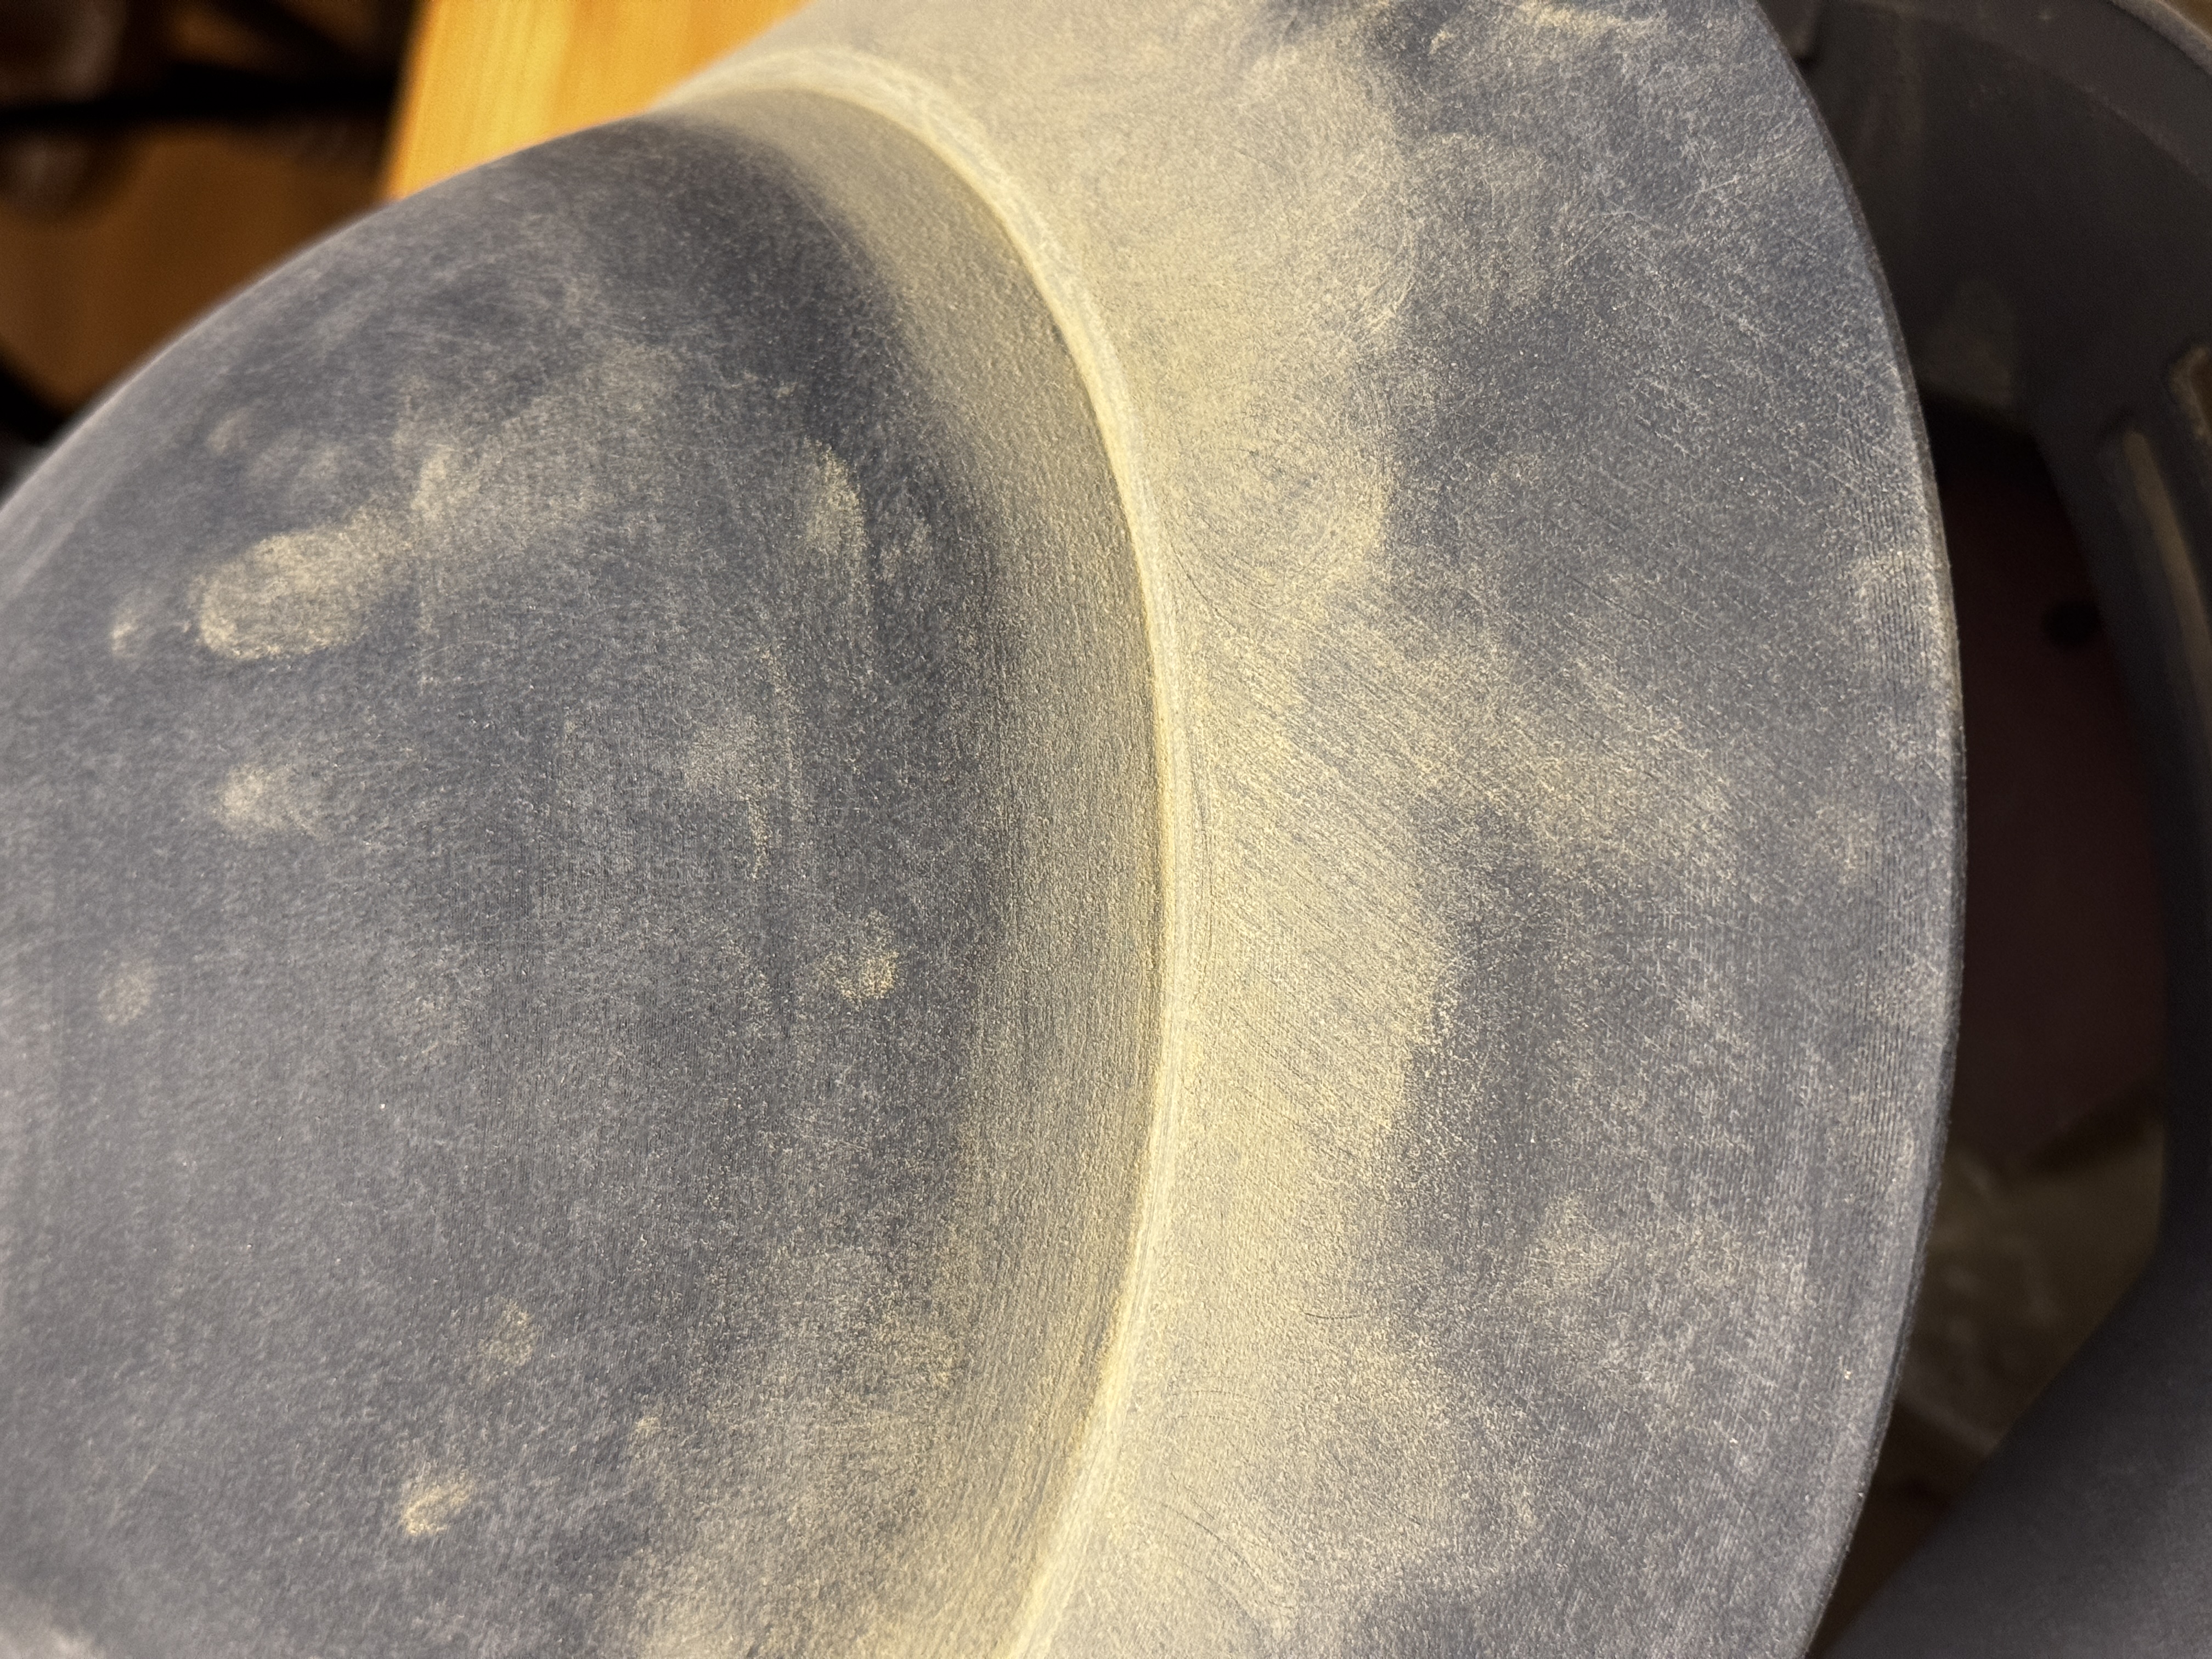
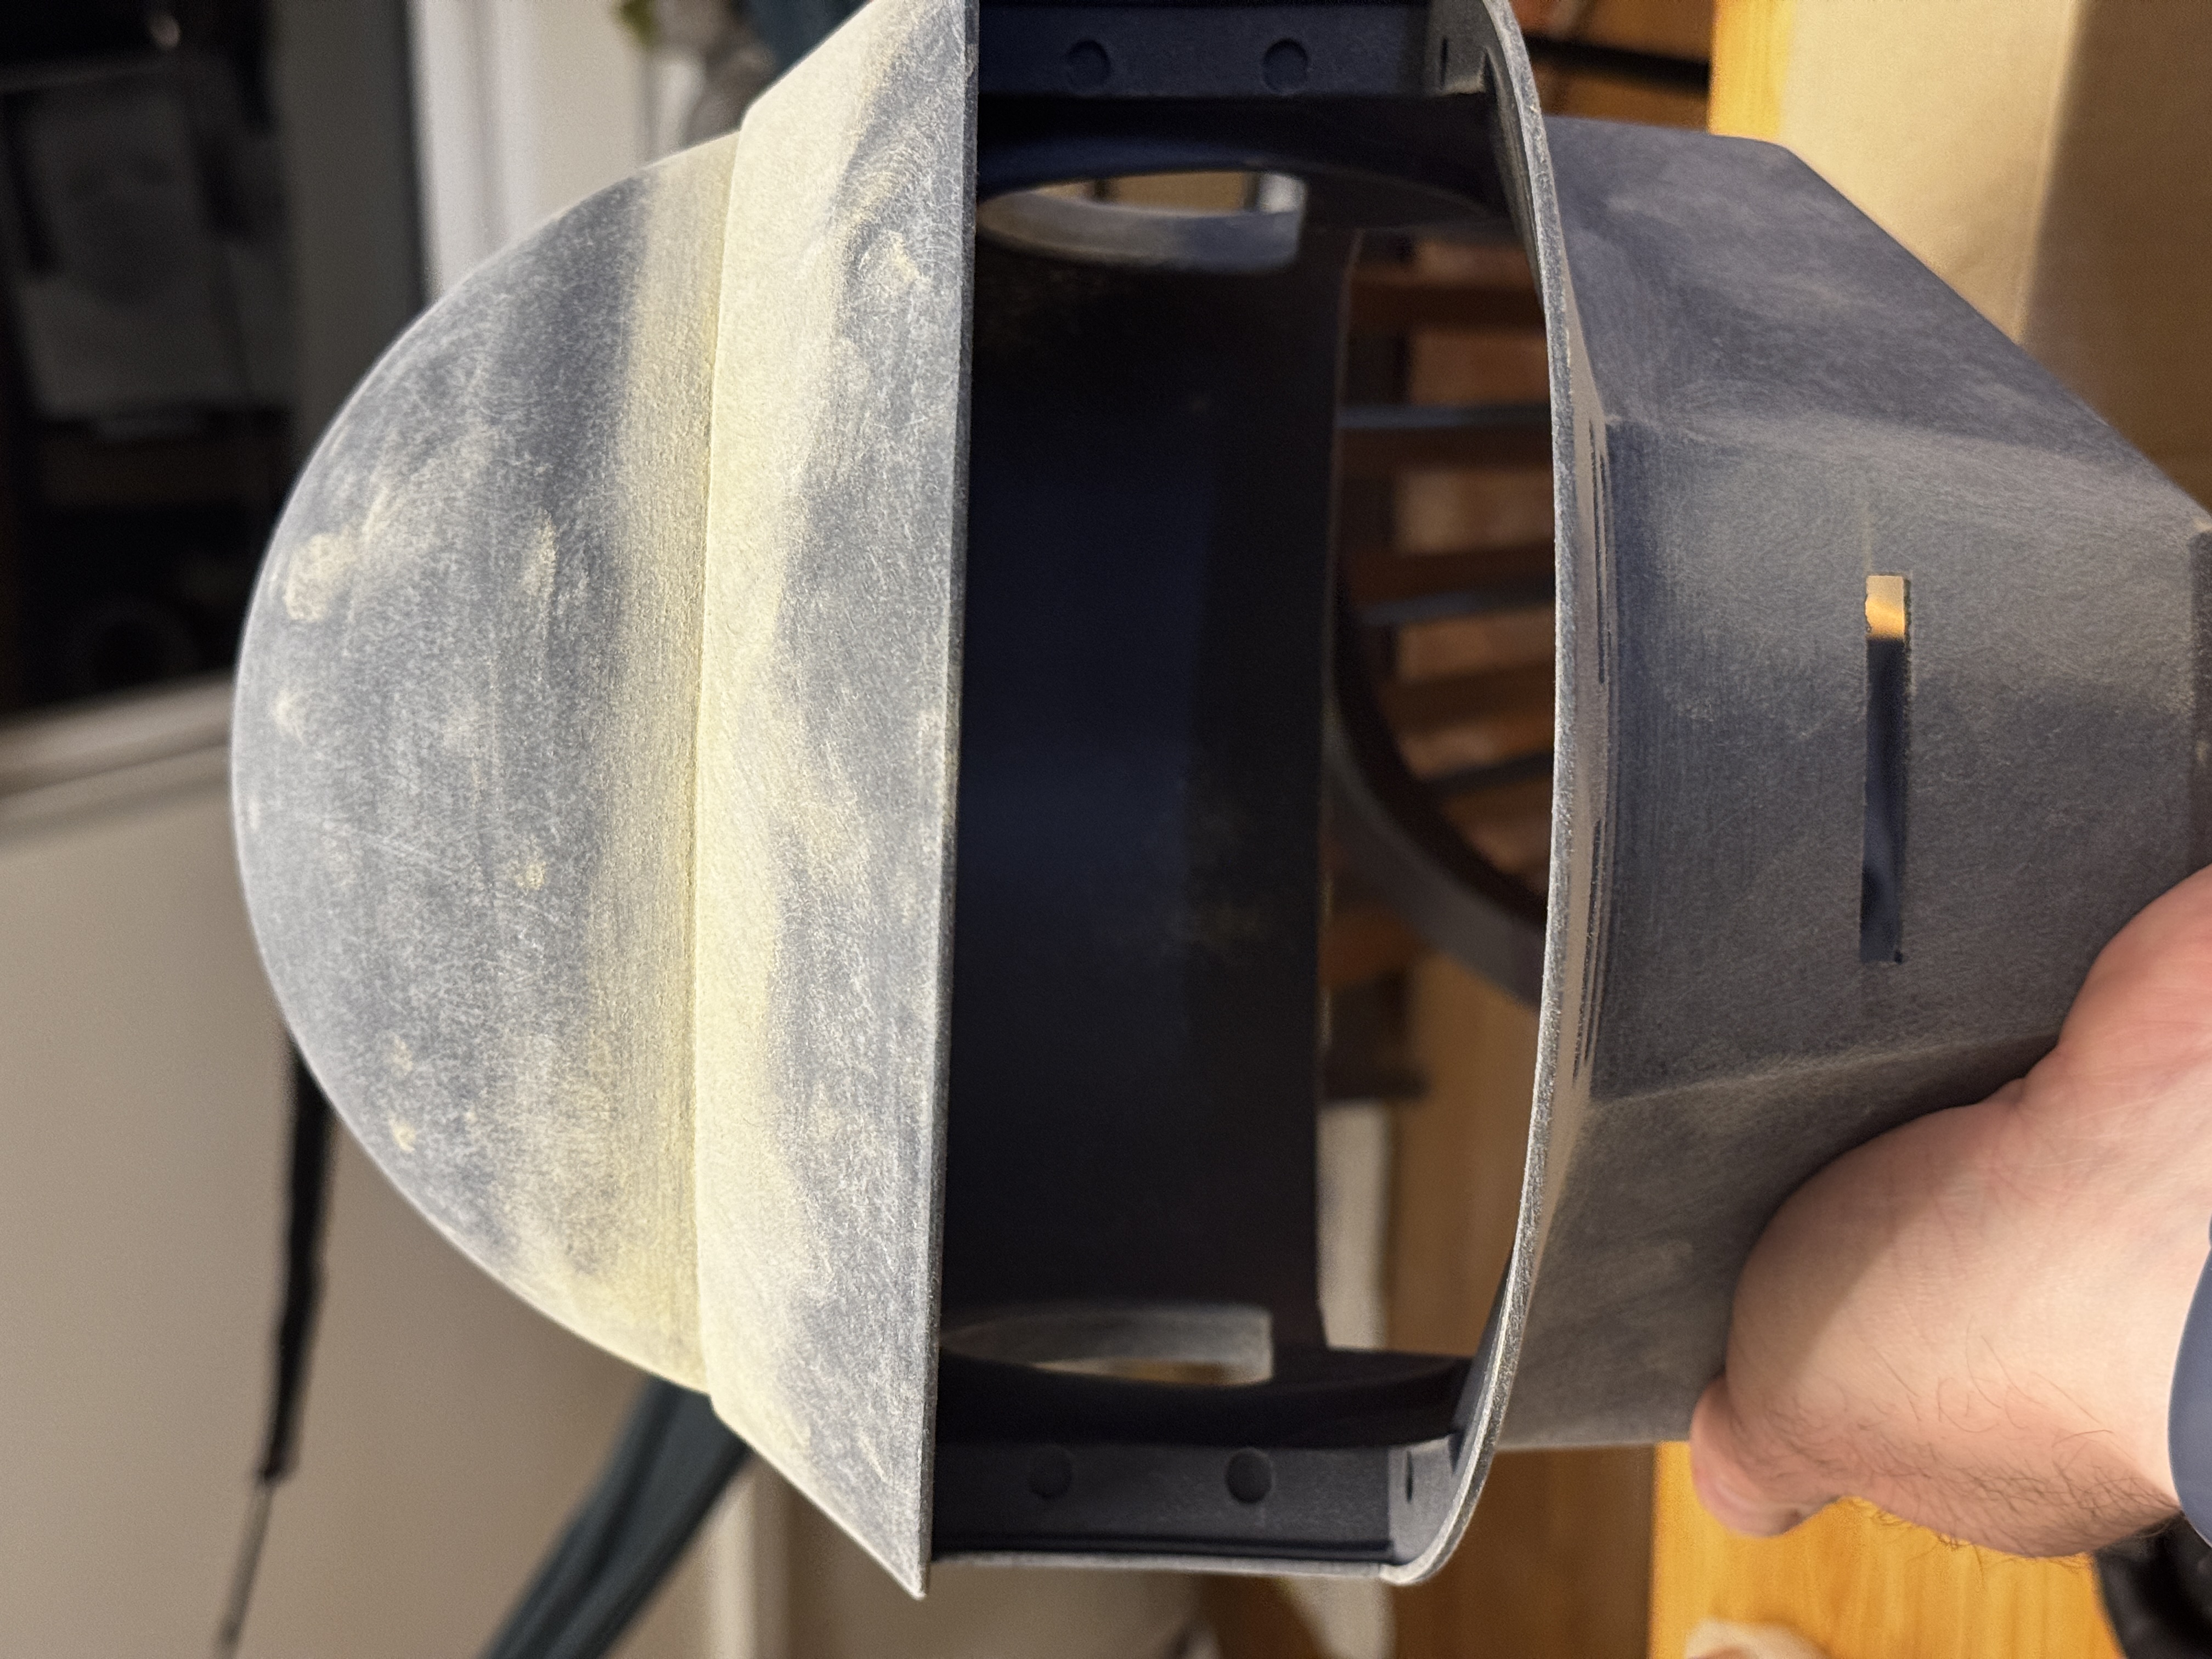
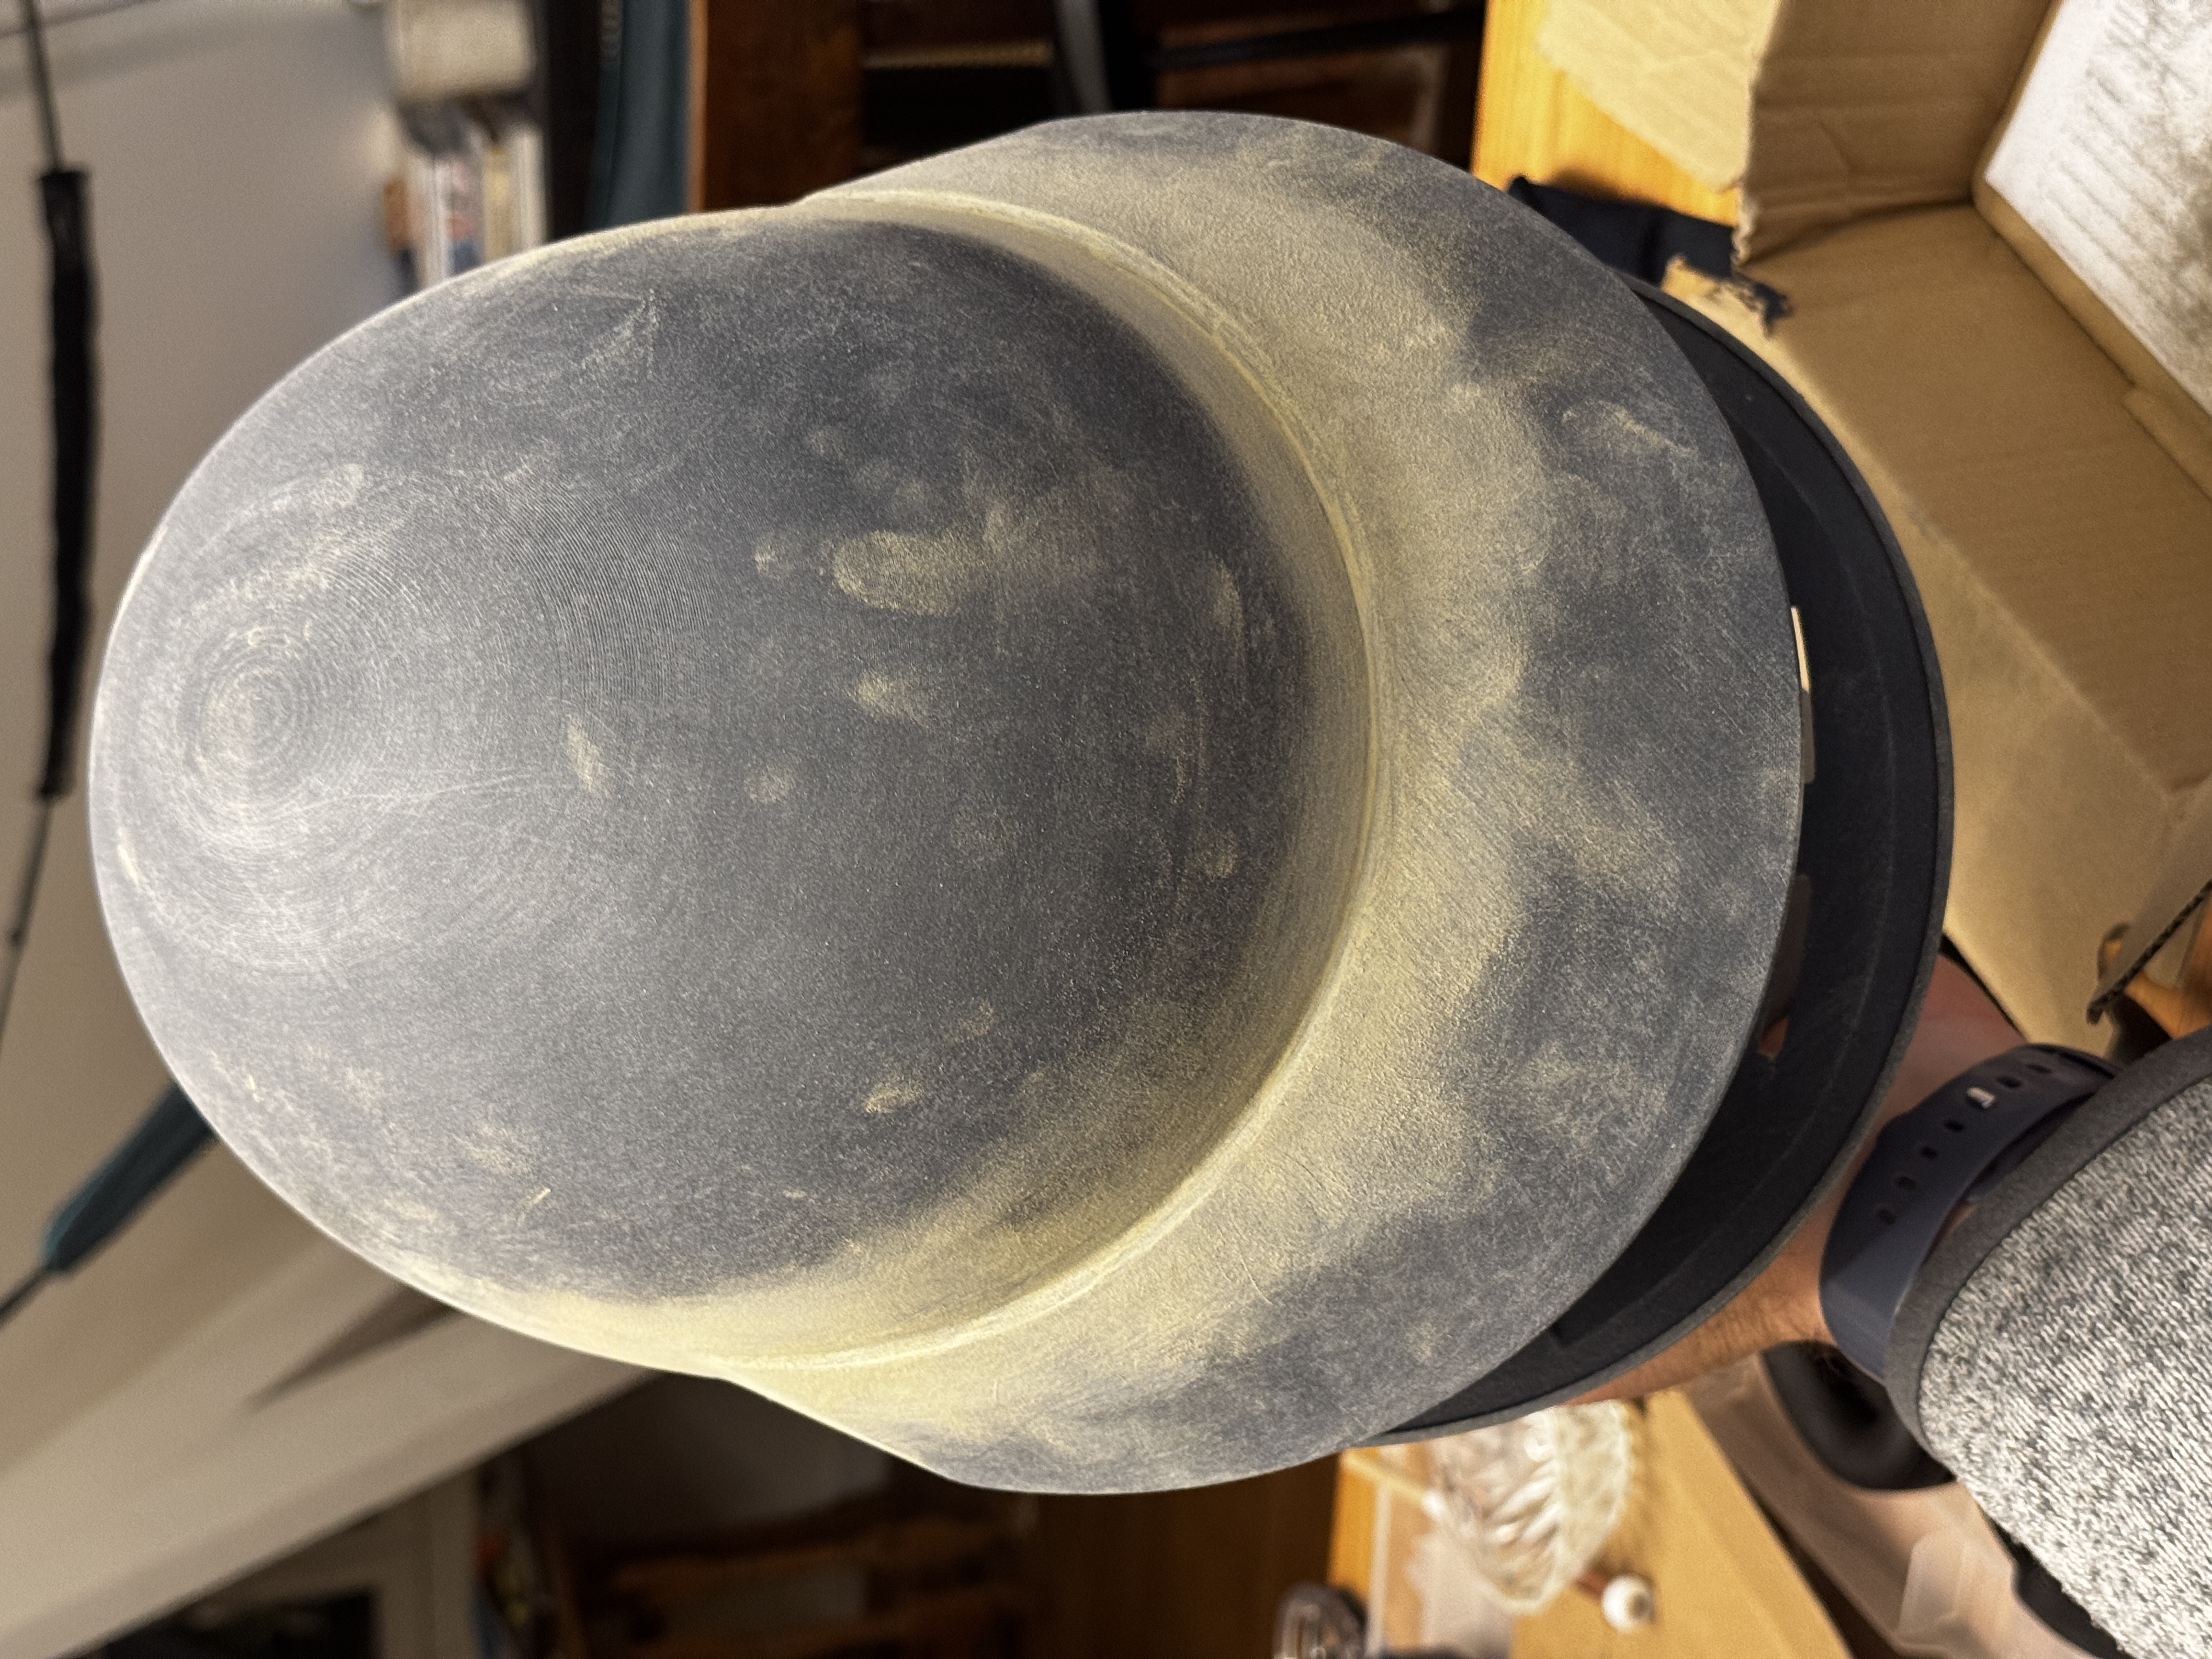
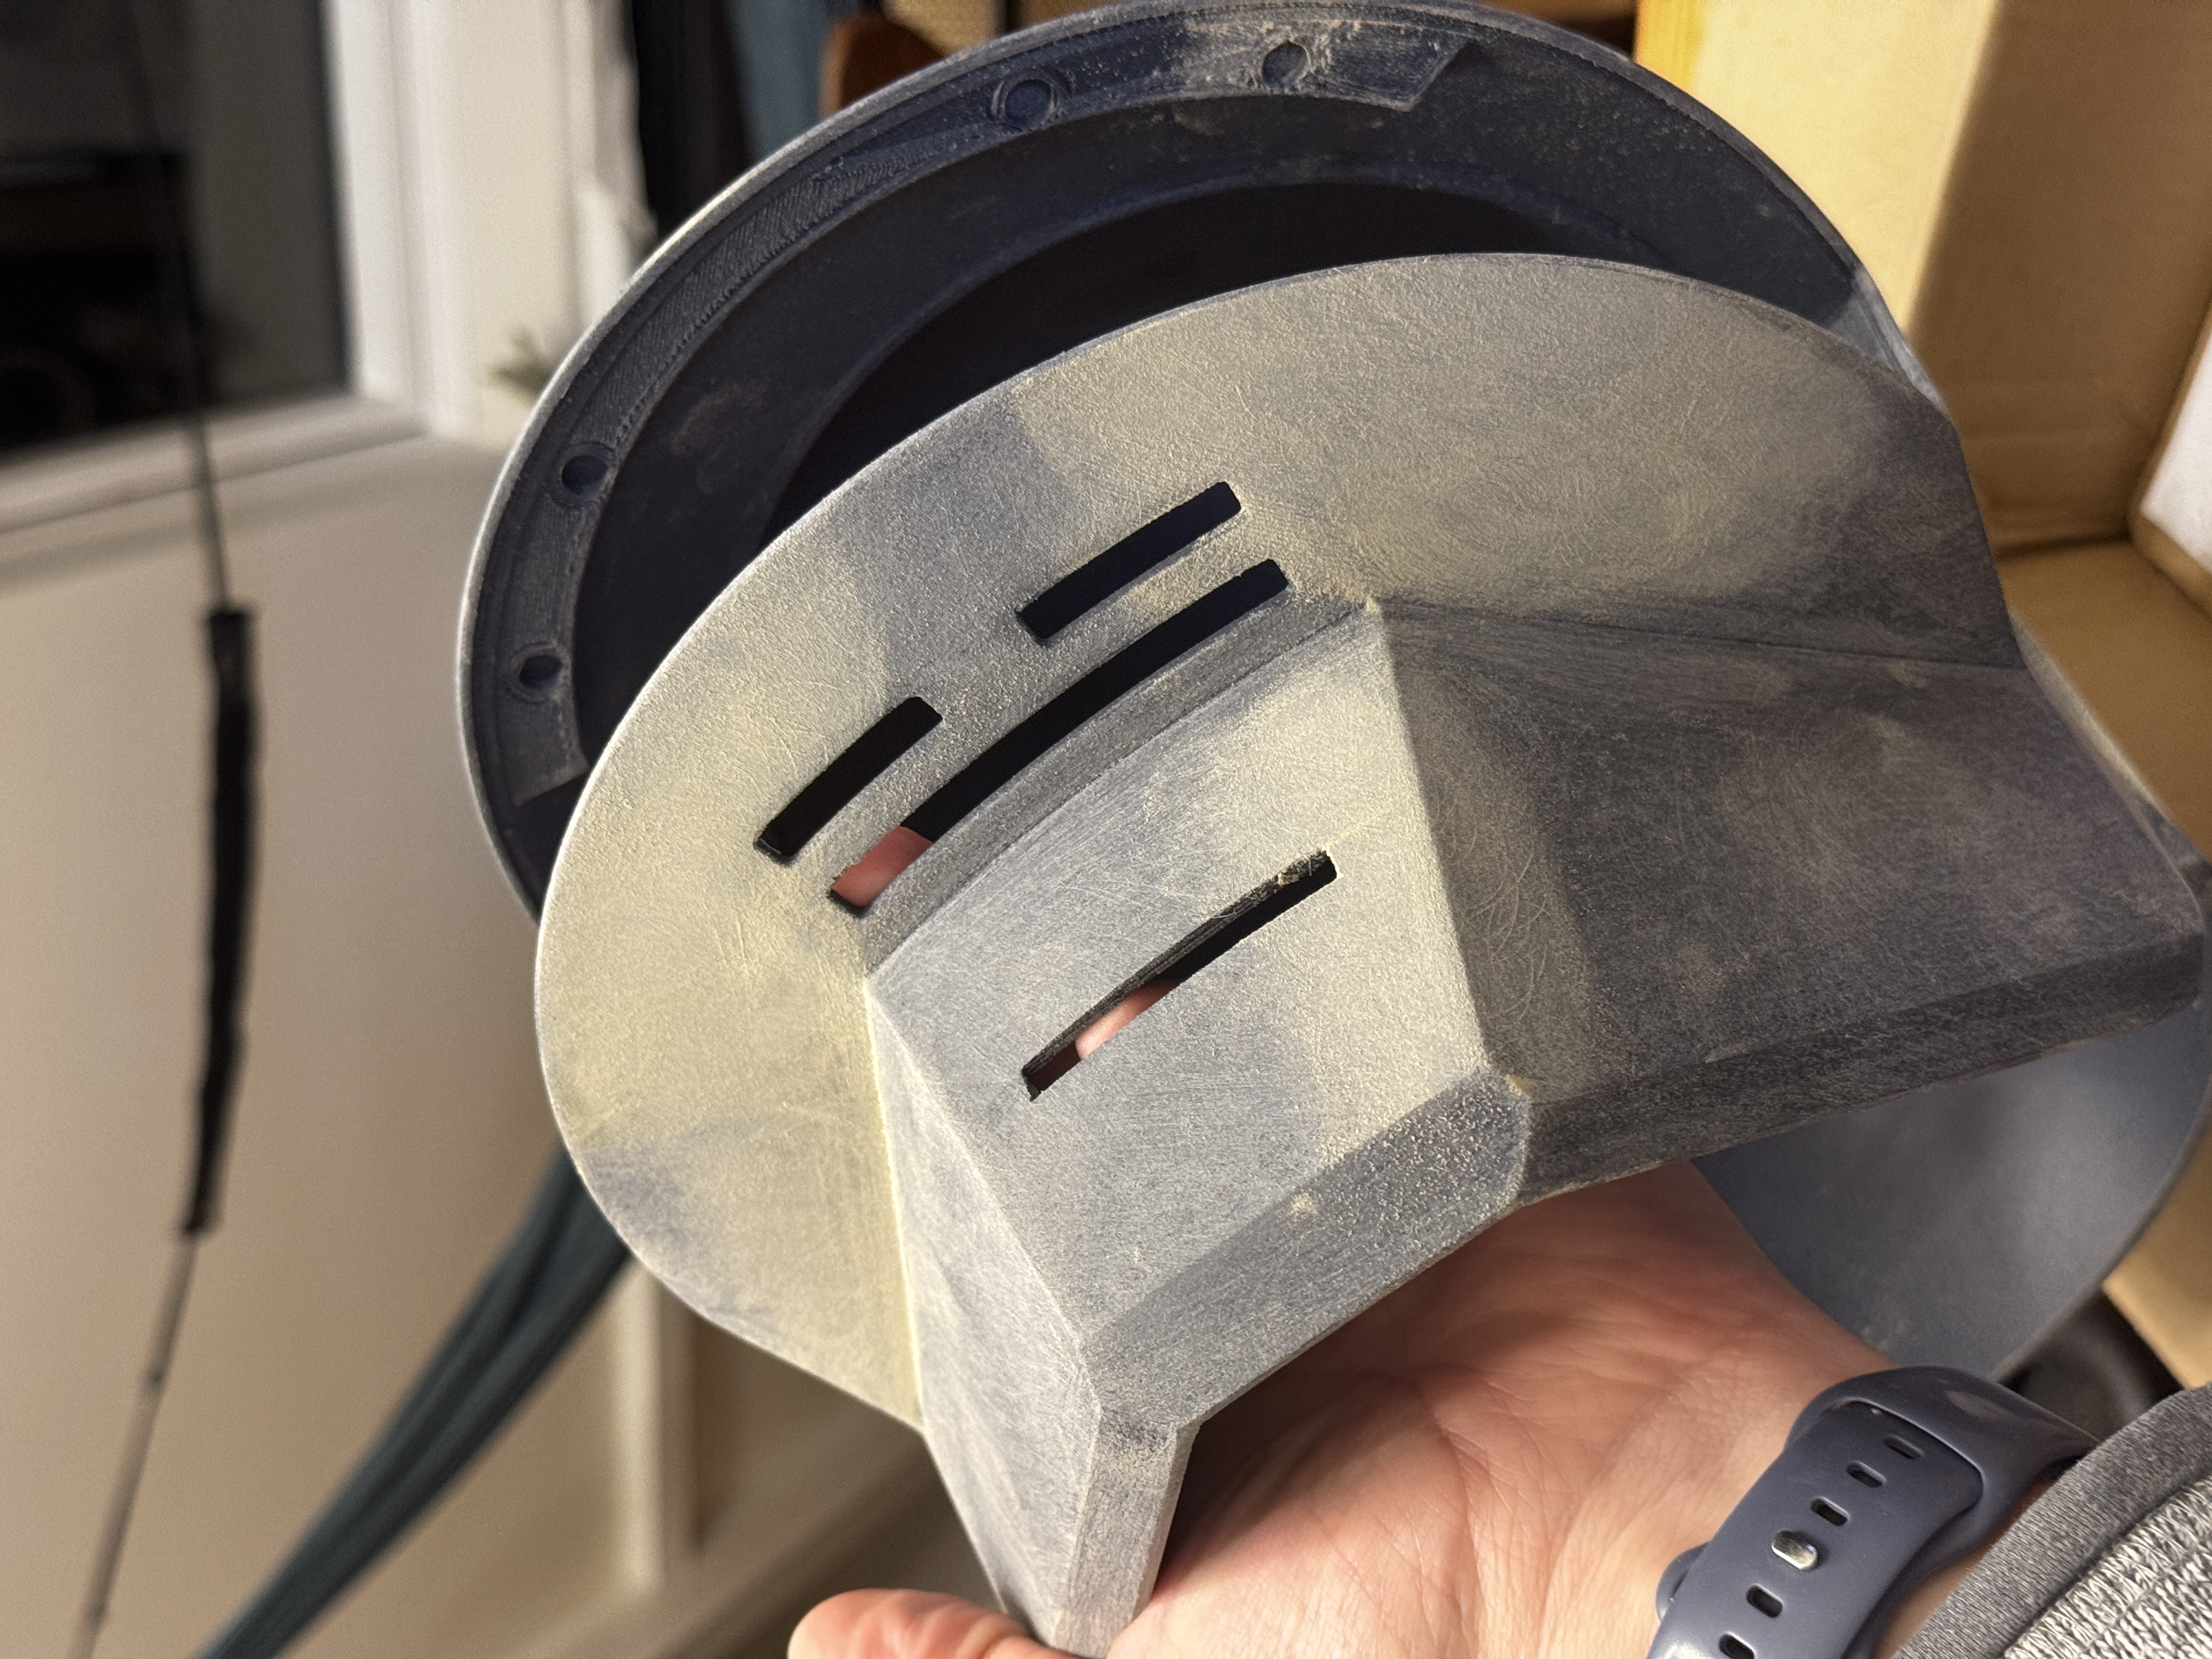
Once the surface felt right, here’s where the shell stood before going into primer.
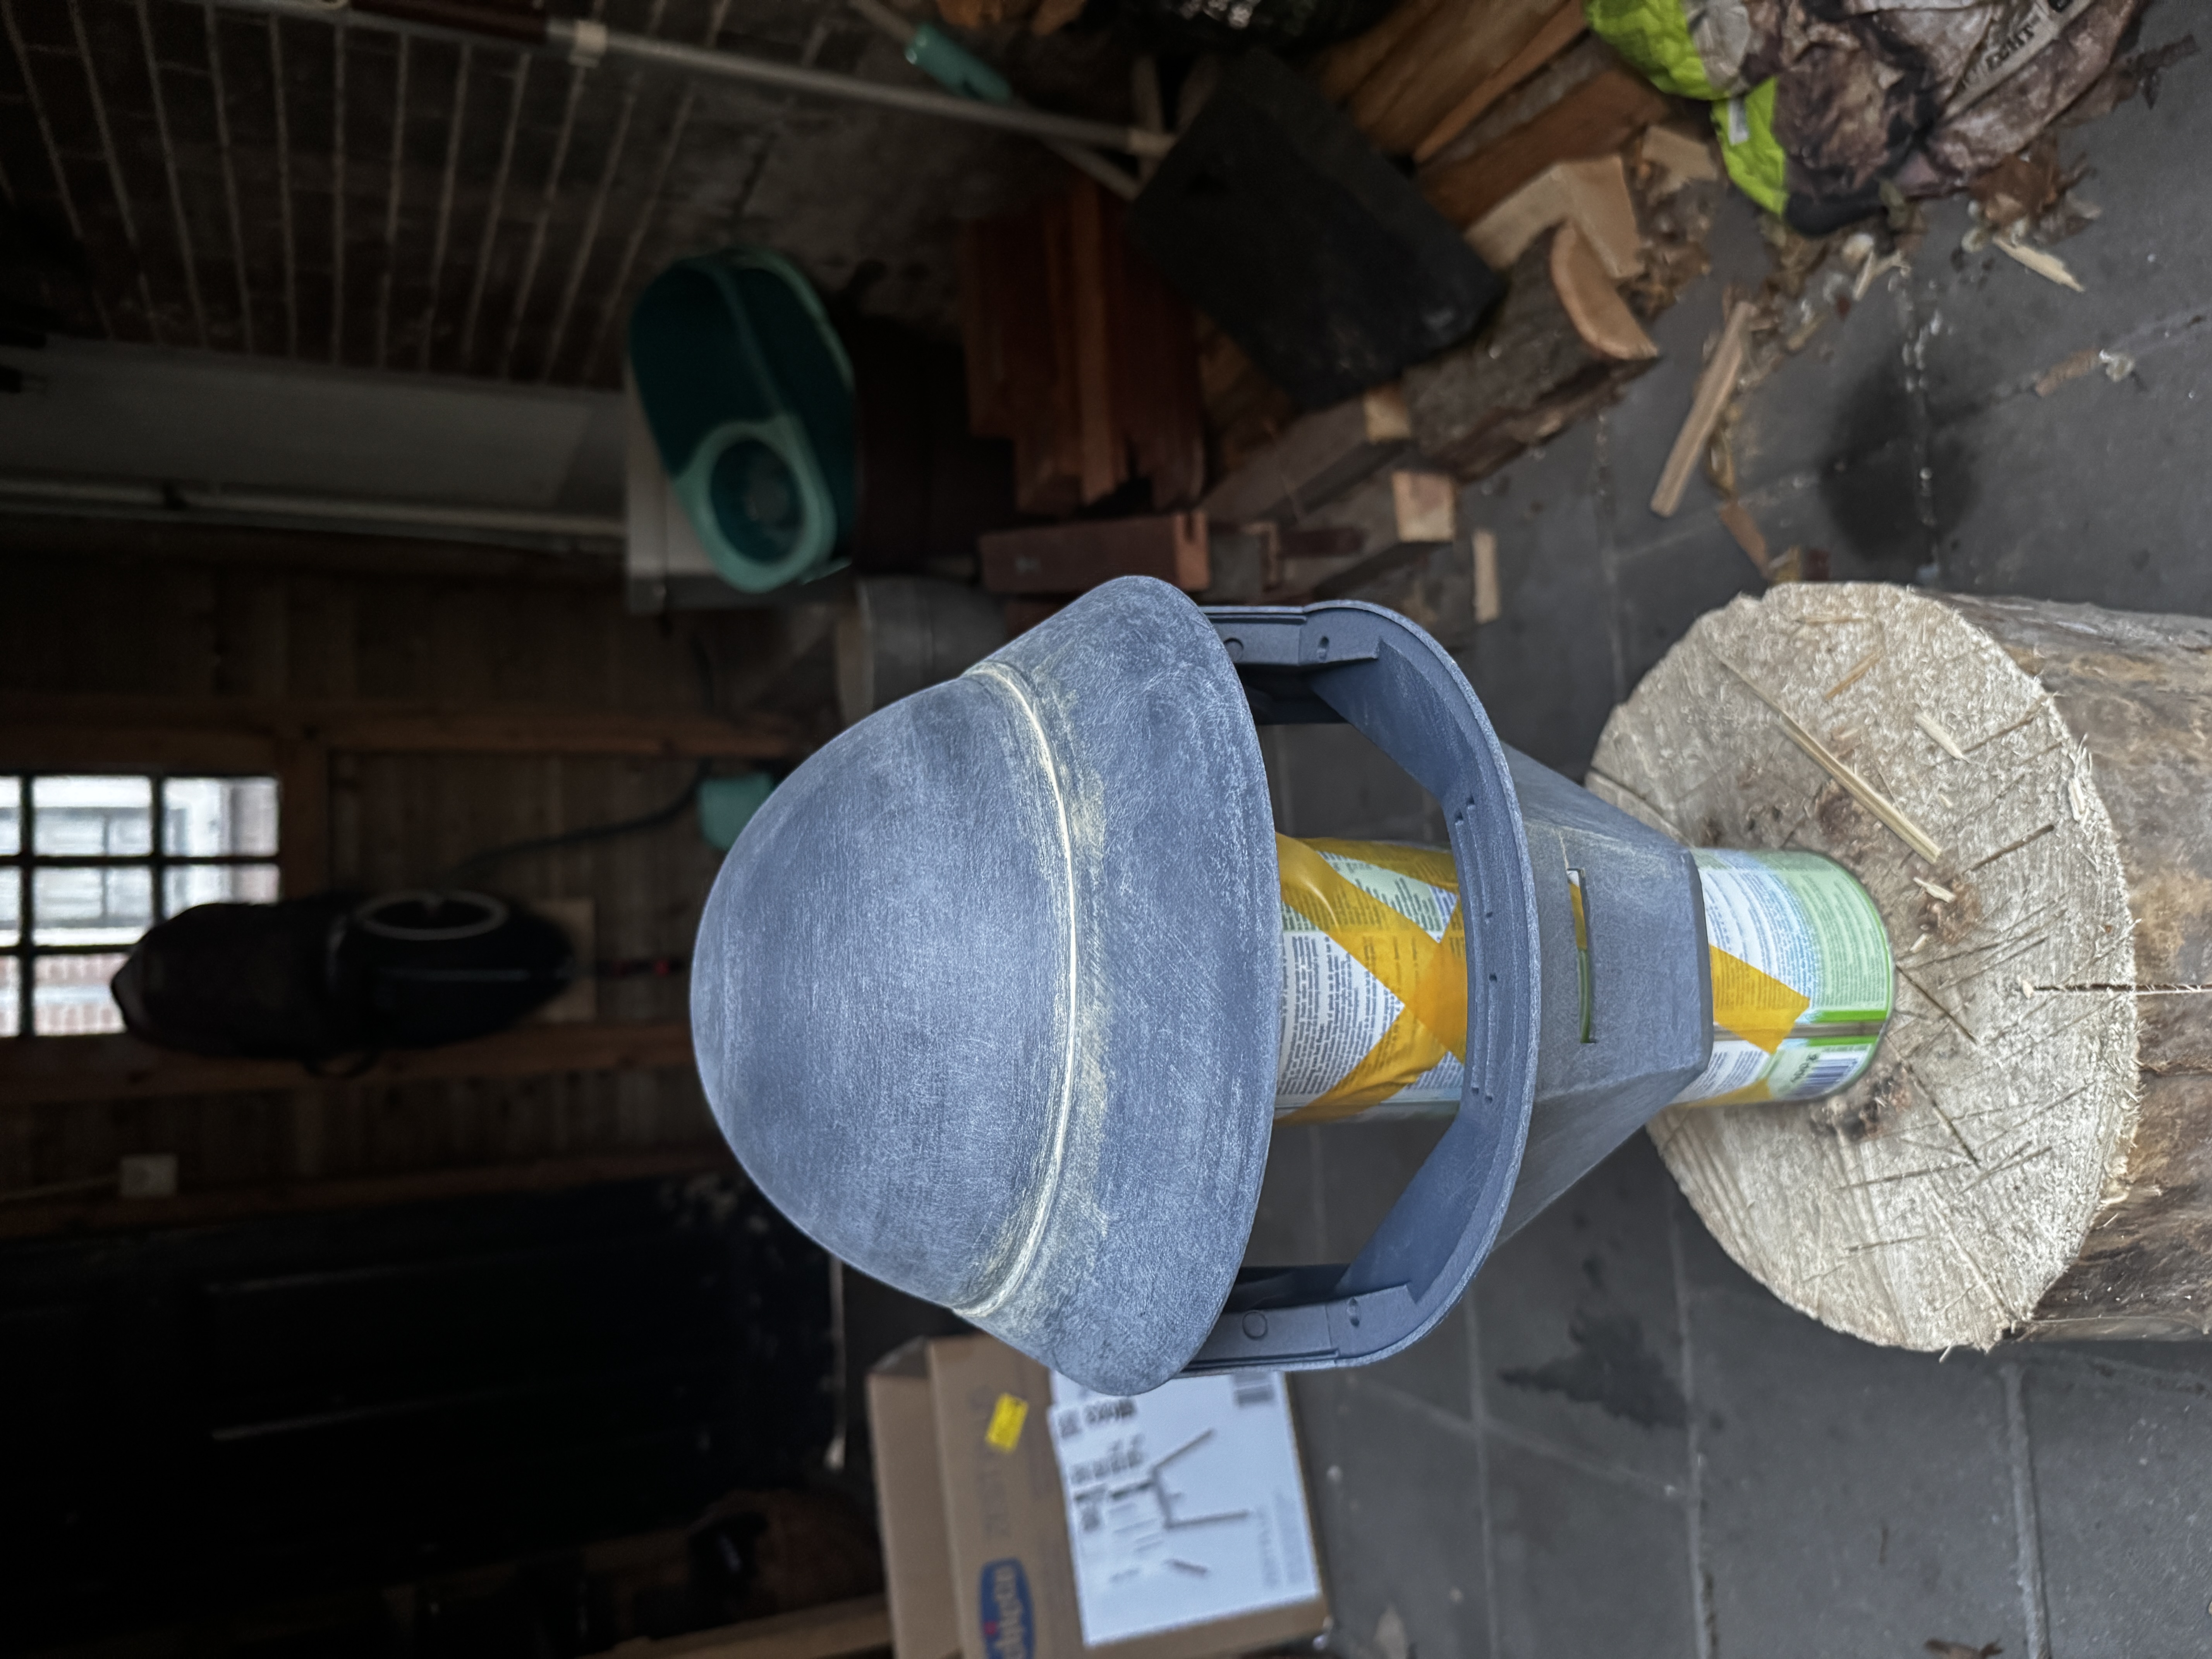
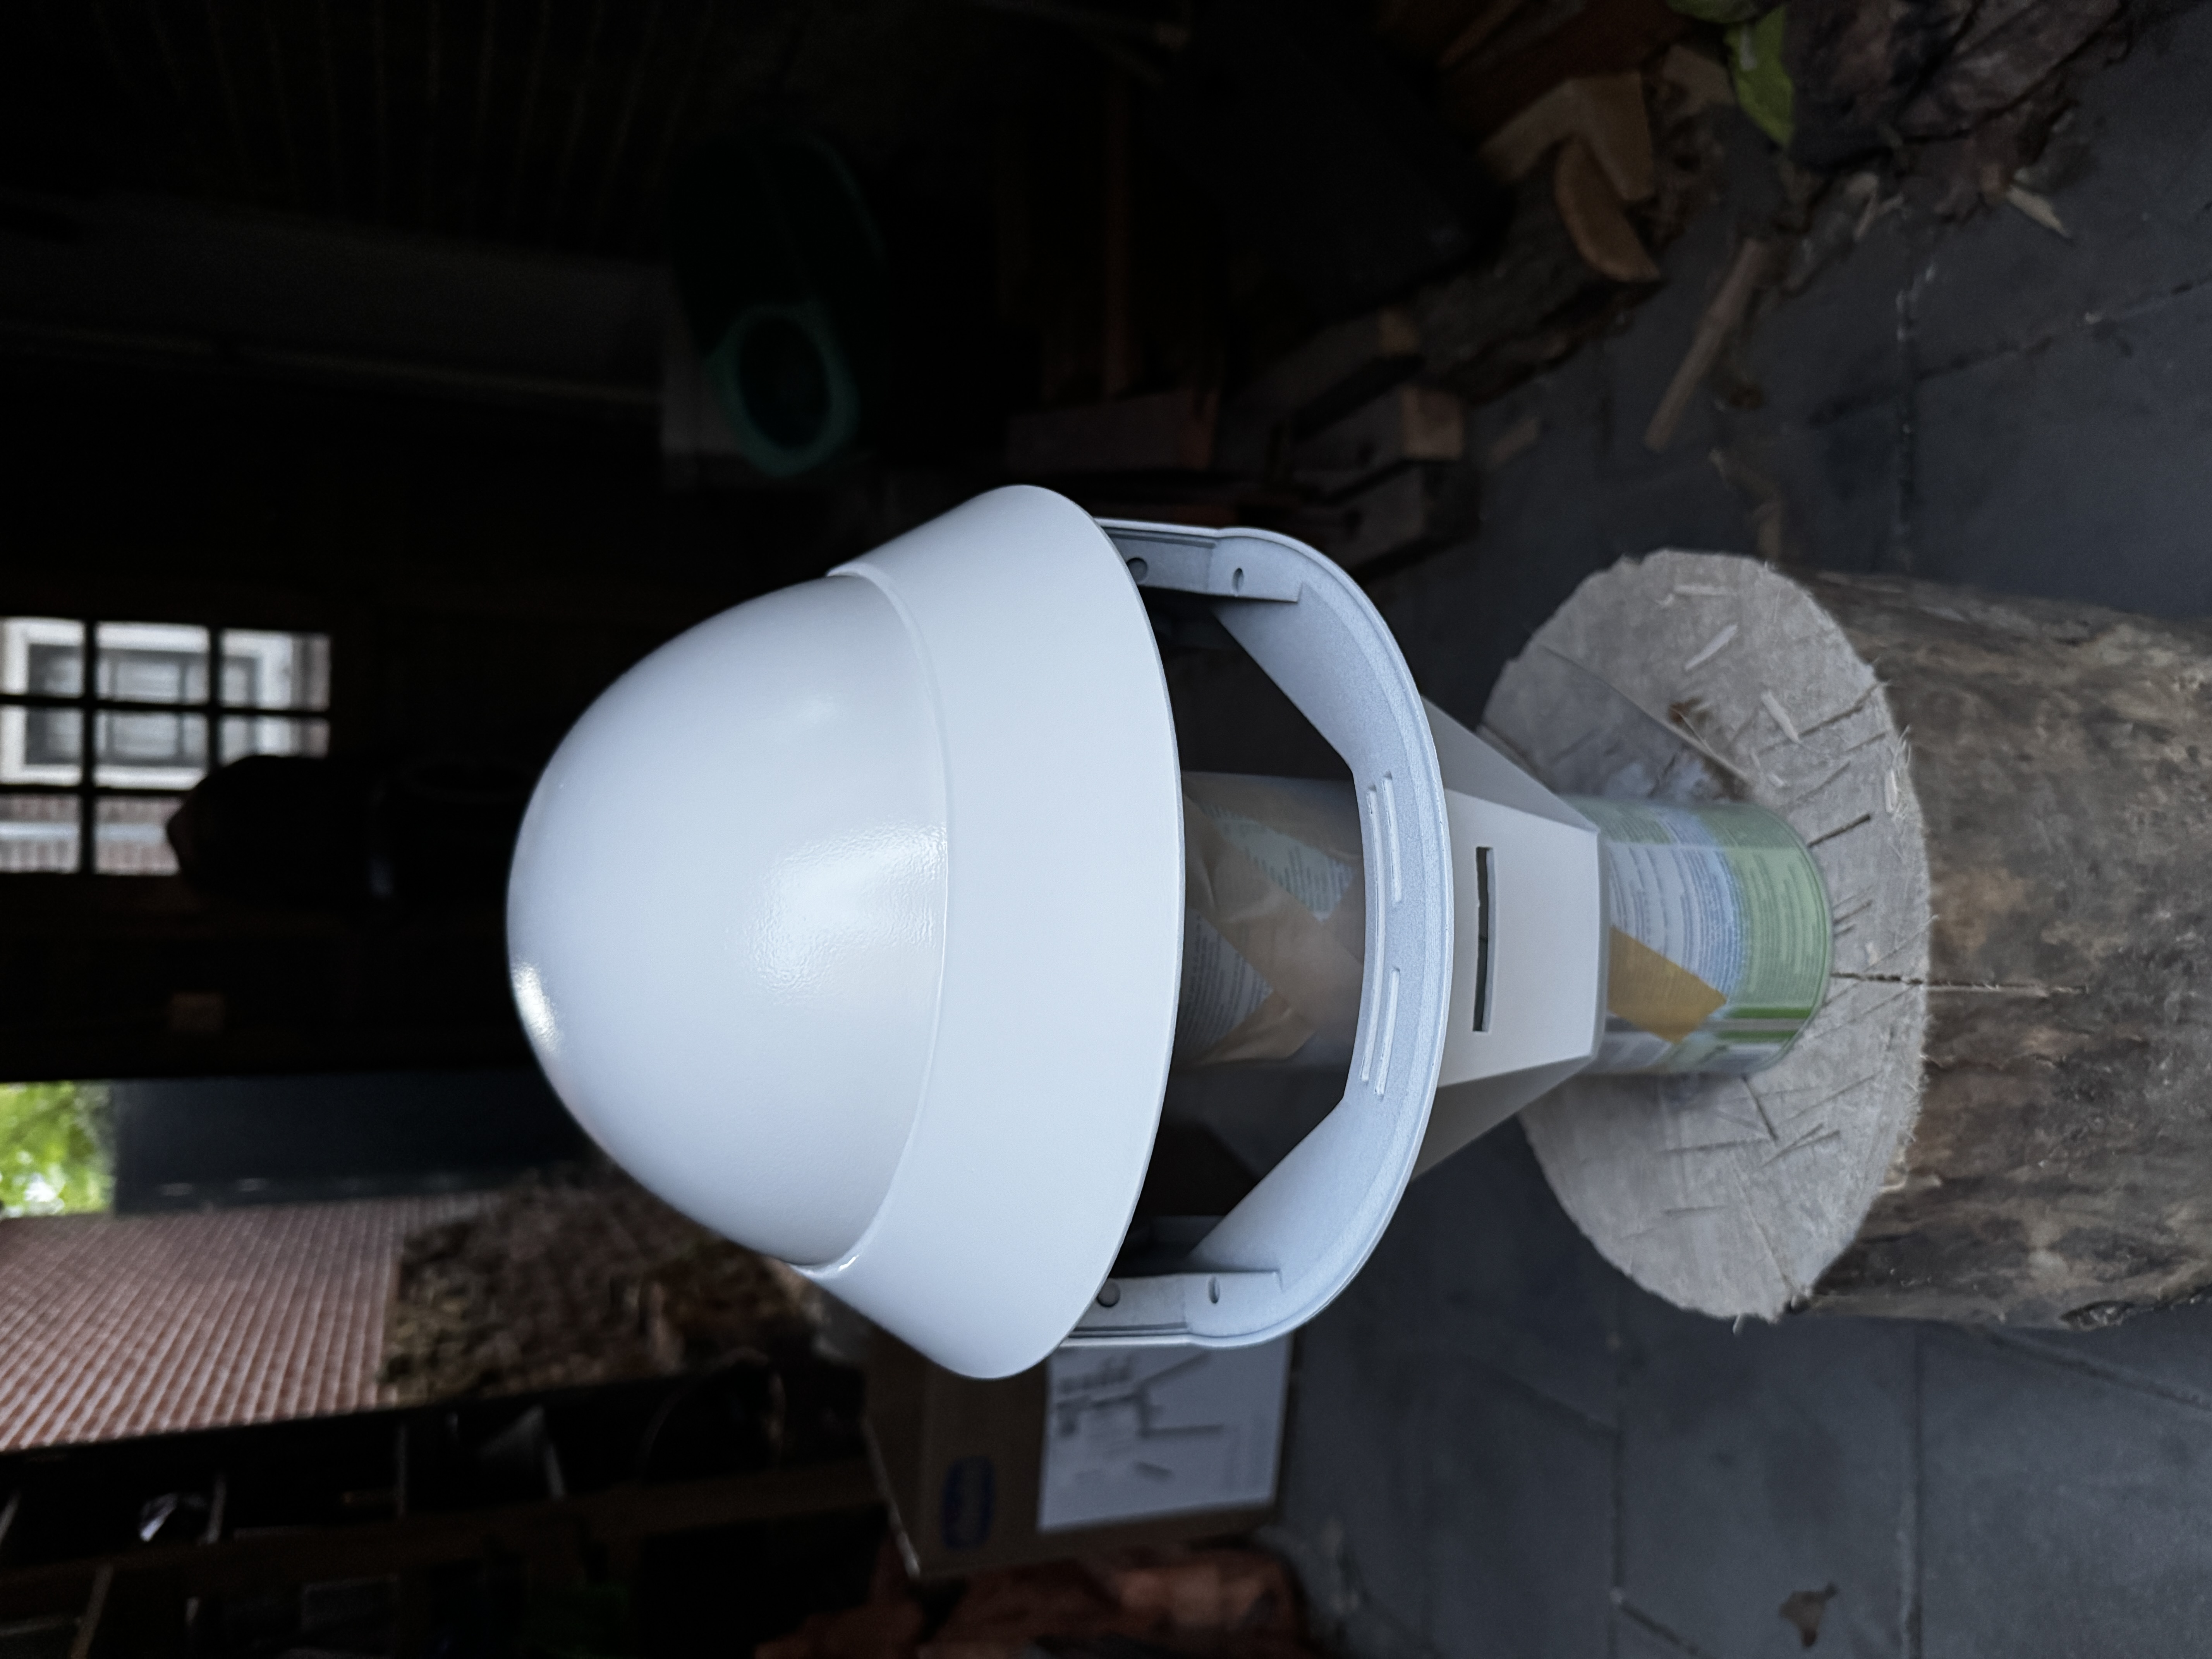
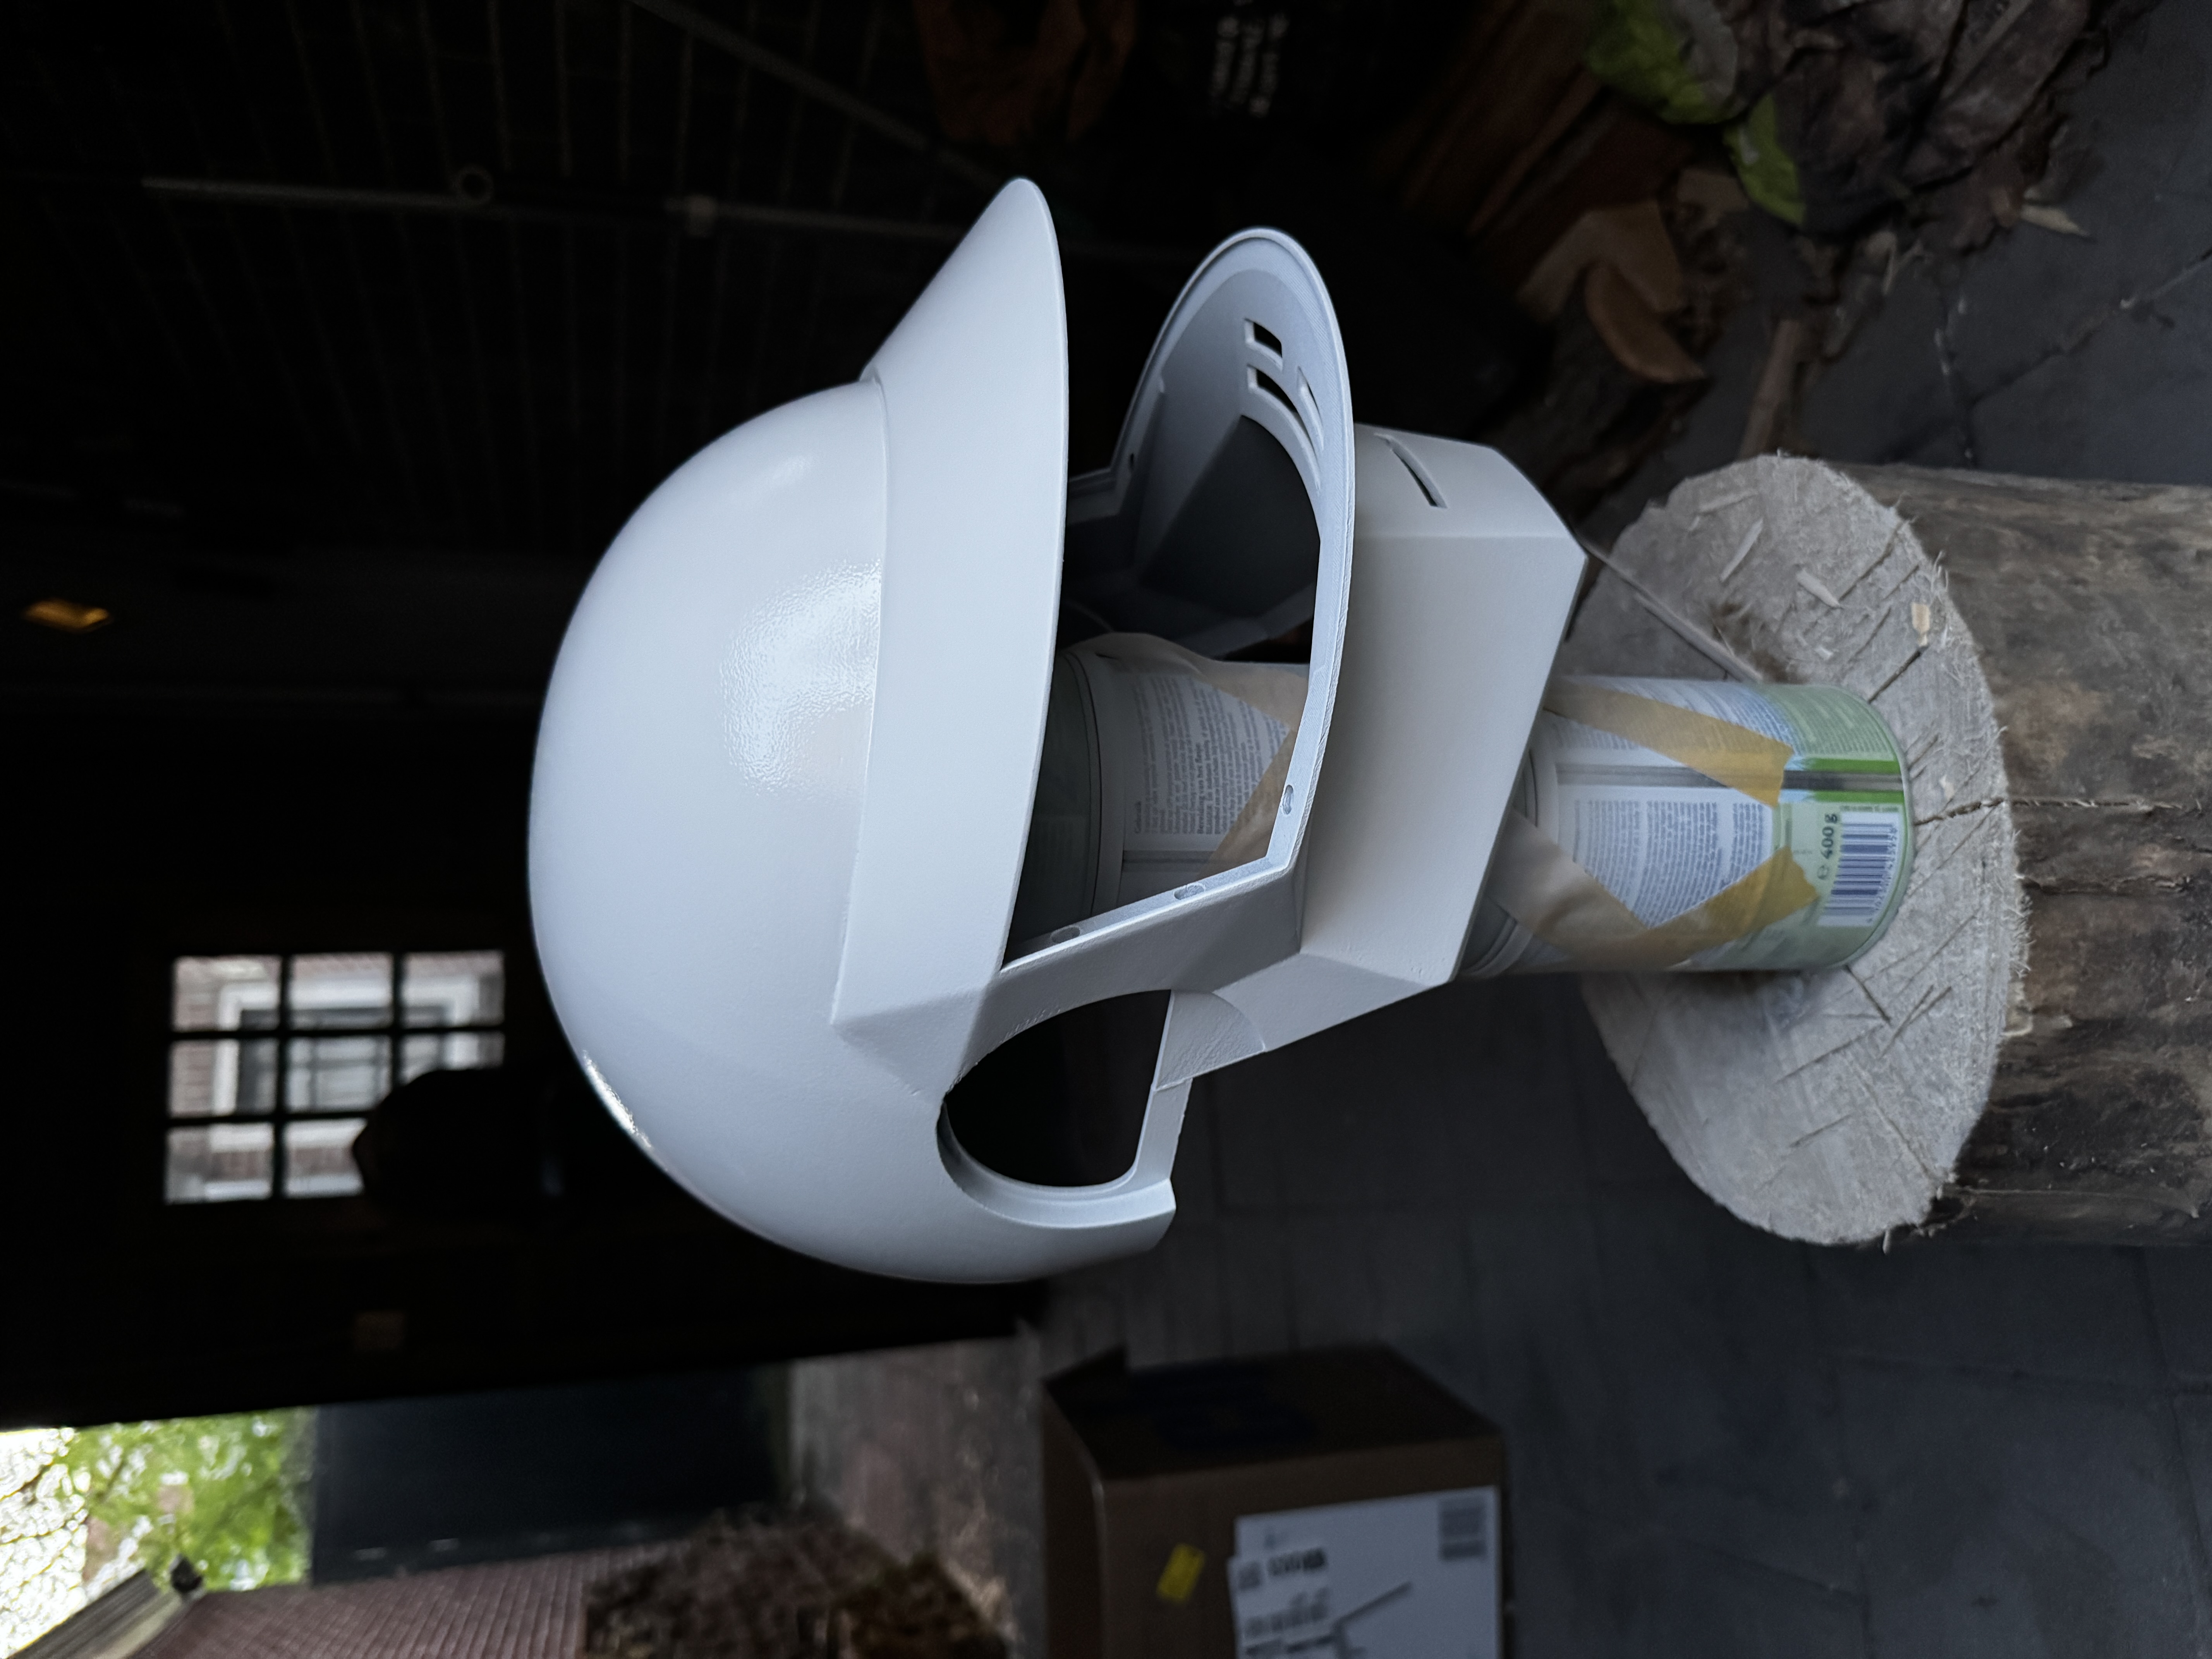
I shot a coat of primer to find any remaining imperfections. There were a few. More spot filling, more sanding.
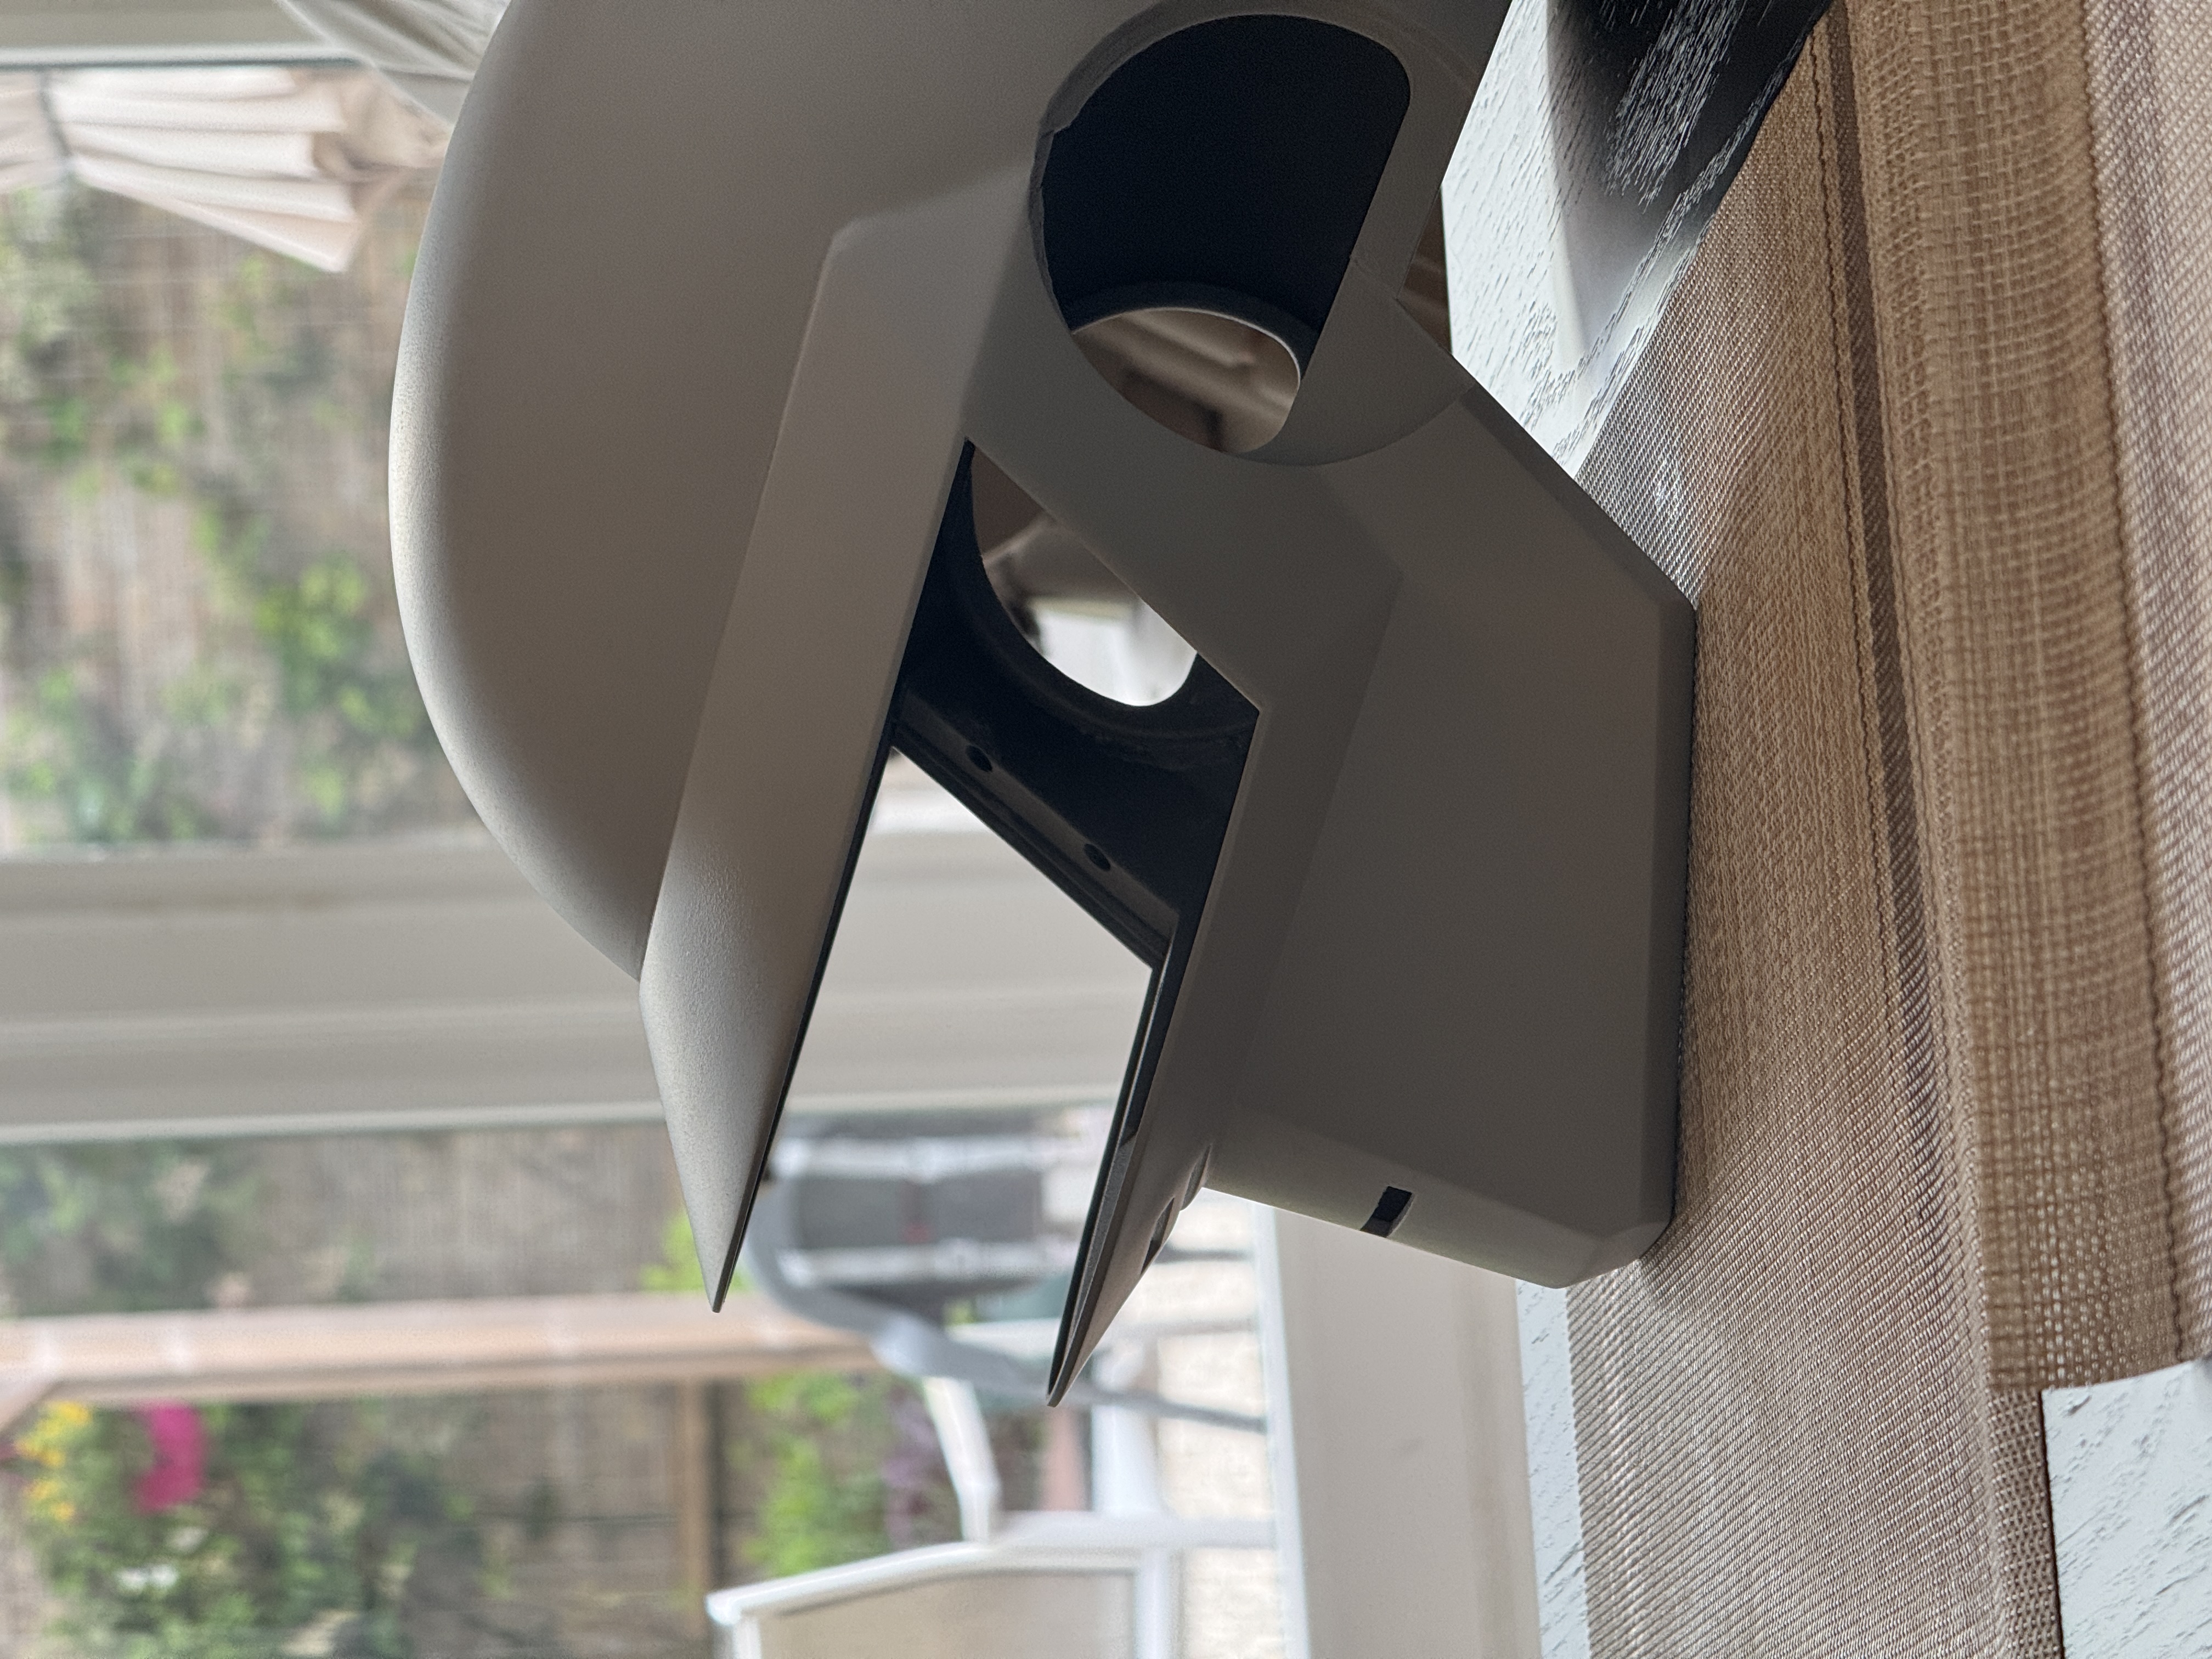
The ear pieces got the same treatment. Here’s what they looked like before and after that sanding pass.
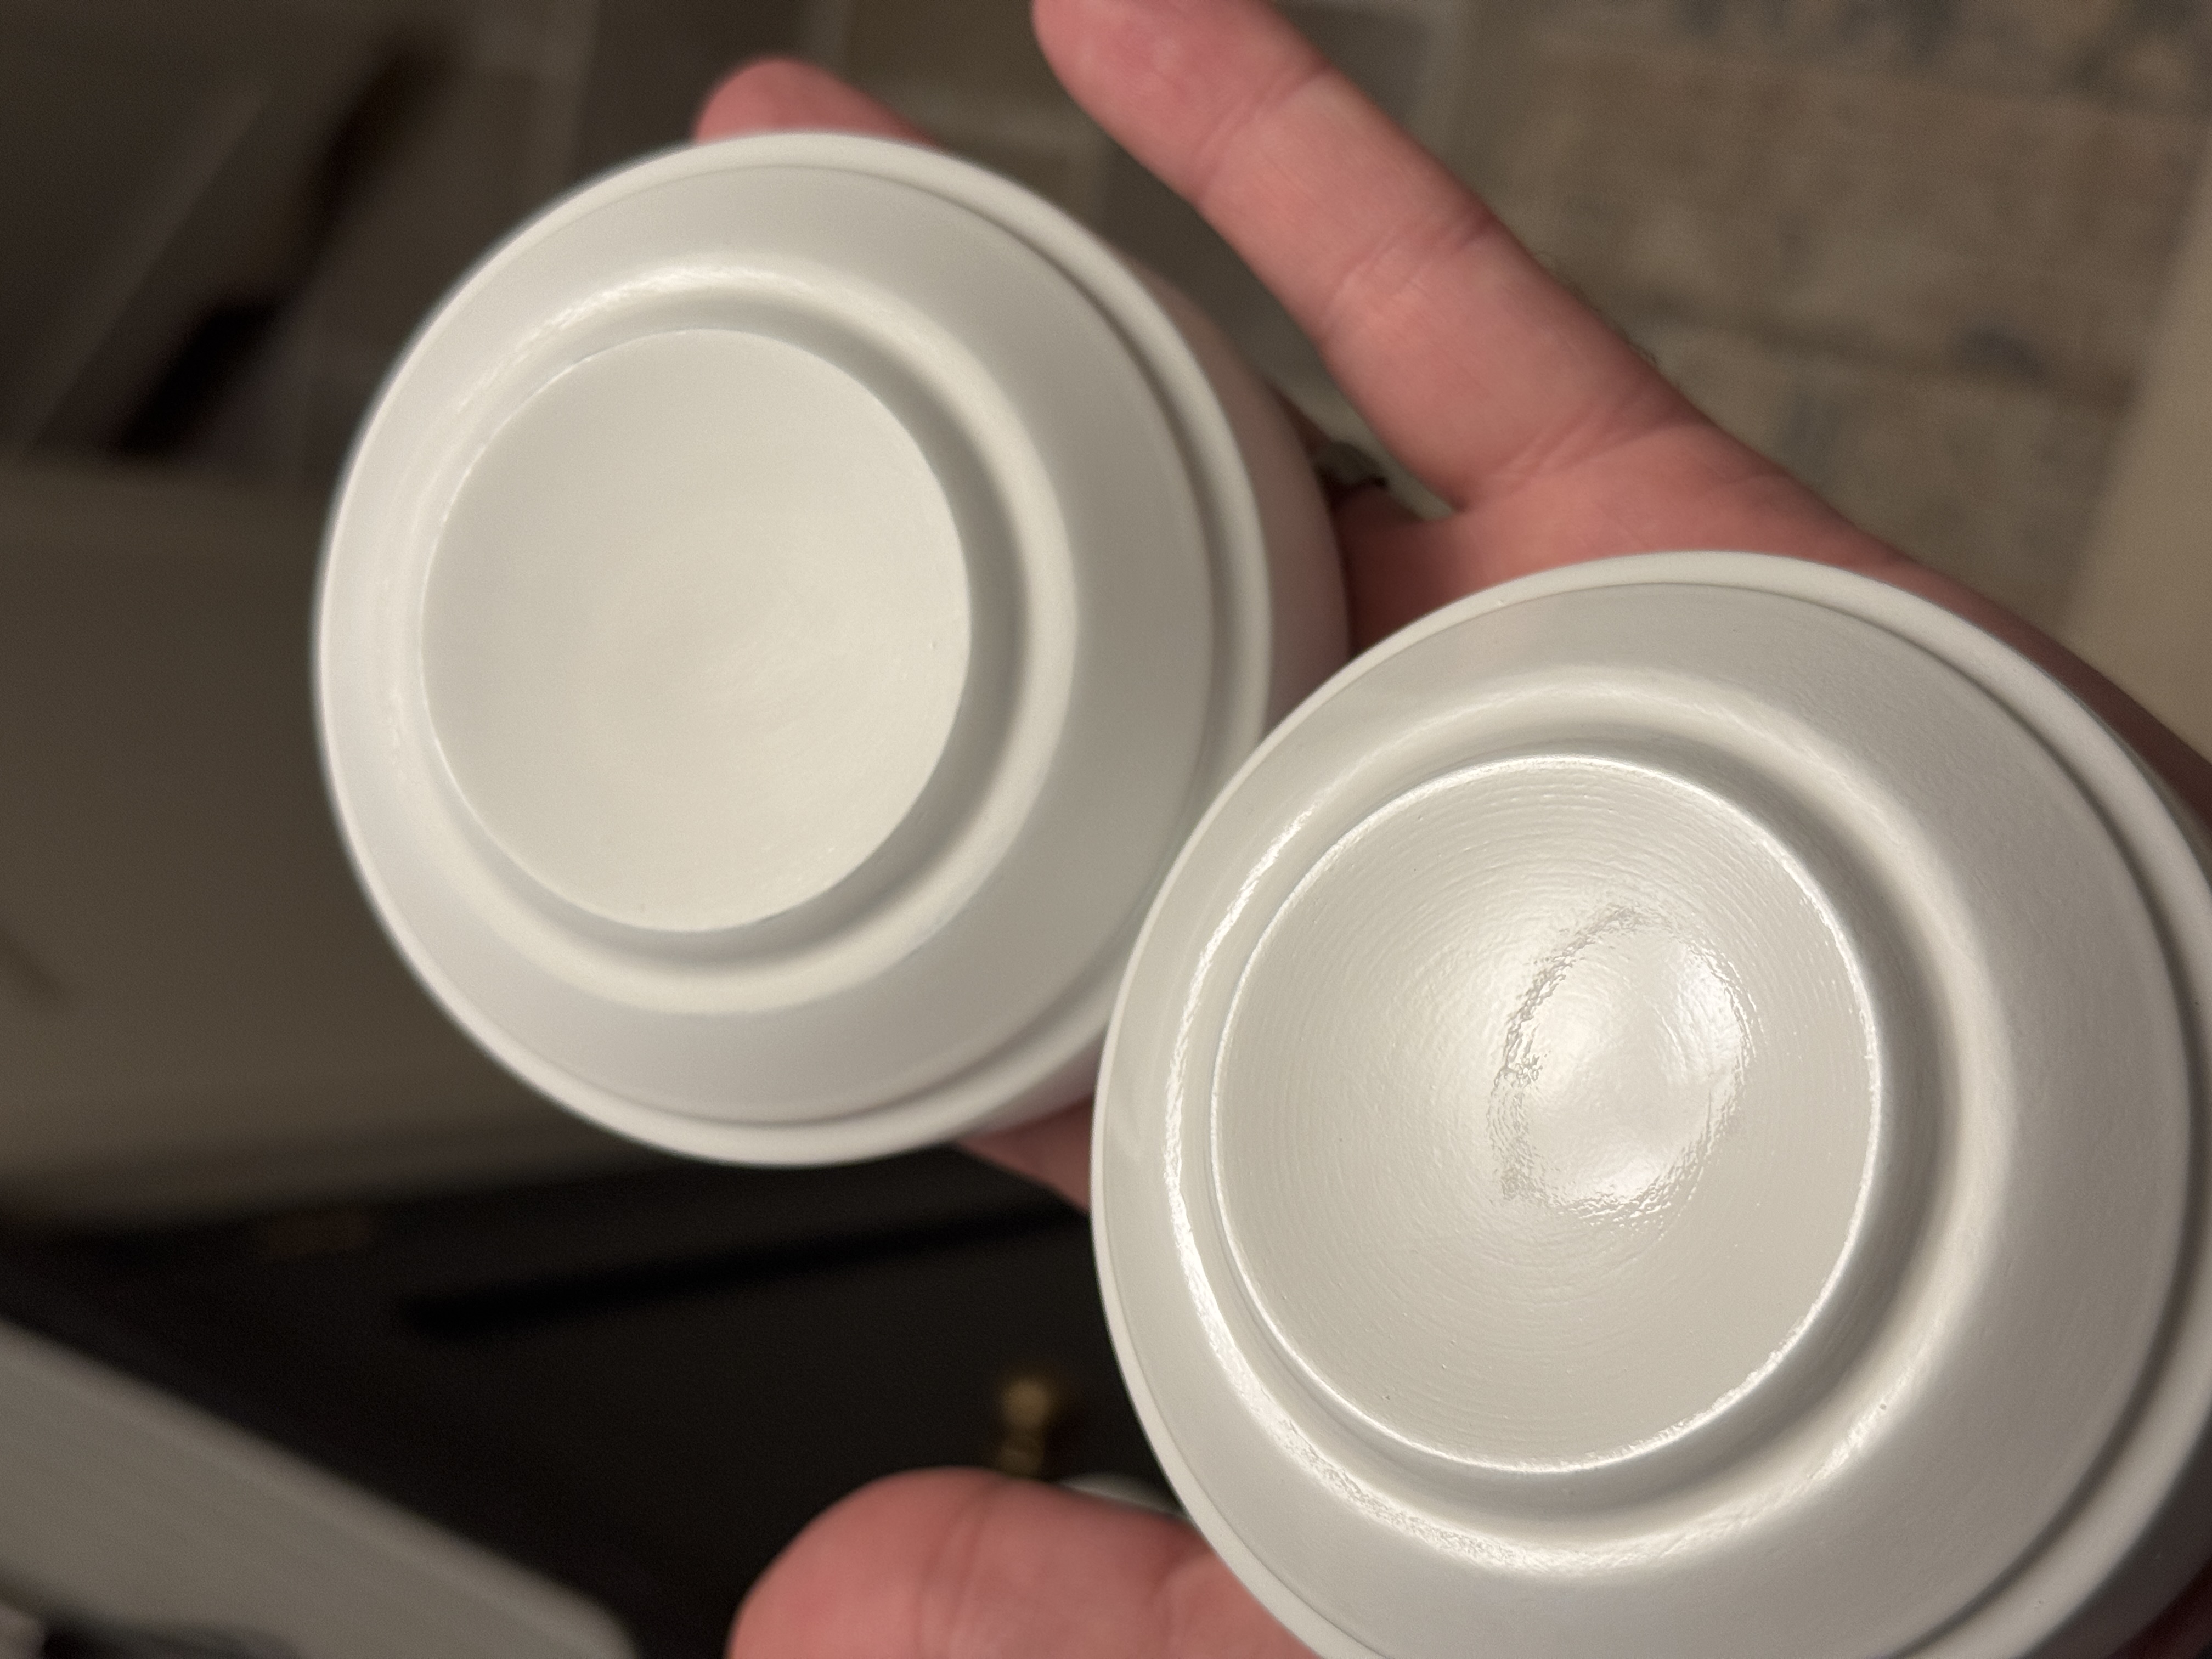
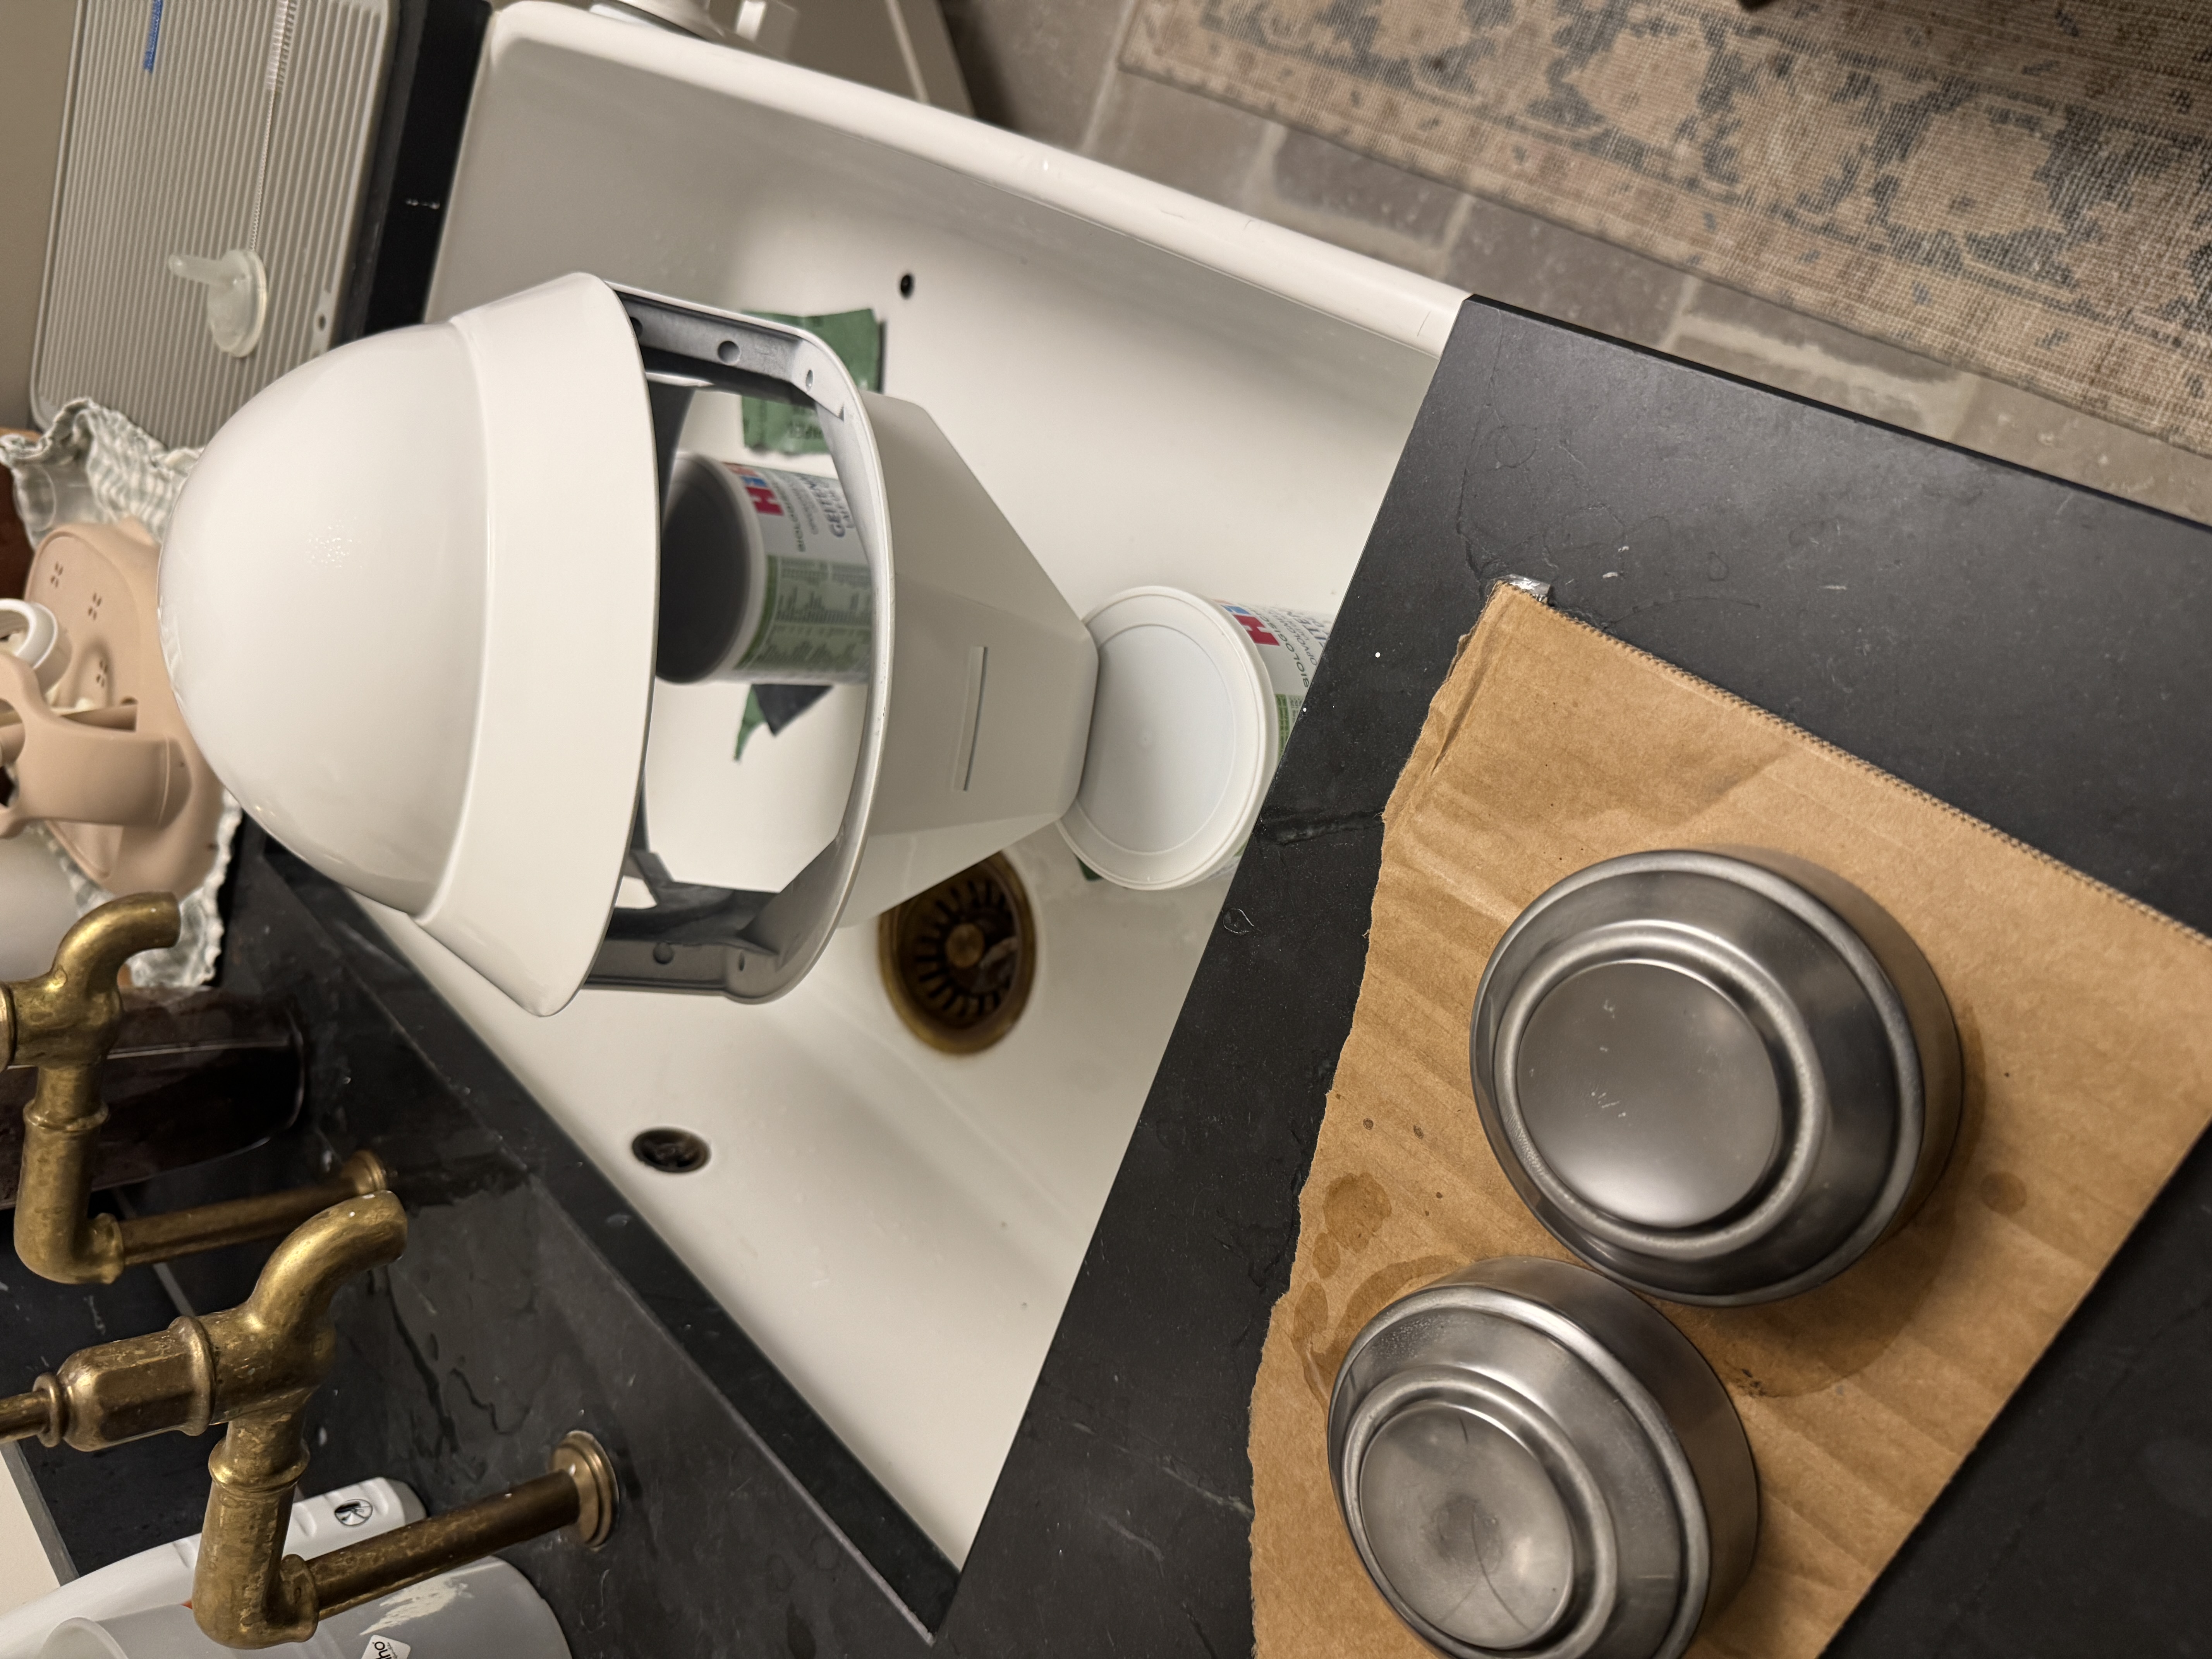
The Graphite Treatment Link to heading
The graphite treatment I settled on involves a frankly absurd amount of sanding, painting, sanding, painting again, and then sanding some more. The secret seems to be to achieve a perfectly glossy surface before you ever apply the powder, and there’s a lot of patience and manual labor involved. This is the process that I’m following:
-
Primer: I used a high-build sandable automotive primer to make the layer lines go away. I had to do several intermediate rounds of sanding to get the finish right. To make life easier on myself, I alternated white and gray primer to help me know when I was sanding two far between coats.
-
Color: A thick coat of high-gloss base coat (white) goes down in multiple layers. It’s really important to put down a very light dust coat first, then let it get tacky before applying the flood coat. Otherwise you’ll end up with drips (ask me how I learned this…).
-
Clear topcoat: I used a 1k clear gloss top coat because it stays soft for a long time after it’s laid down, and it doesn’t flake off. There’s probably room for a 2k layer at some point, but I didn’t use one.
-
Polish endlessly: Do this before the clear has had time to fully harden. And the smoother the better. I used multiple passes of wet-sanding up to 2000 grit before polishing compound was applied.
-
Burnish with graphite: The more you burnish, the more you embed it into the paint layer. This helps with it wearing off, and pushes it into the clearcoat so it’s smoother.
-
Repeat steps 4 and 5.
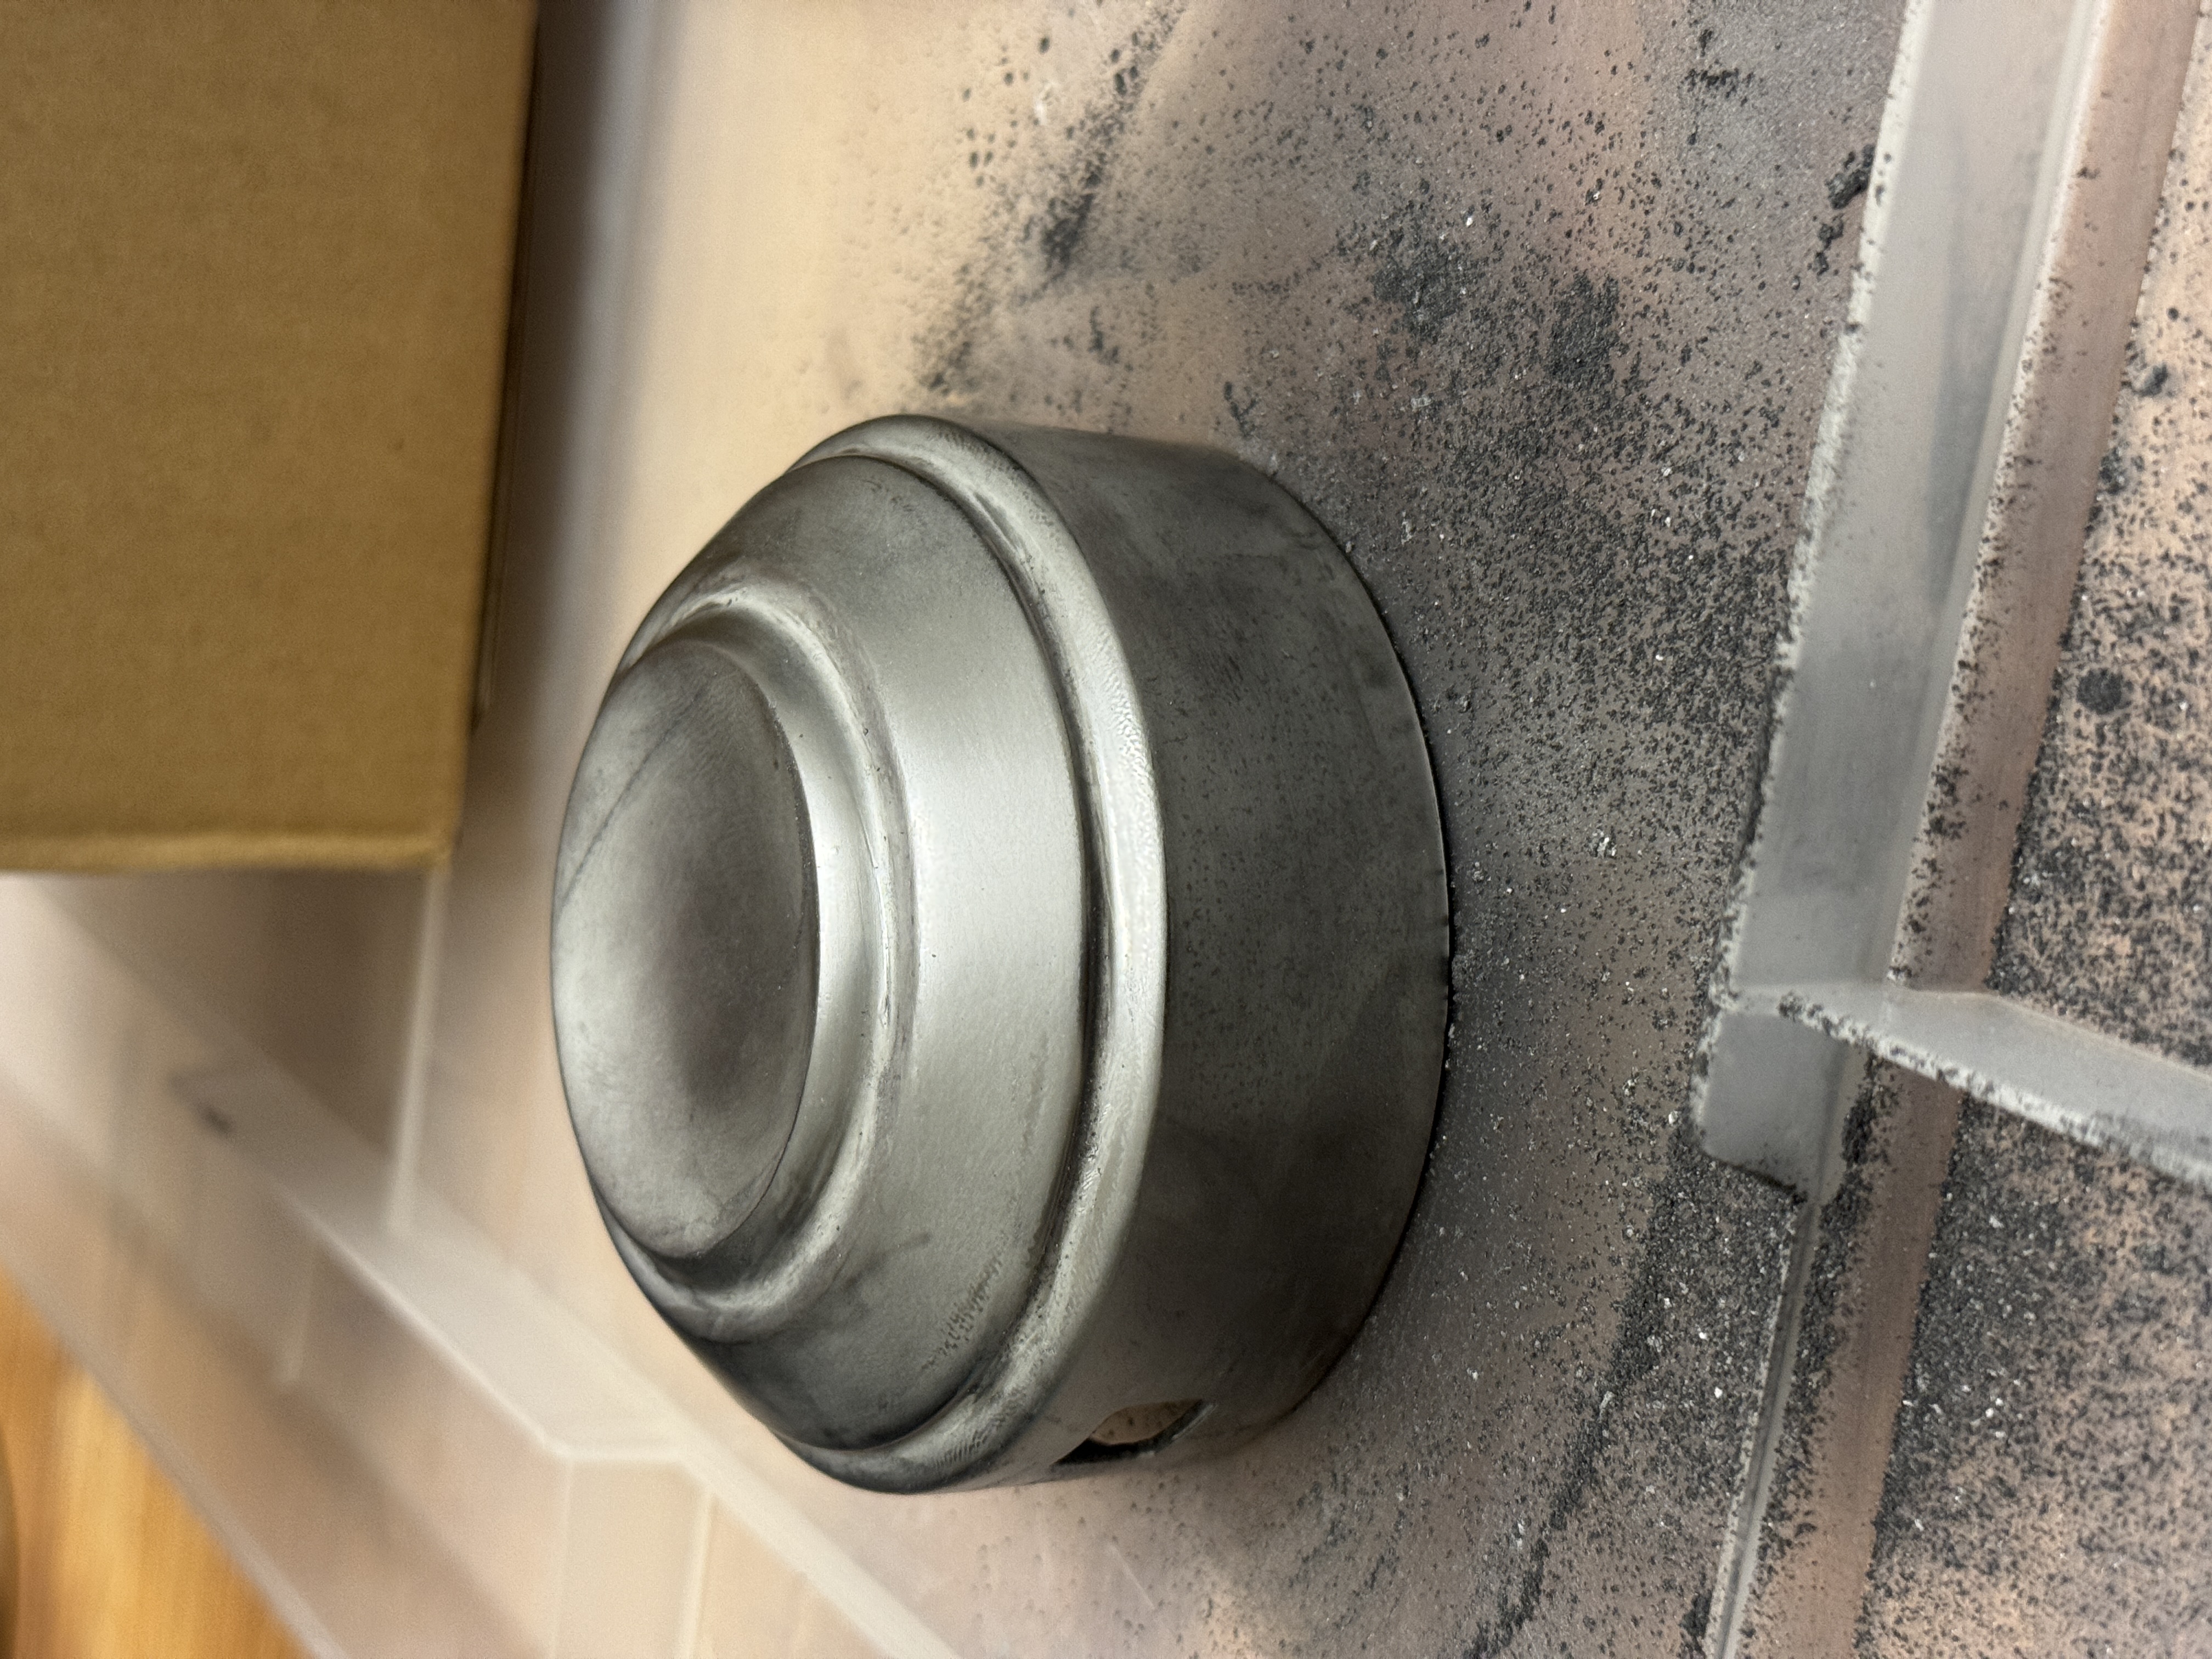
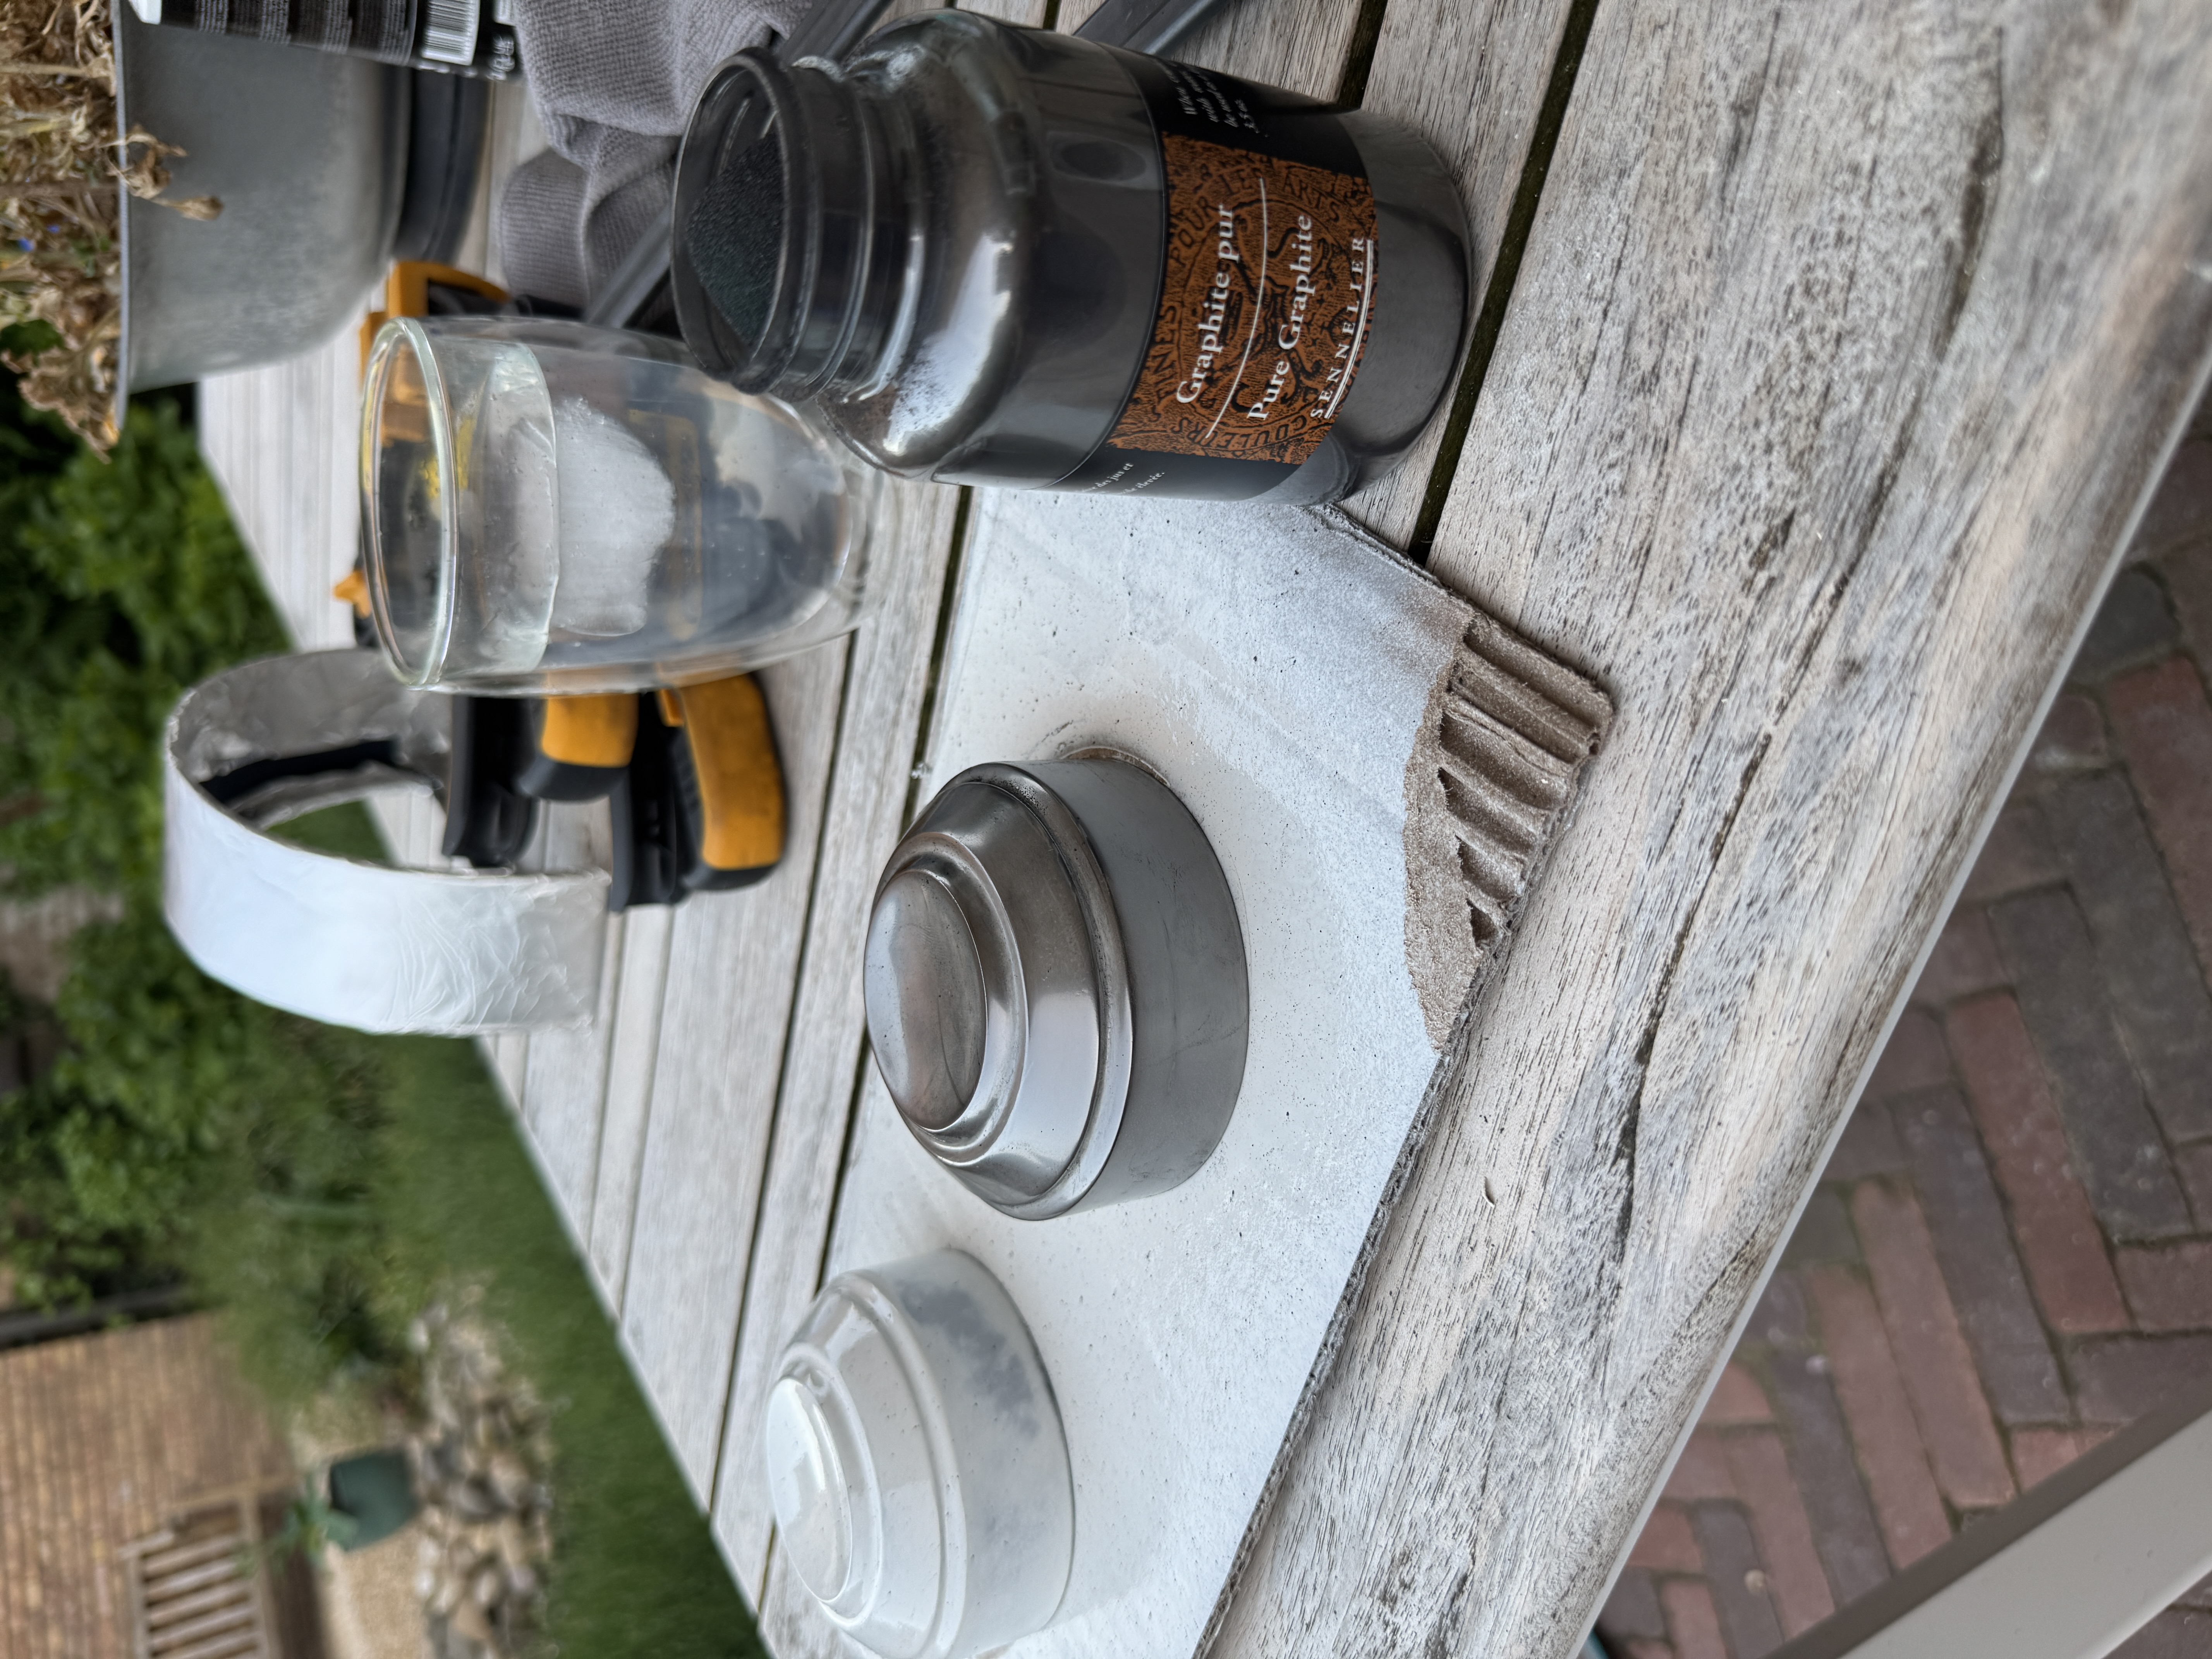
The ear pieces were a good test subject before committing to the full shell - smaller surface area, easier to redo if it went wrong.
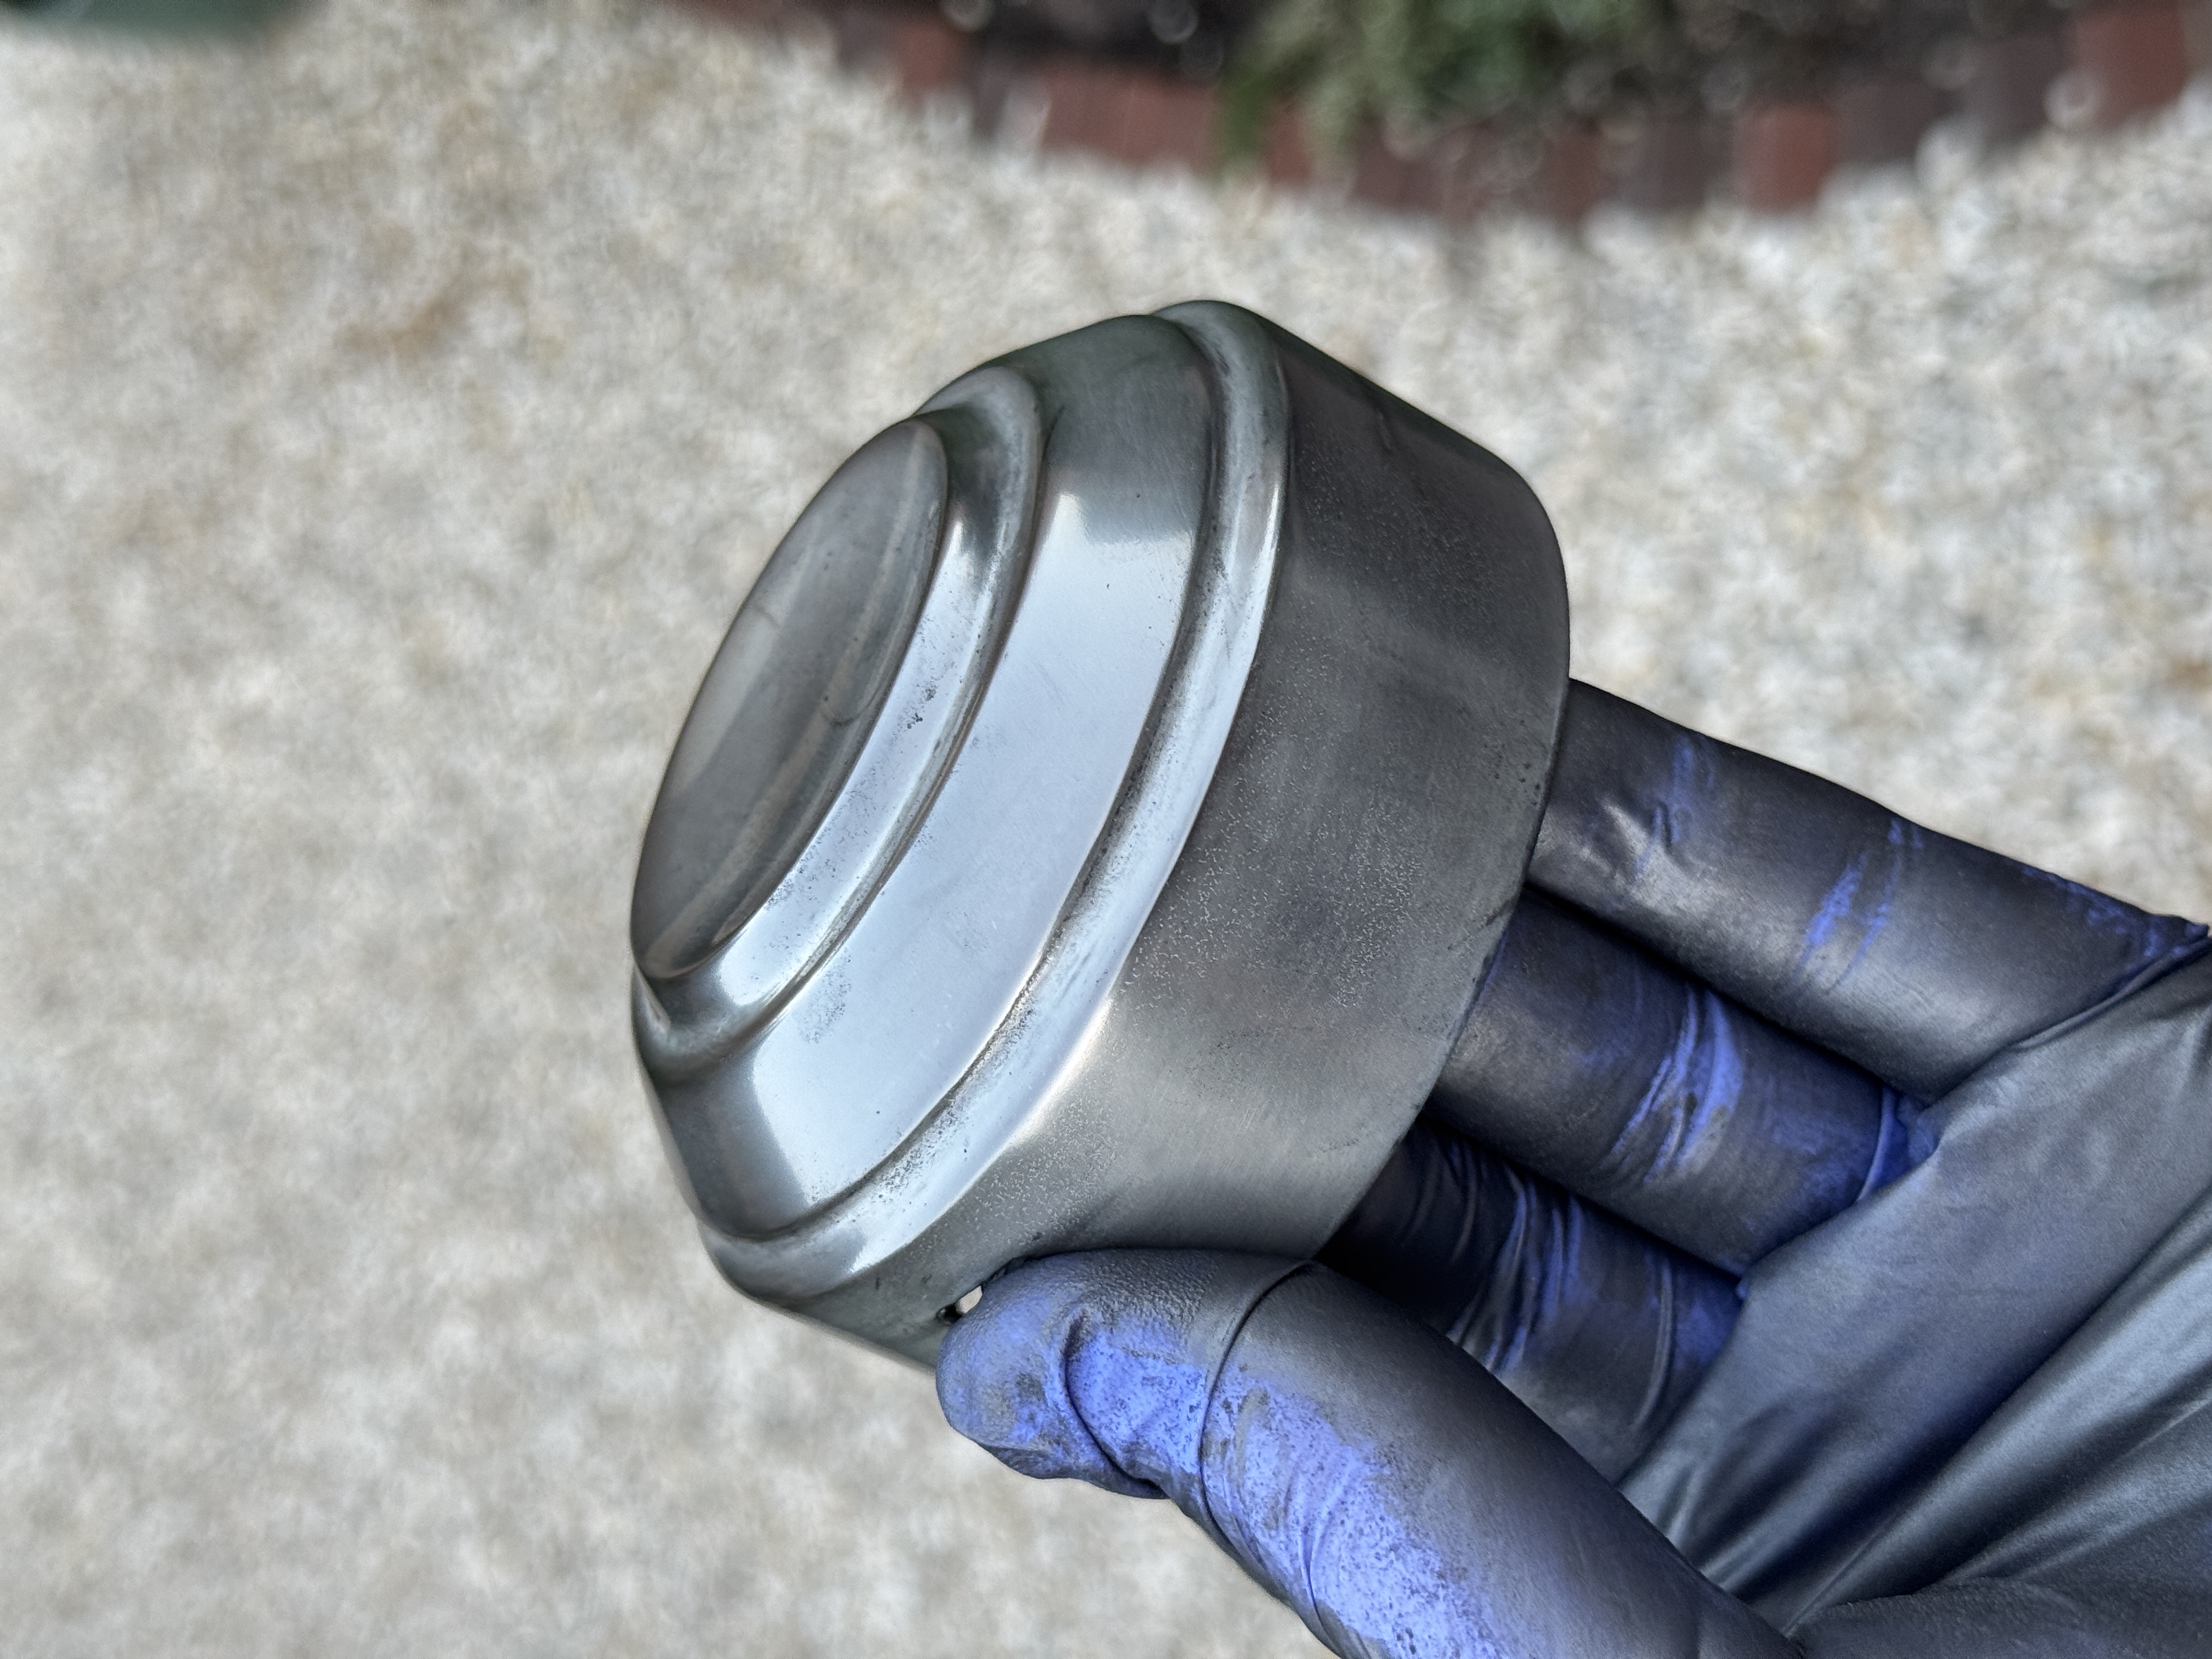
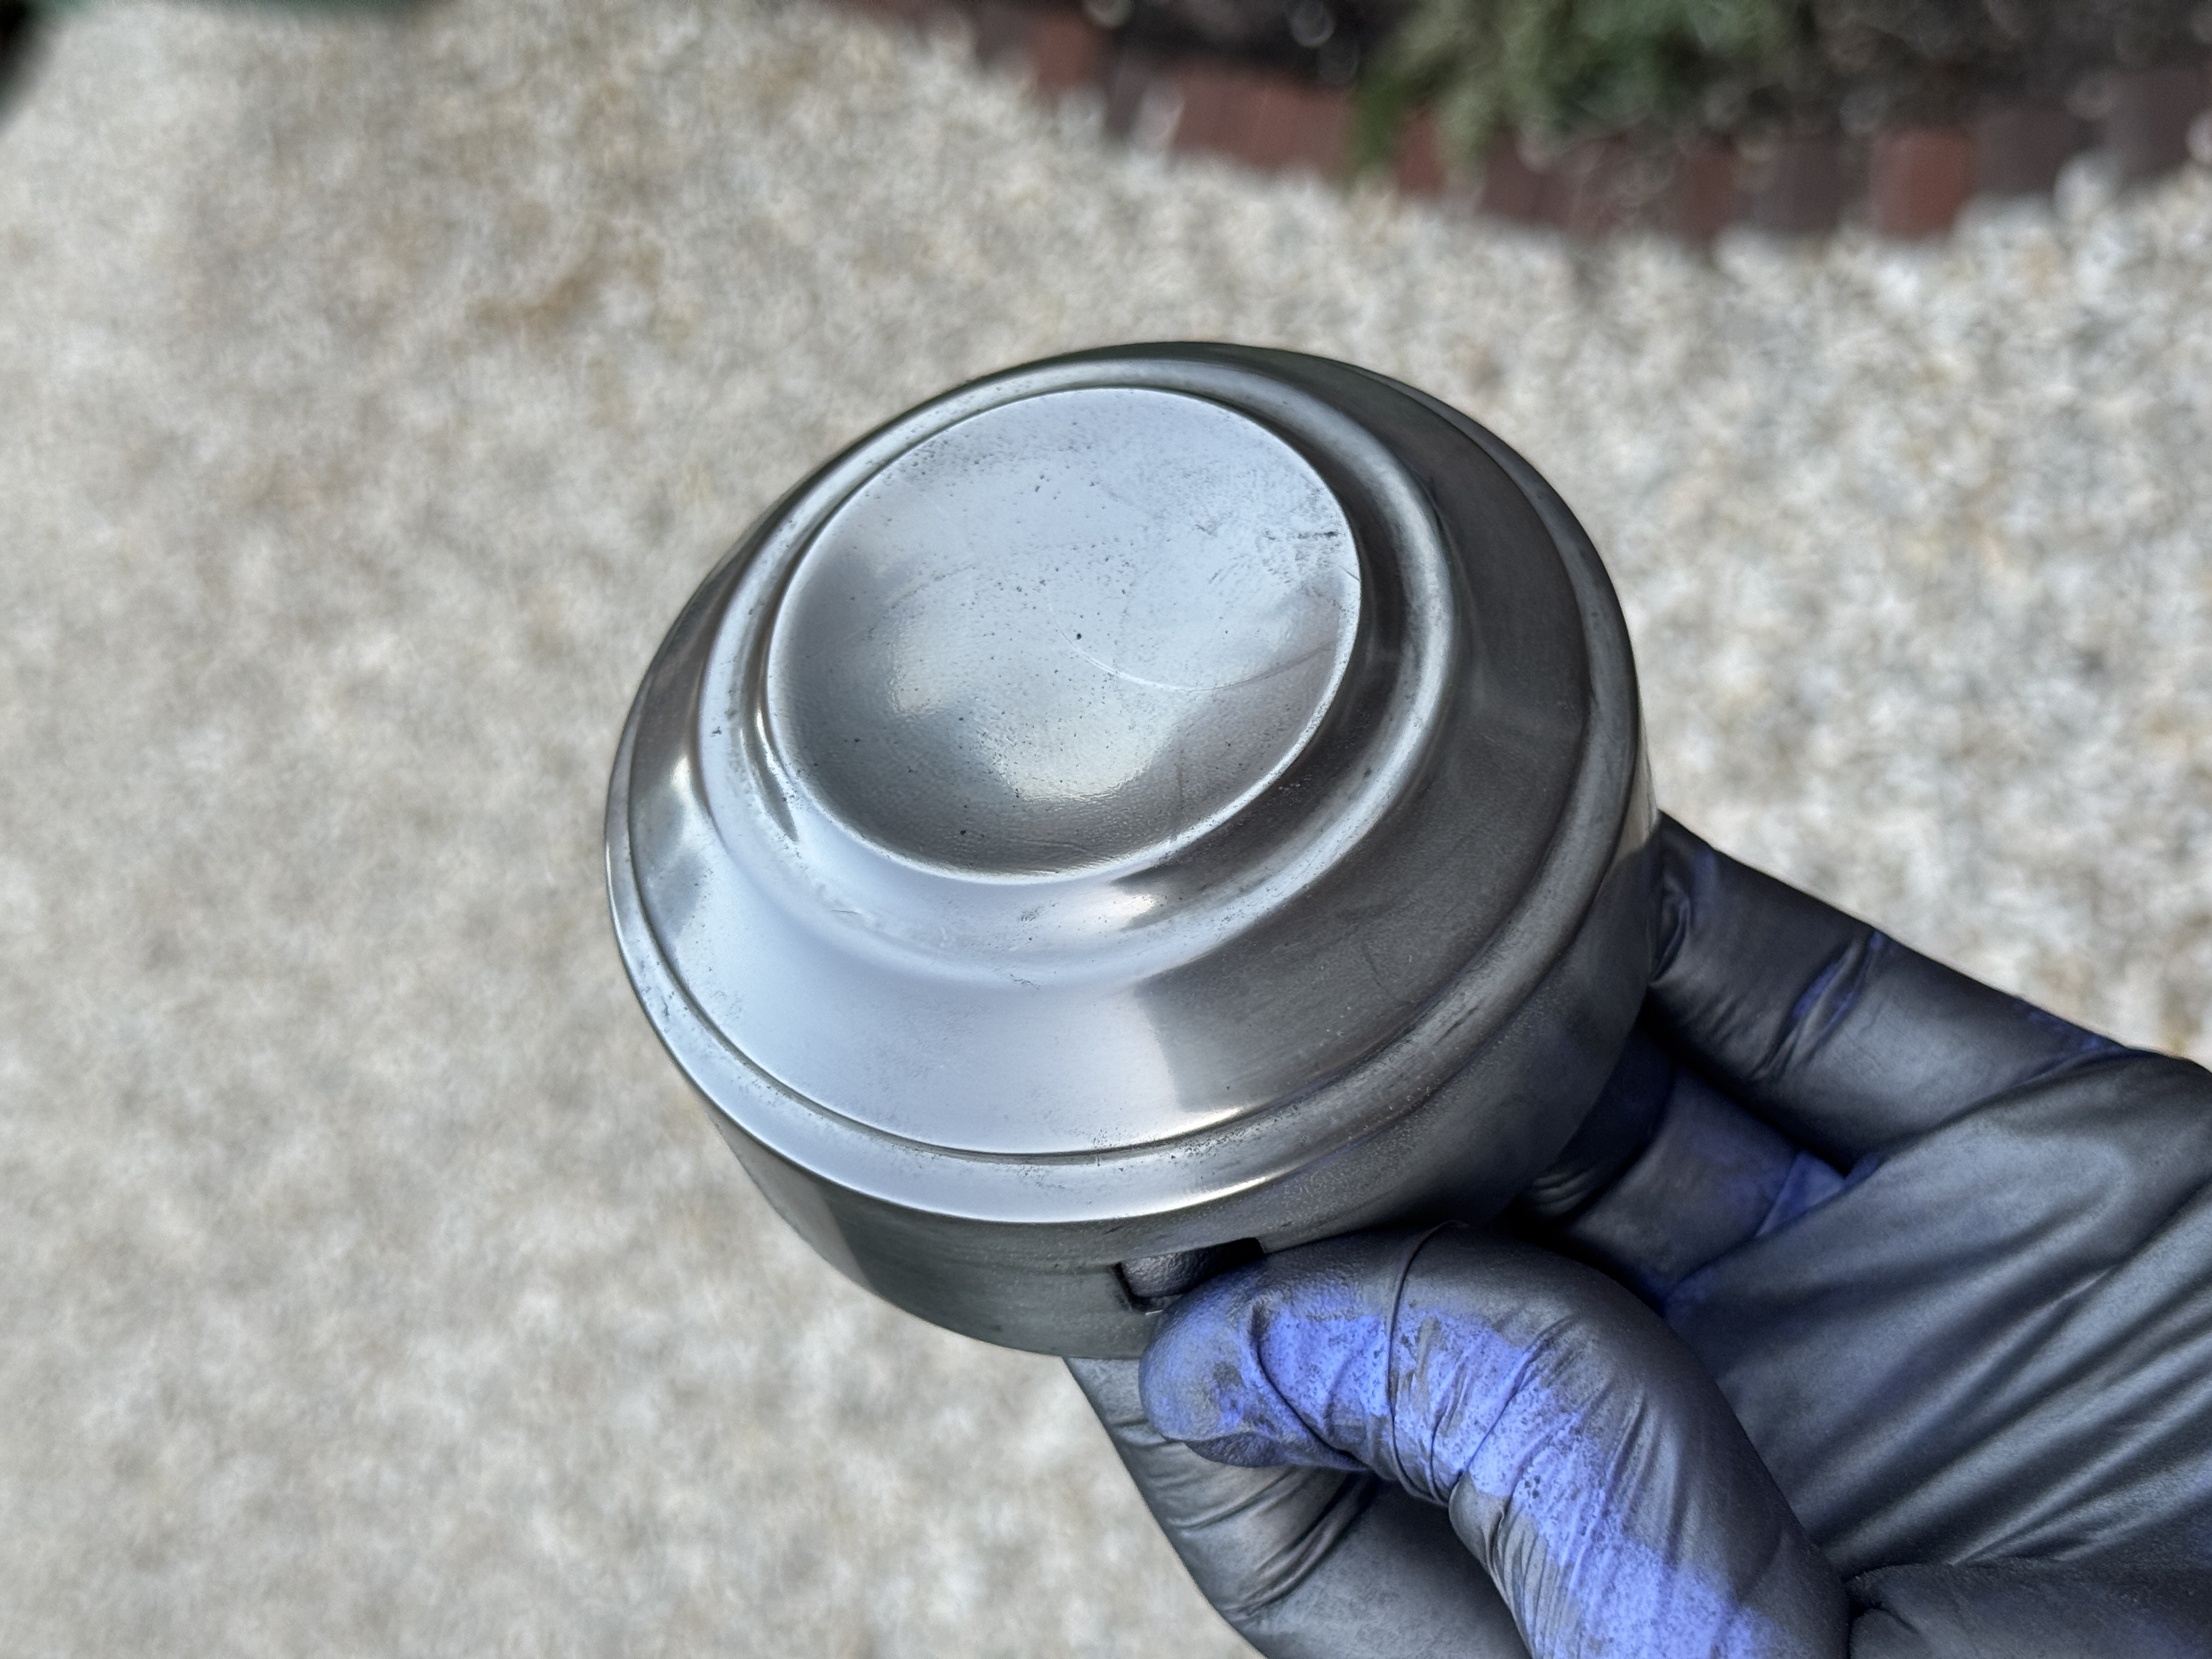
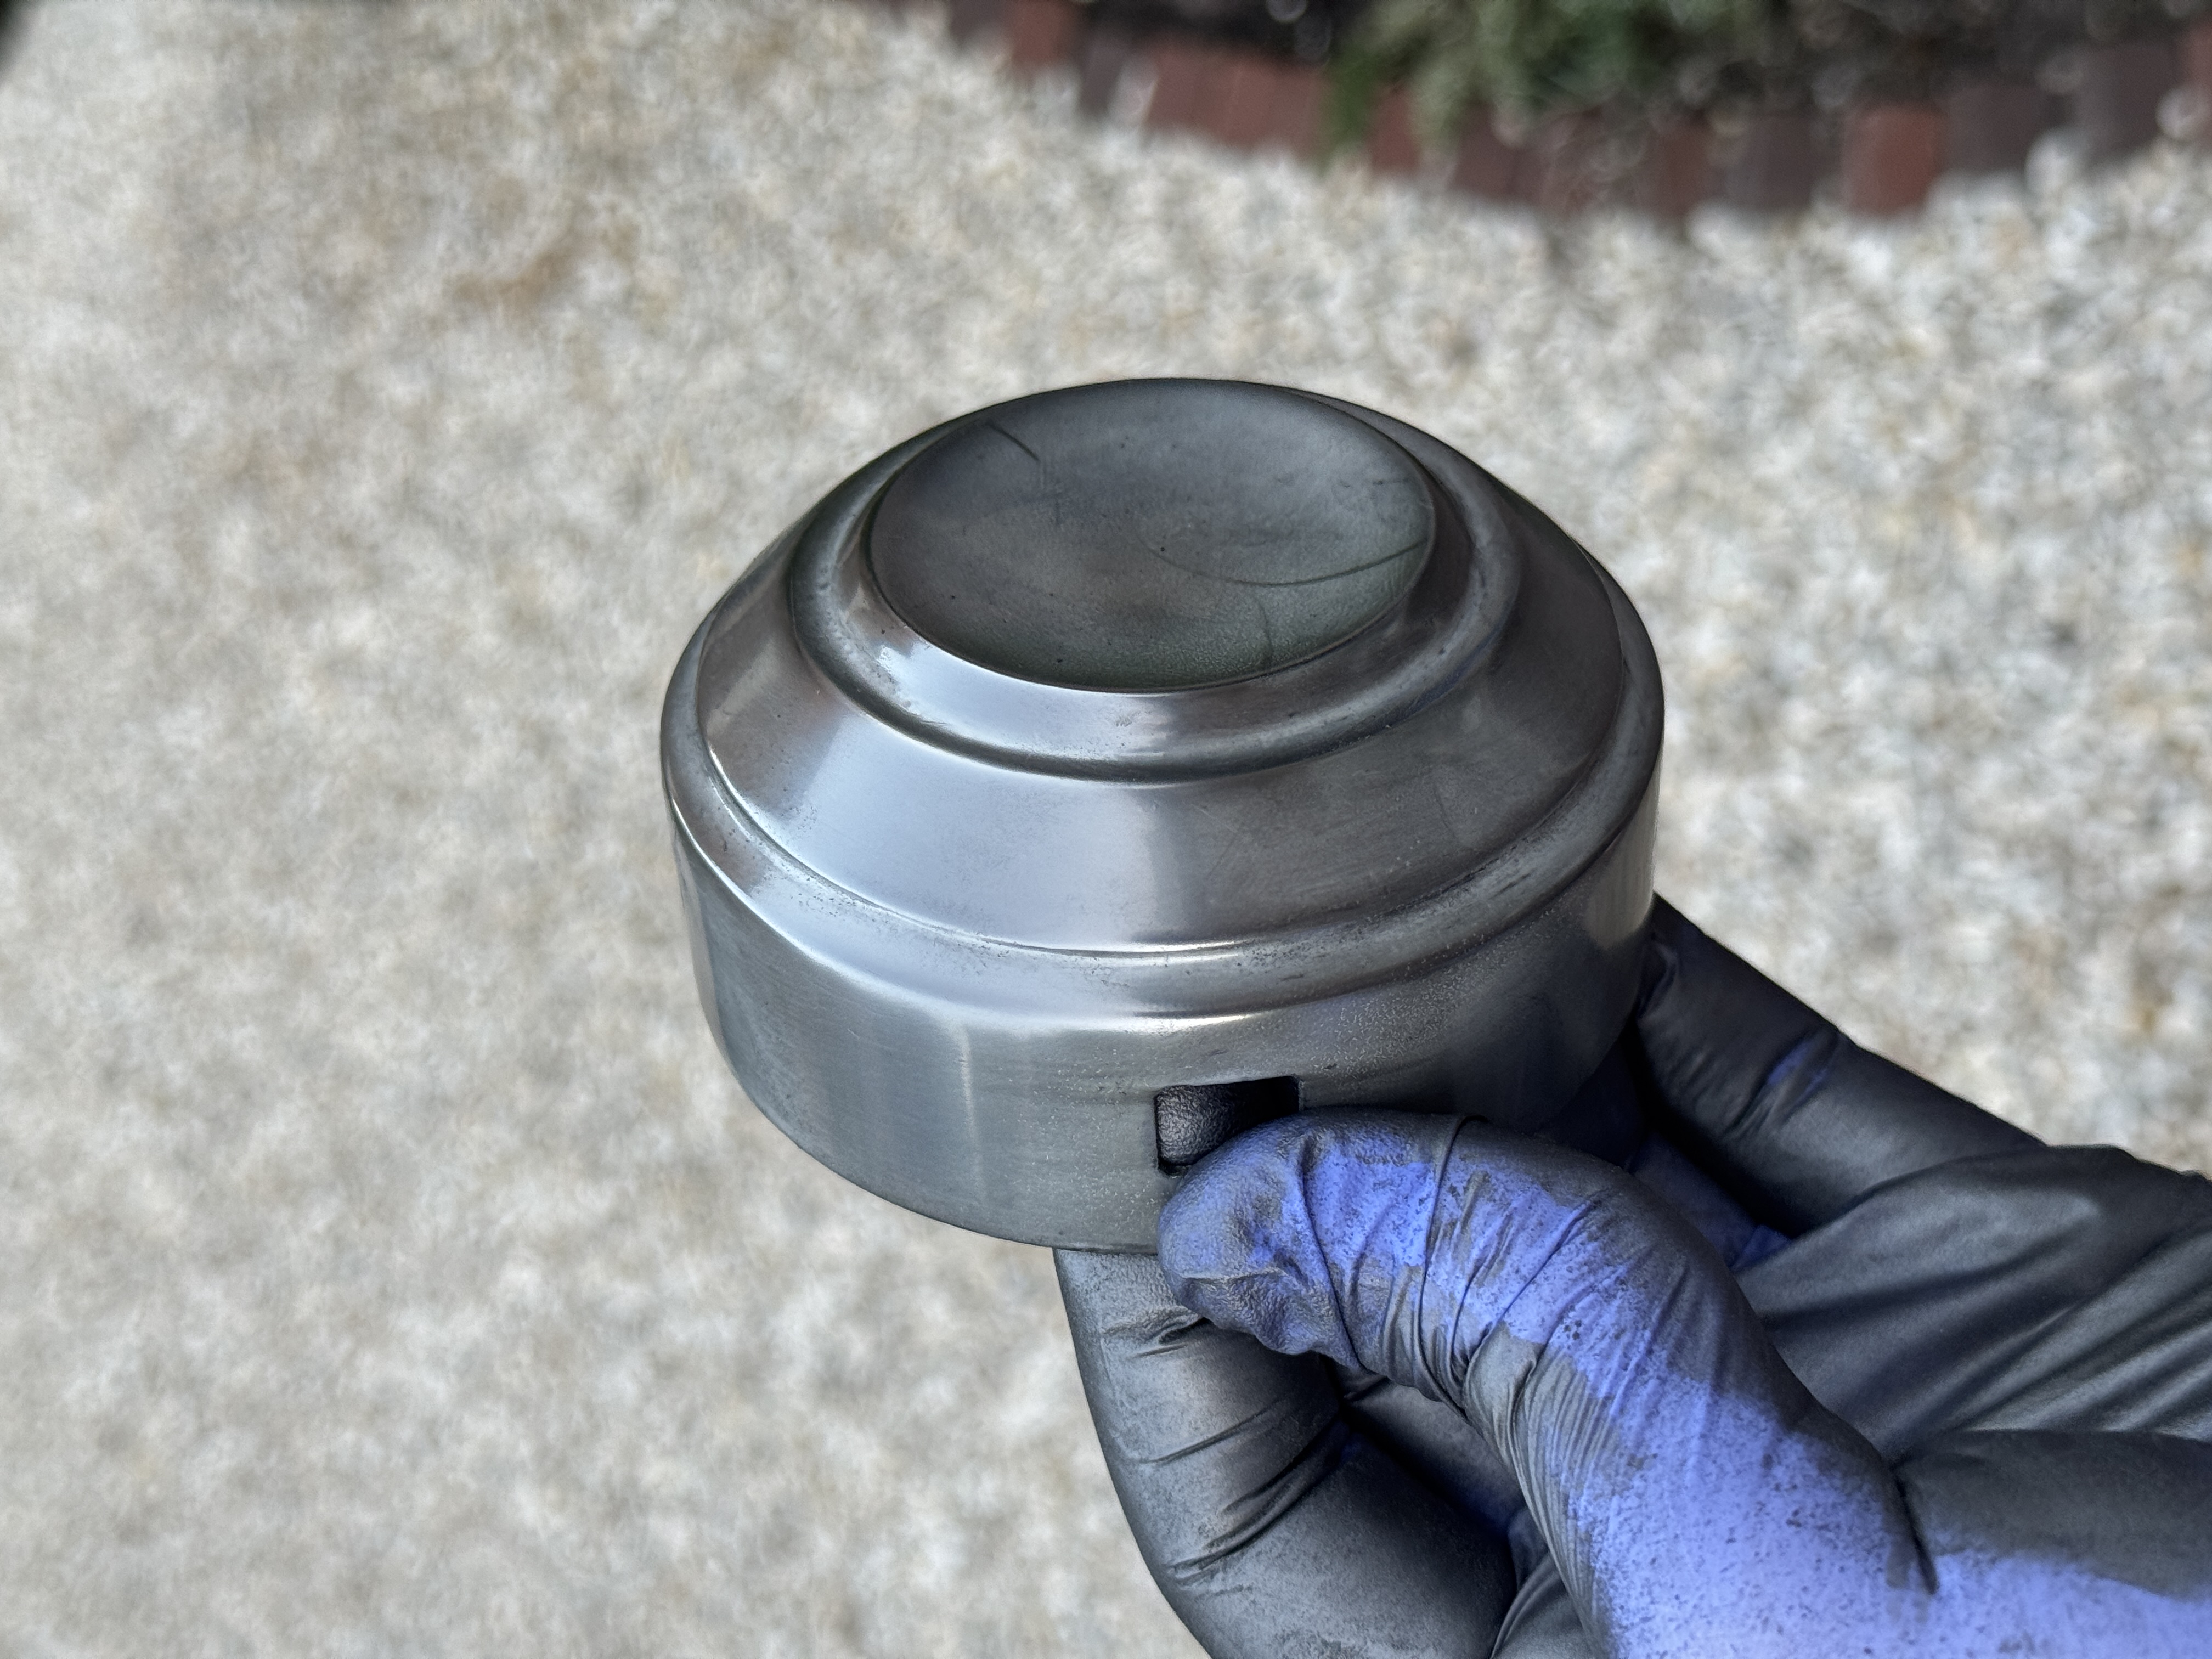
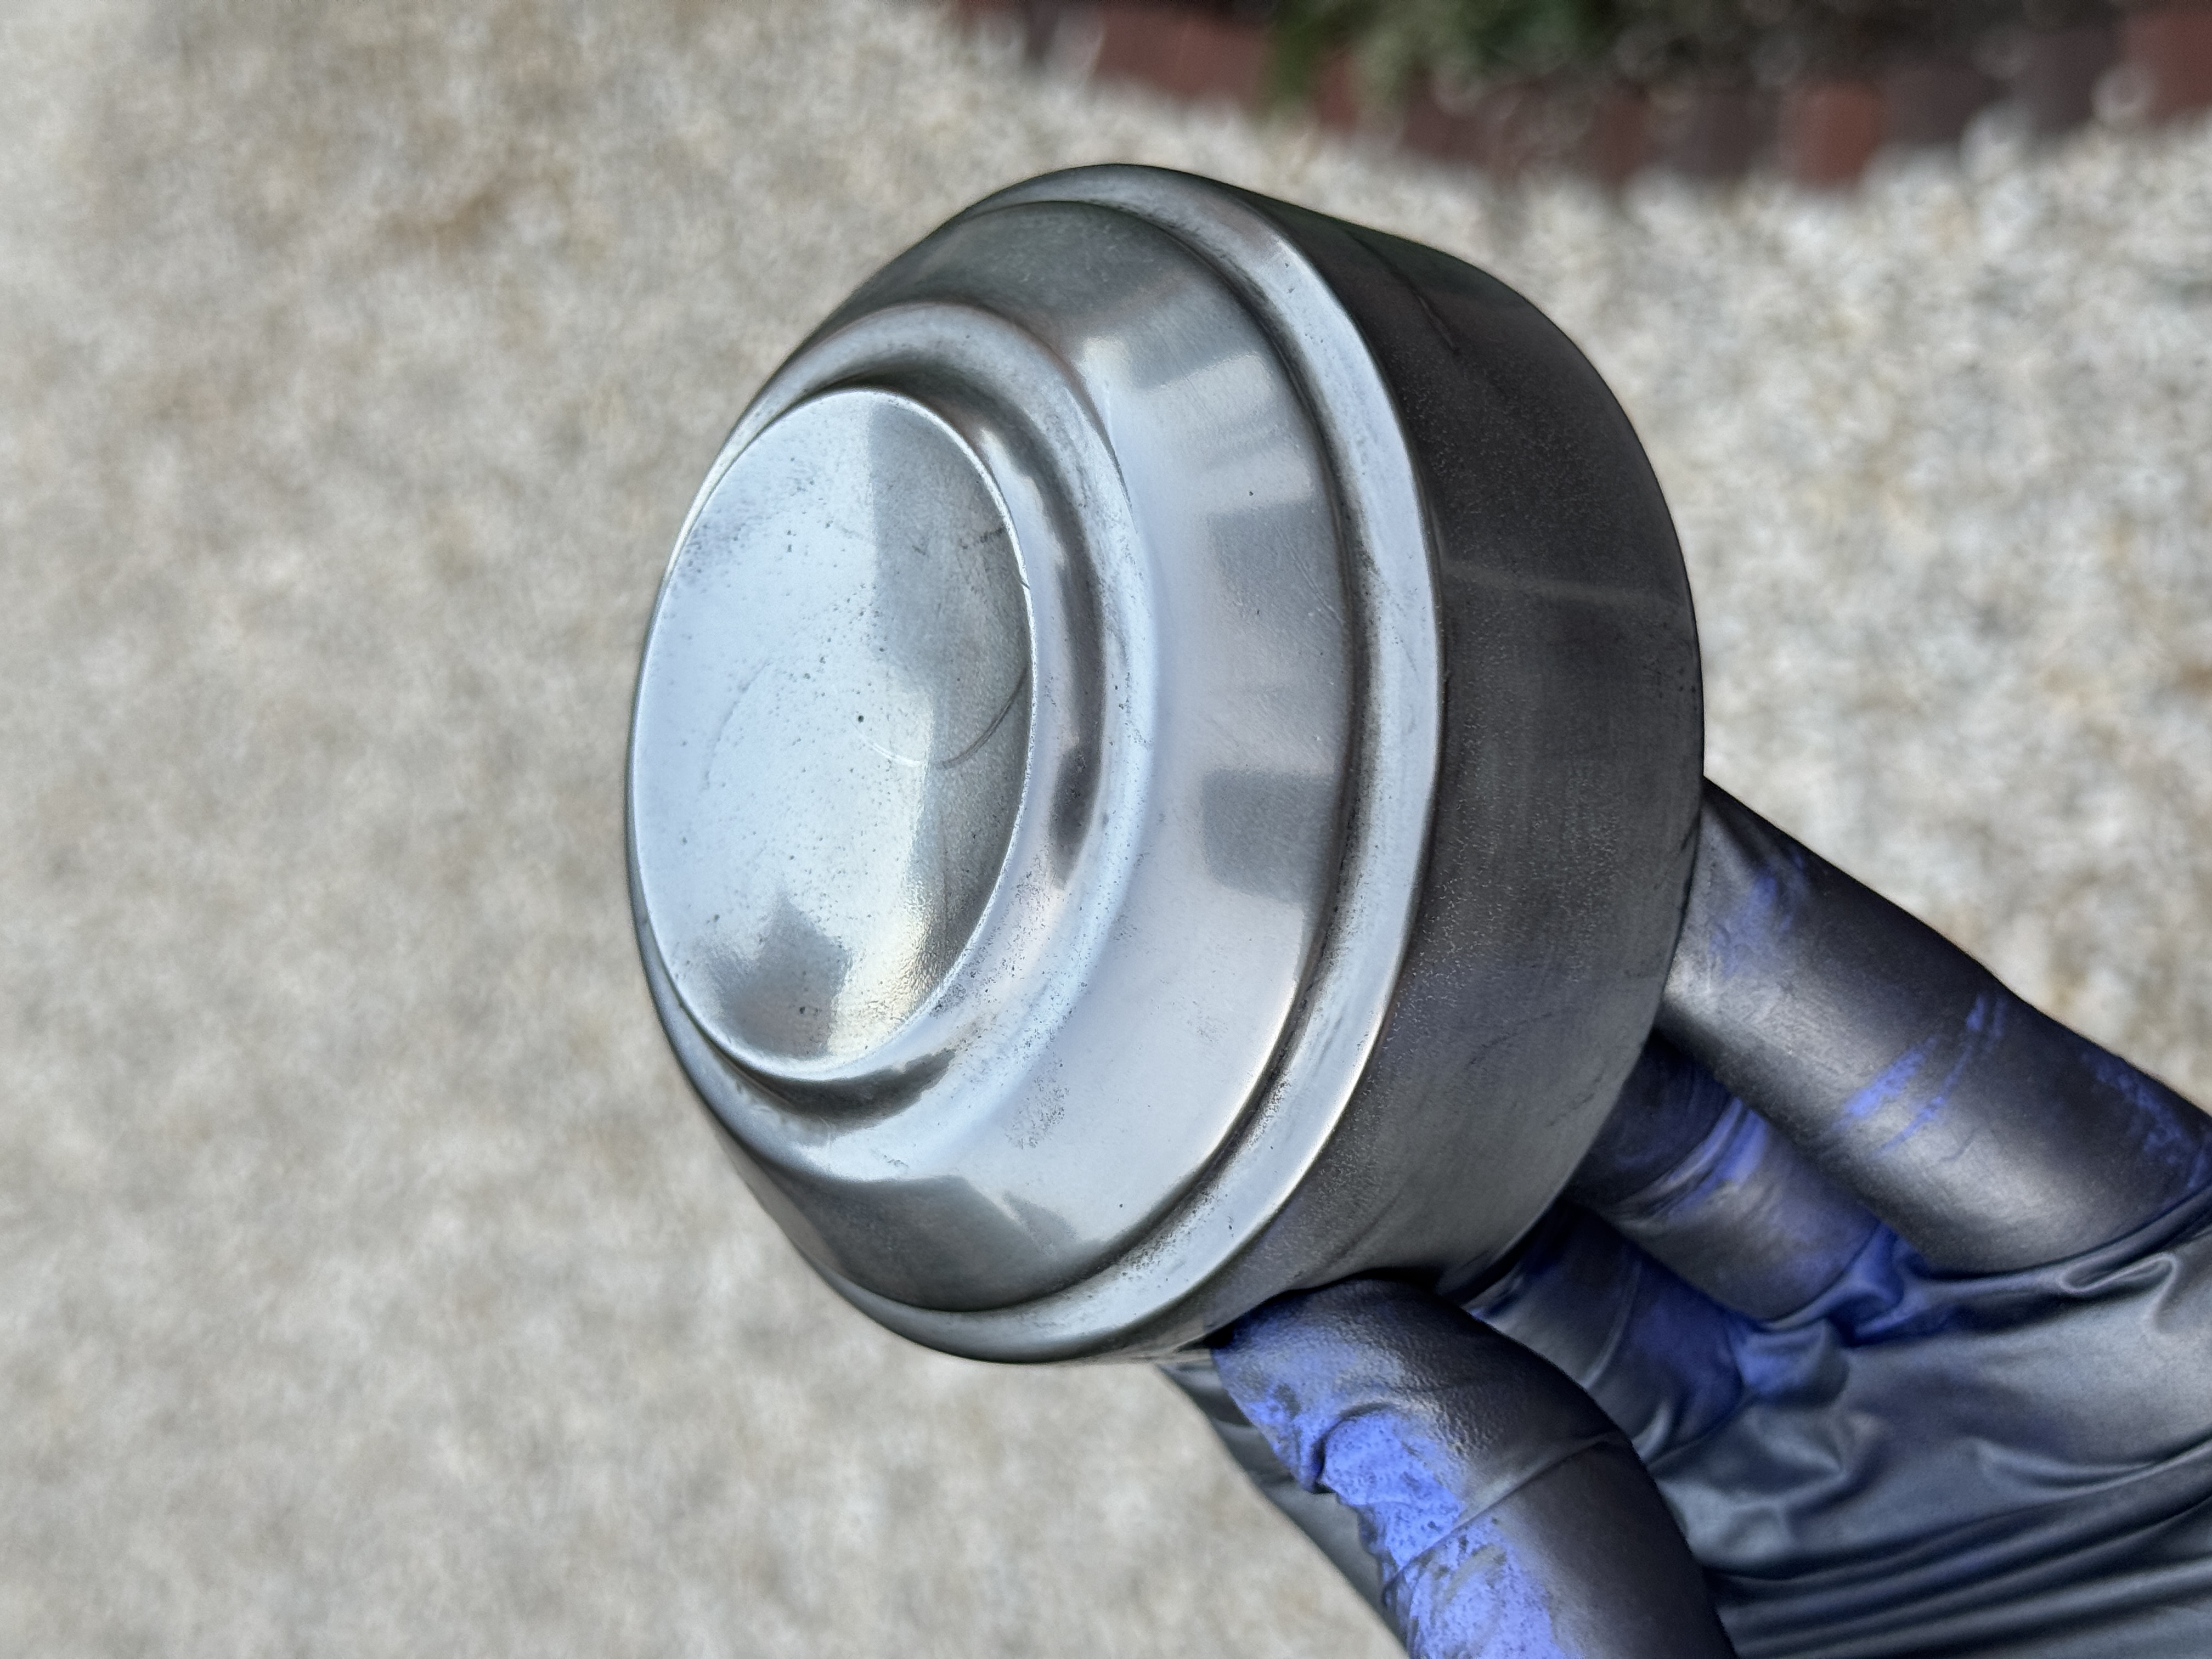
I’m pretty happy with how it’s turning out. The surface has a shine and luster that I don’t think I could have achieved with metallic paint. I was also worried about the graphite wearing off as I handled it, but that doesn’t appear to be happening. So far so good.
2. Forming the Polycarbonate Visor Link to heading
The visor opening is one of the defining features of the helmet. I’d been putting it off because it required a forming step I wasn’t confident about: heating a flat sheet of polycarbonate until it’s pliable enough to take a compound curve, then holding that shape while it cools.
Cutting and Forming Link to heading
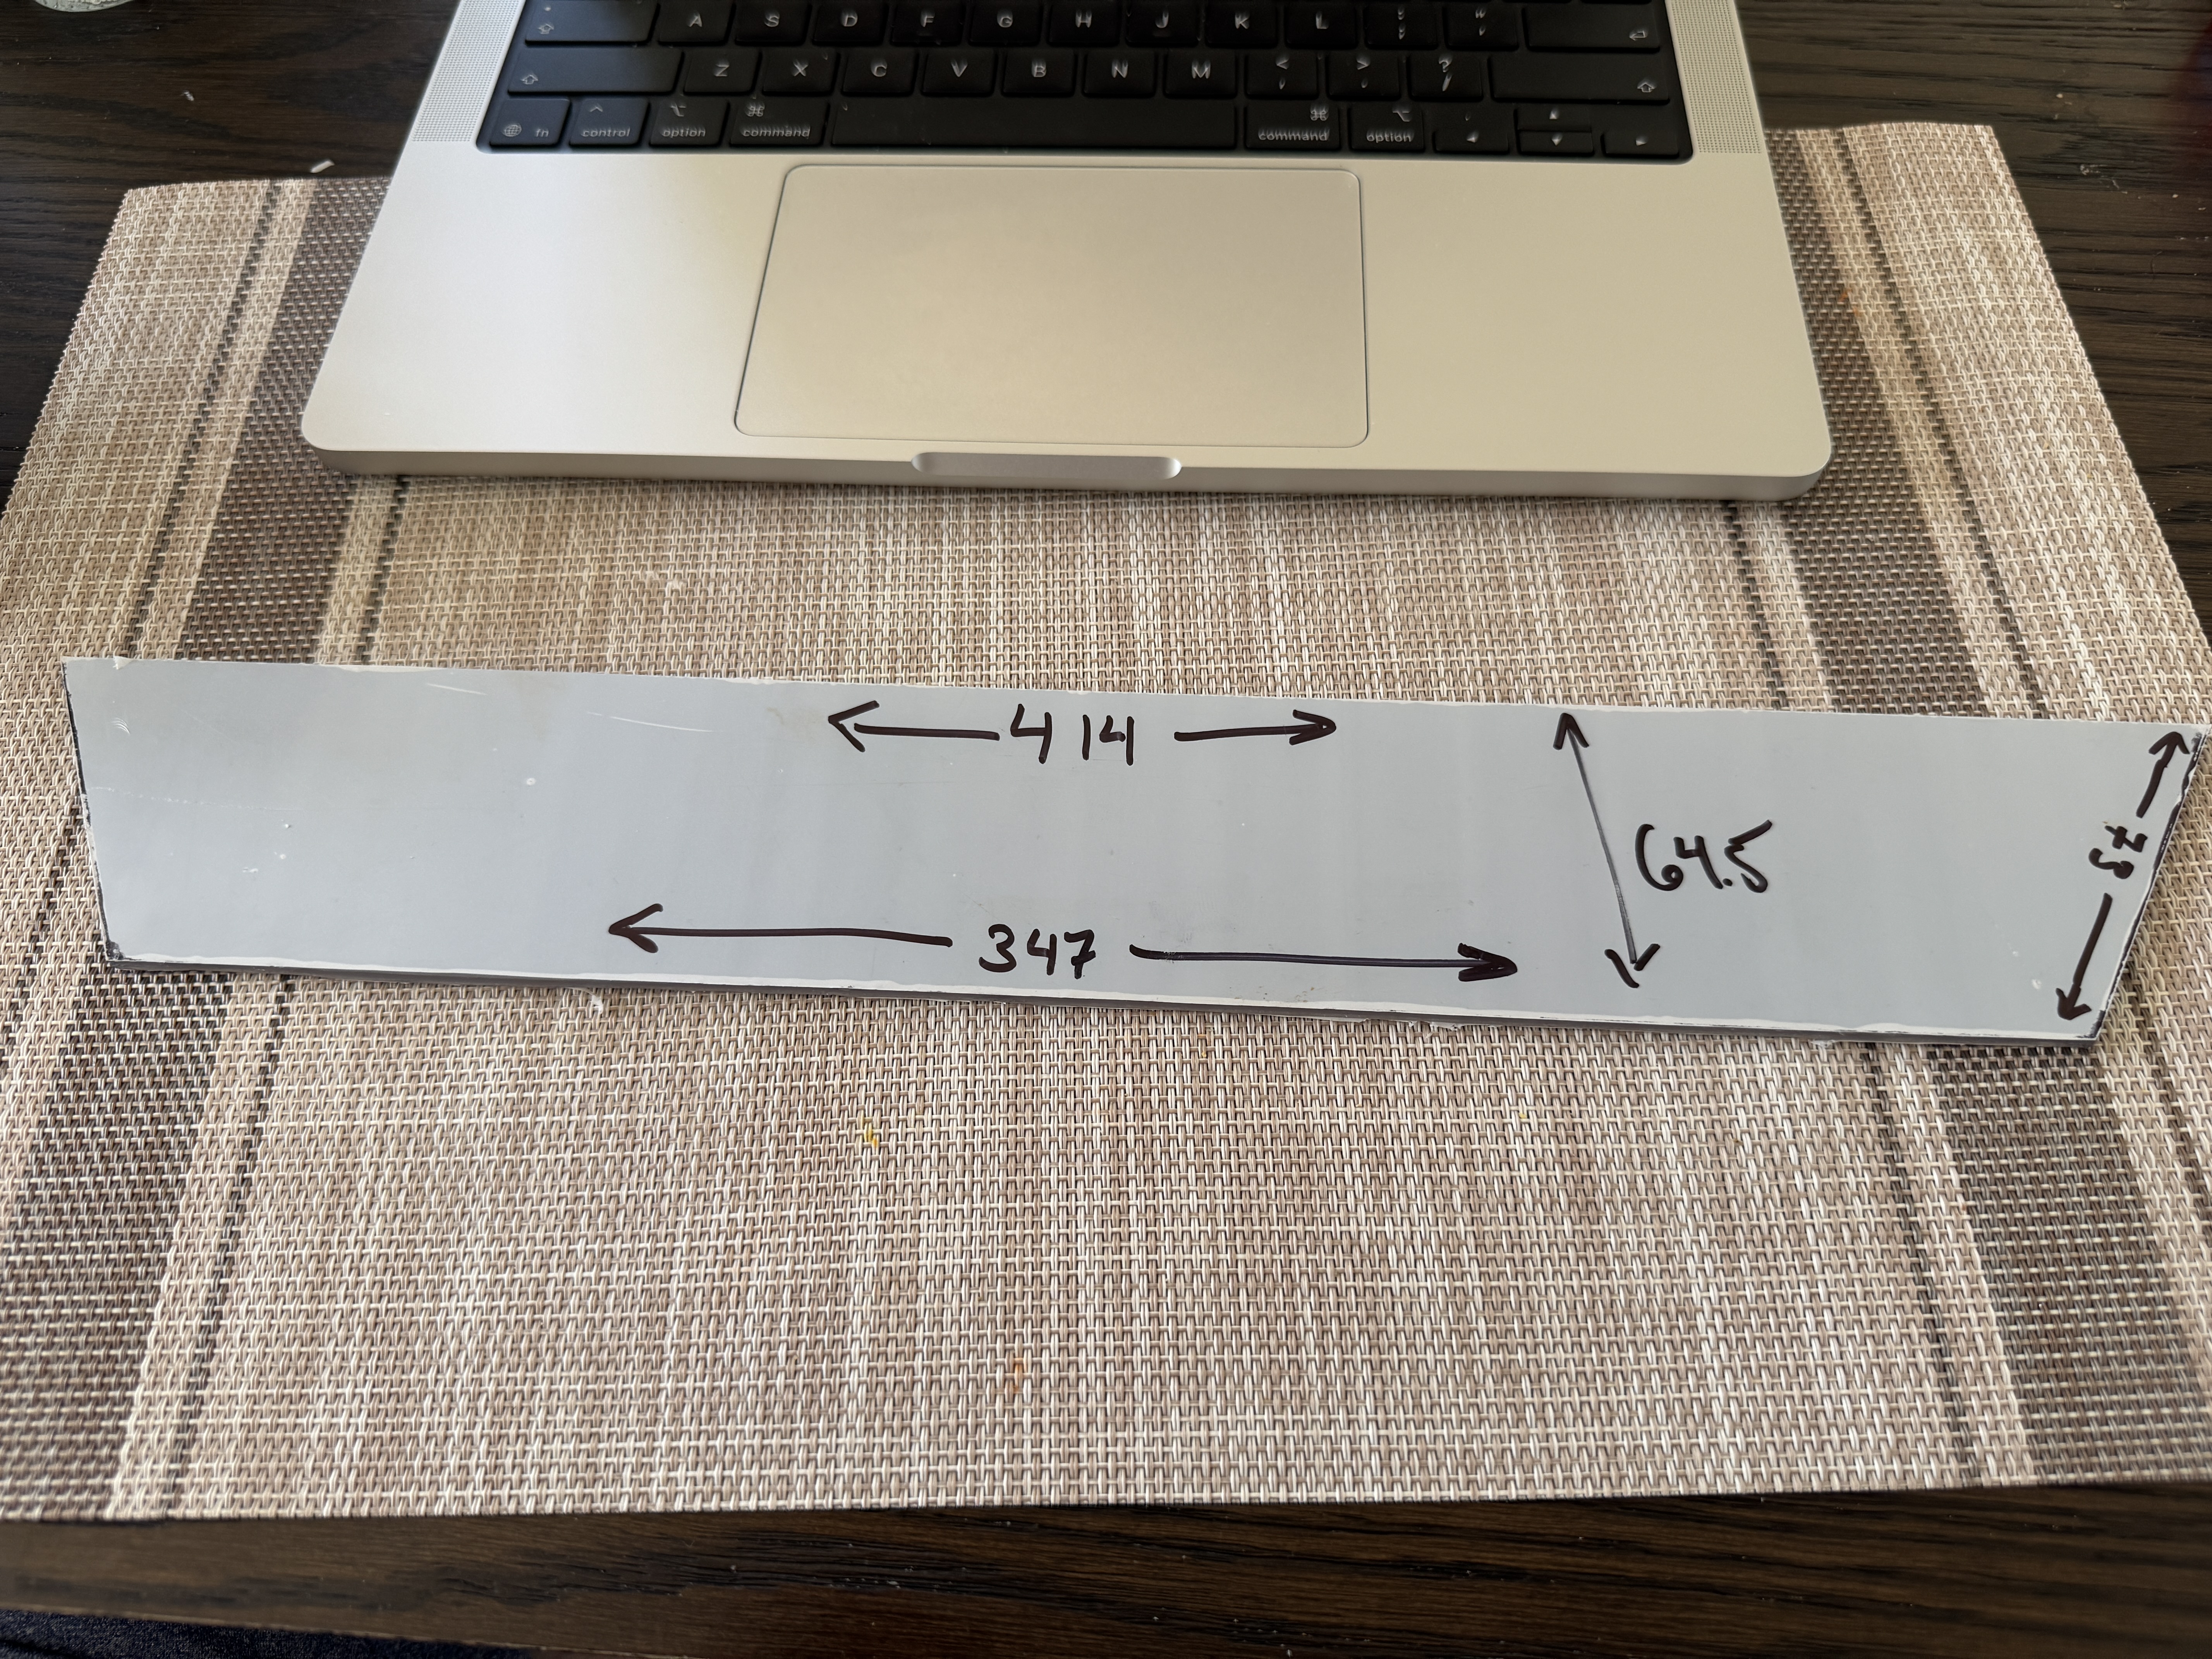
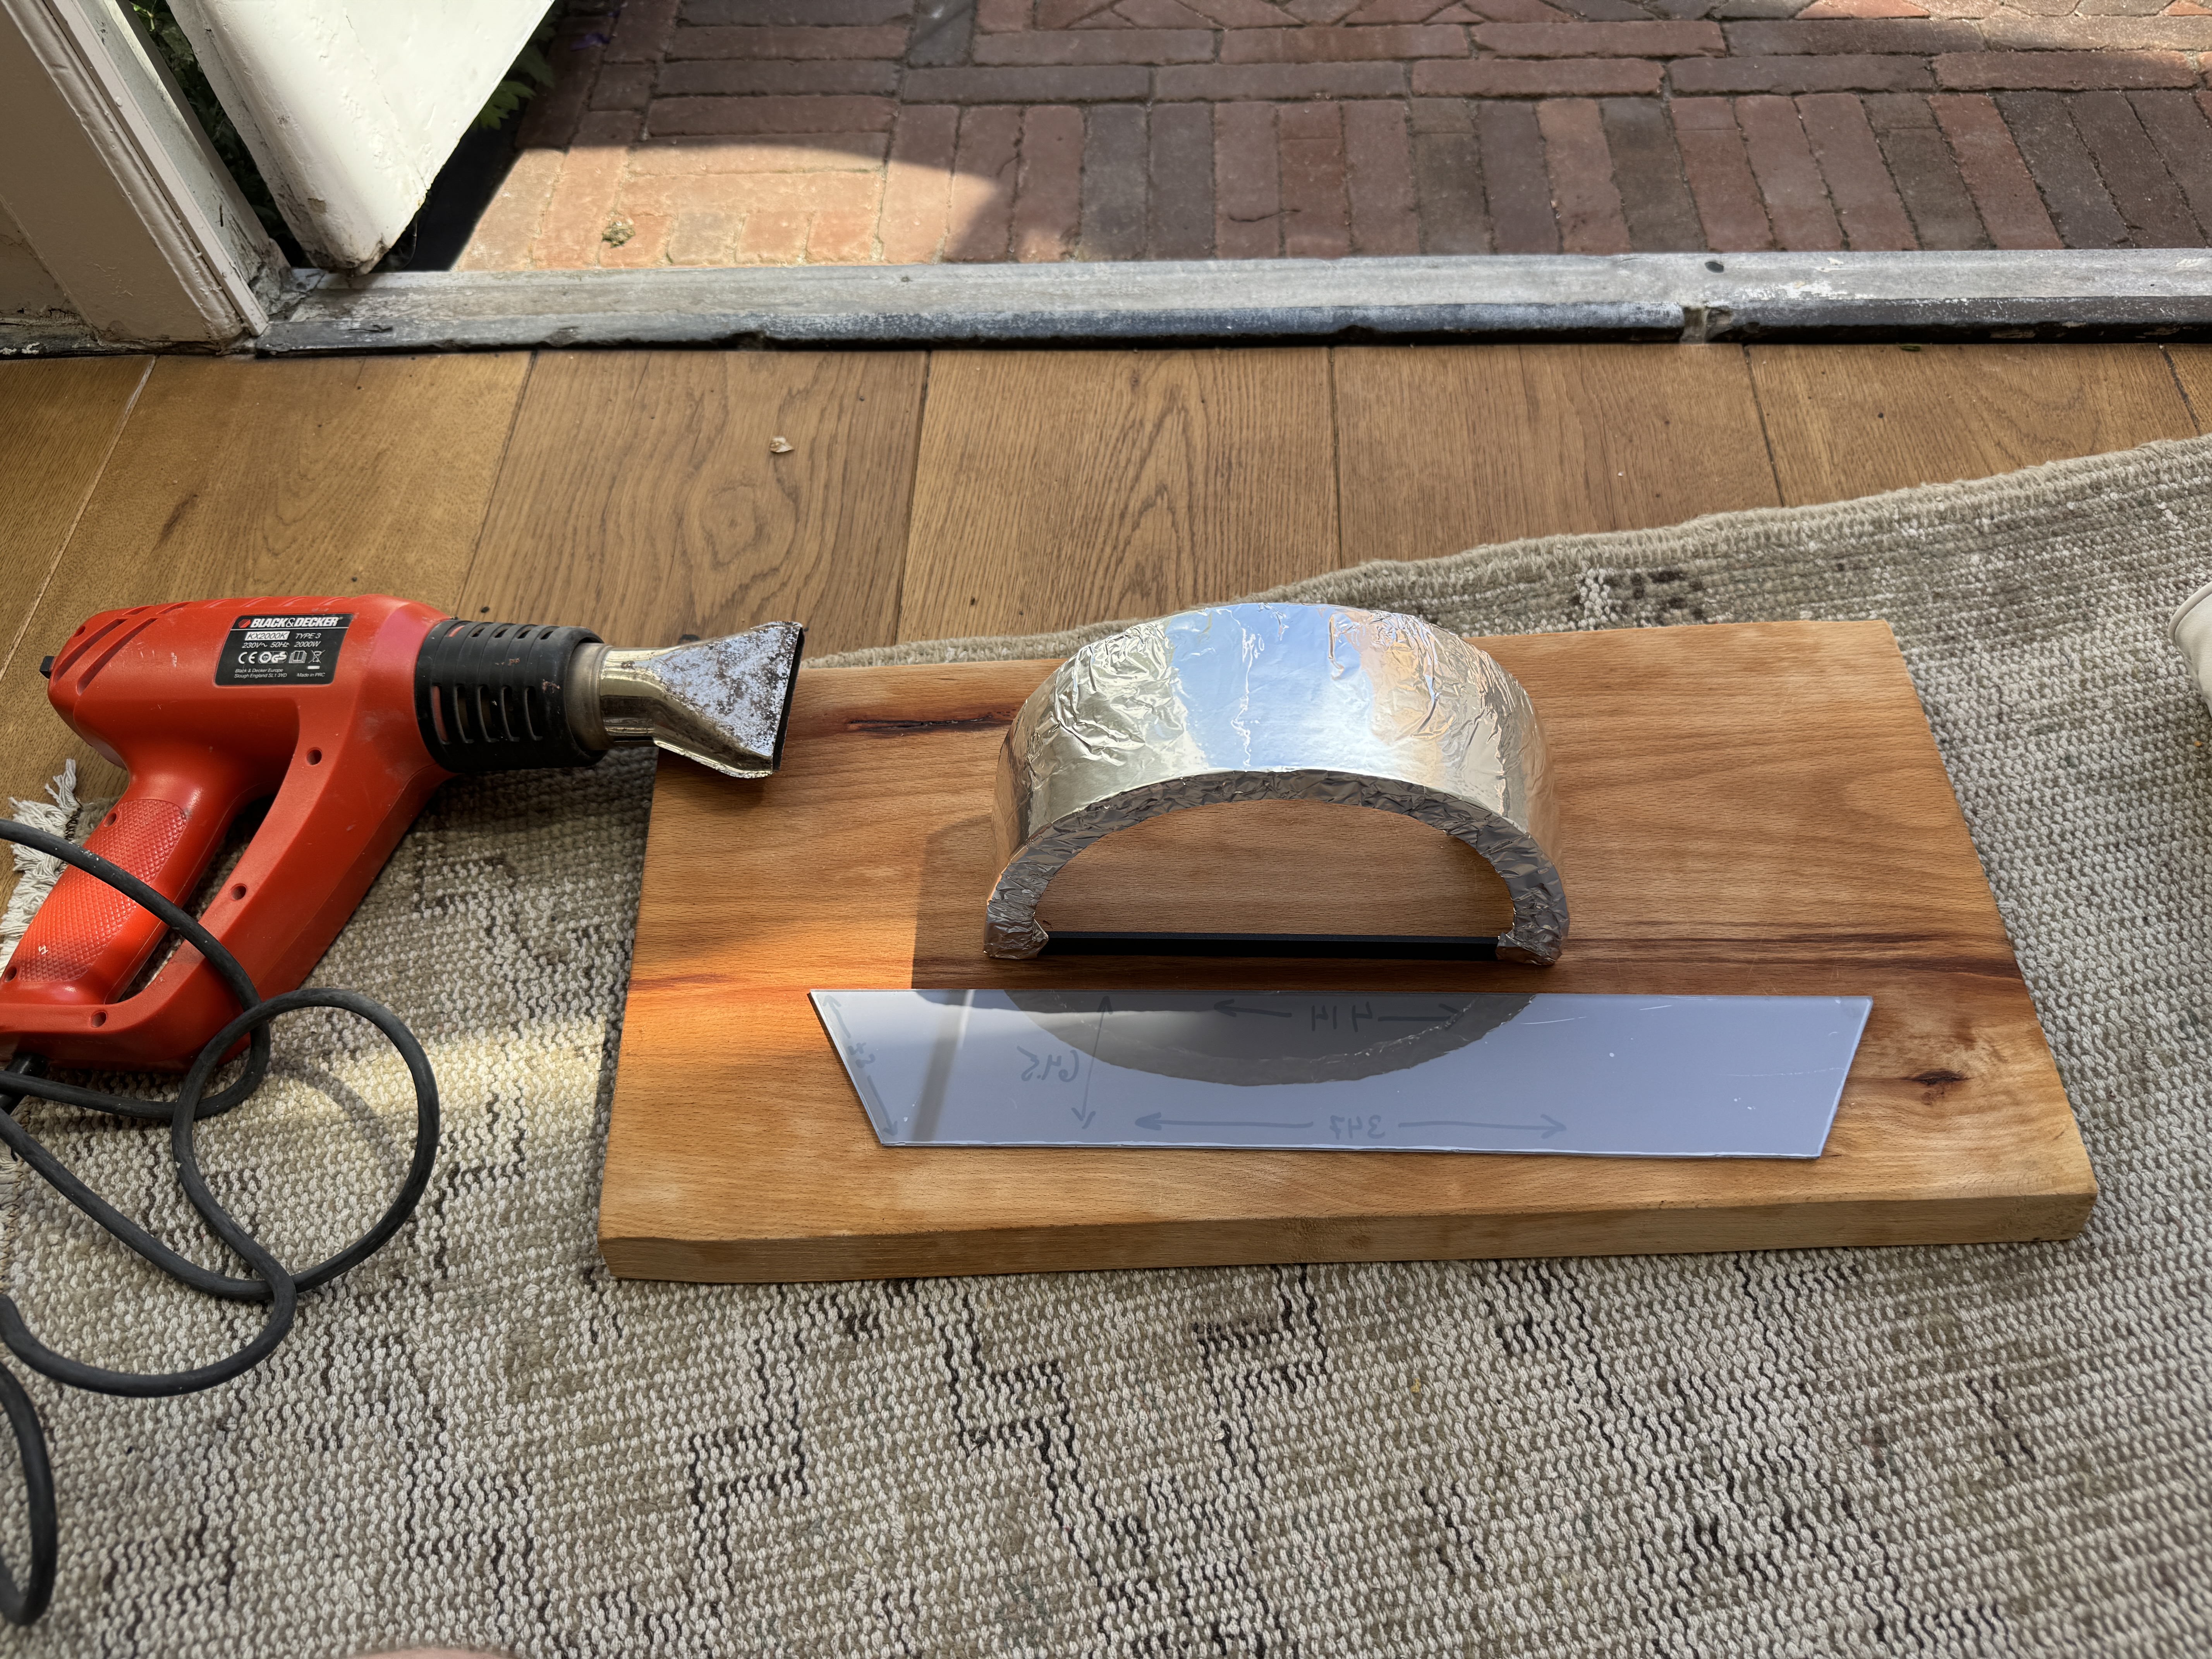
The first step was cutting the flat polycarbonate sheet down to approximately the right size.
The Forming Mold Link to heading
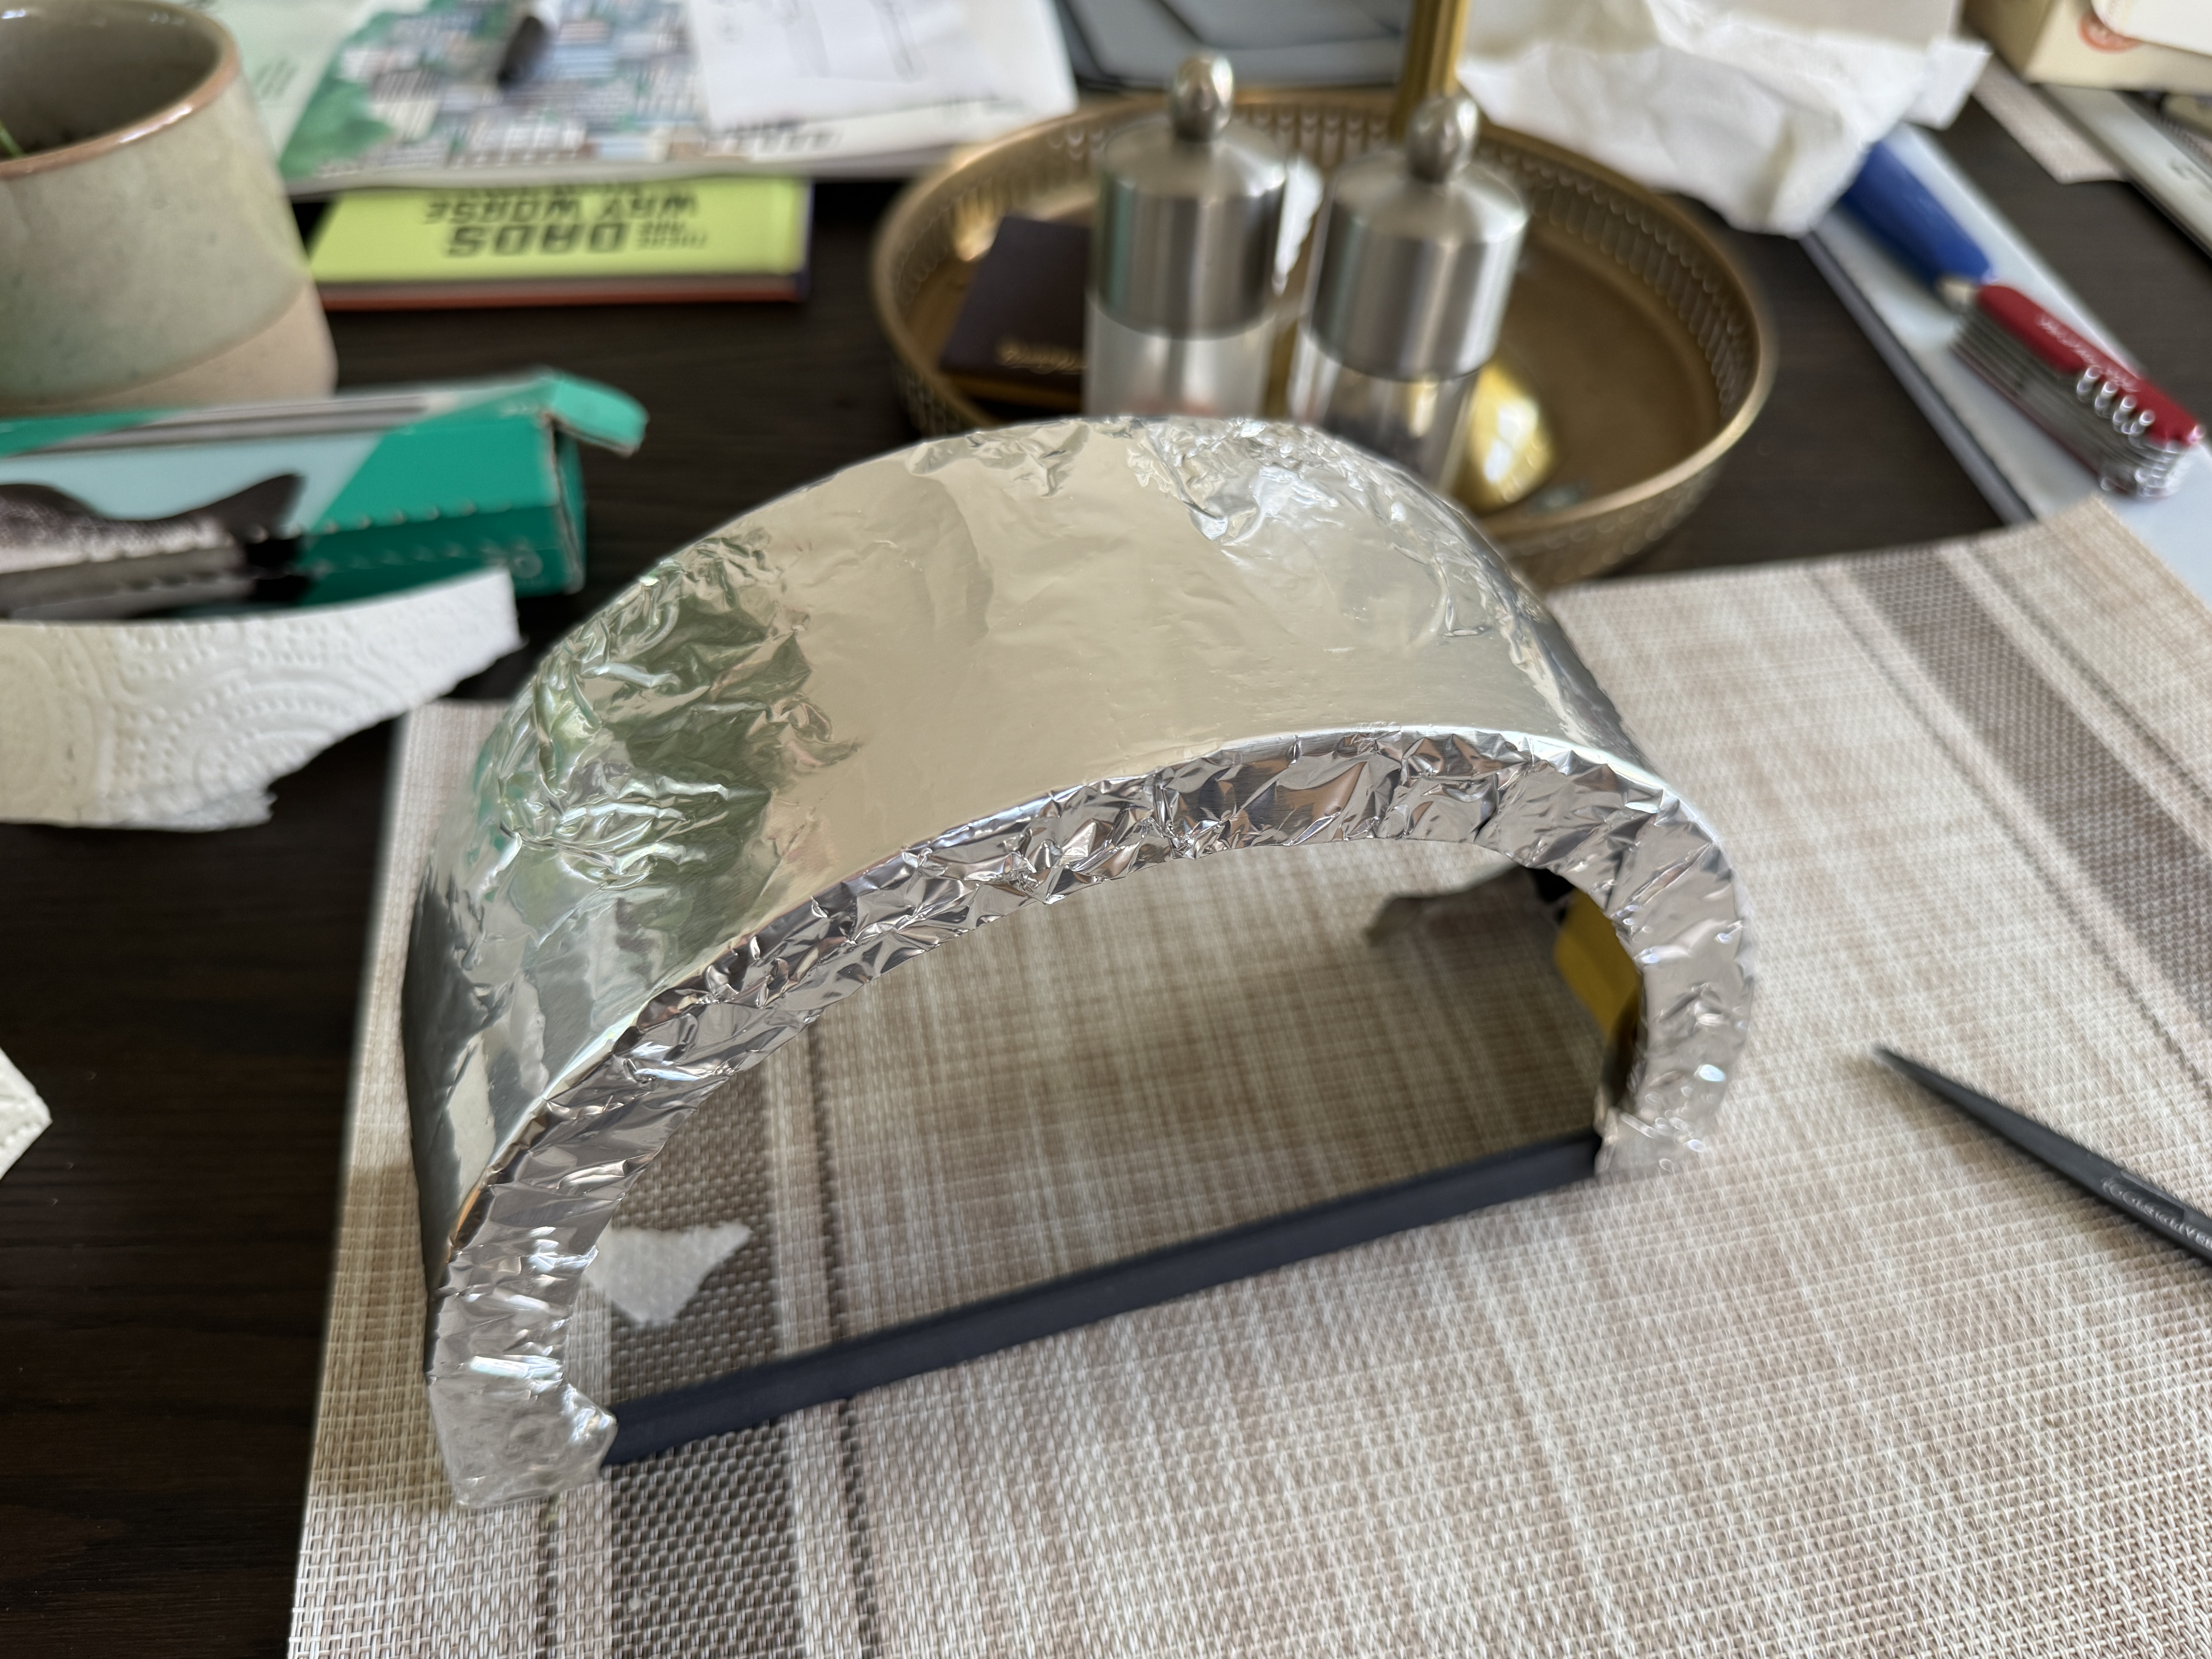
I printed a form shaped to match the visor opening of the helmet. I used ABS to give me a fighting chance of handling the heat required to curve the panel.
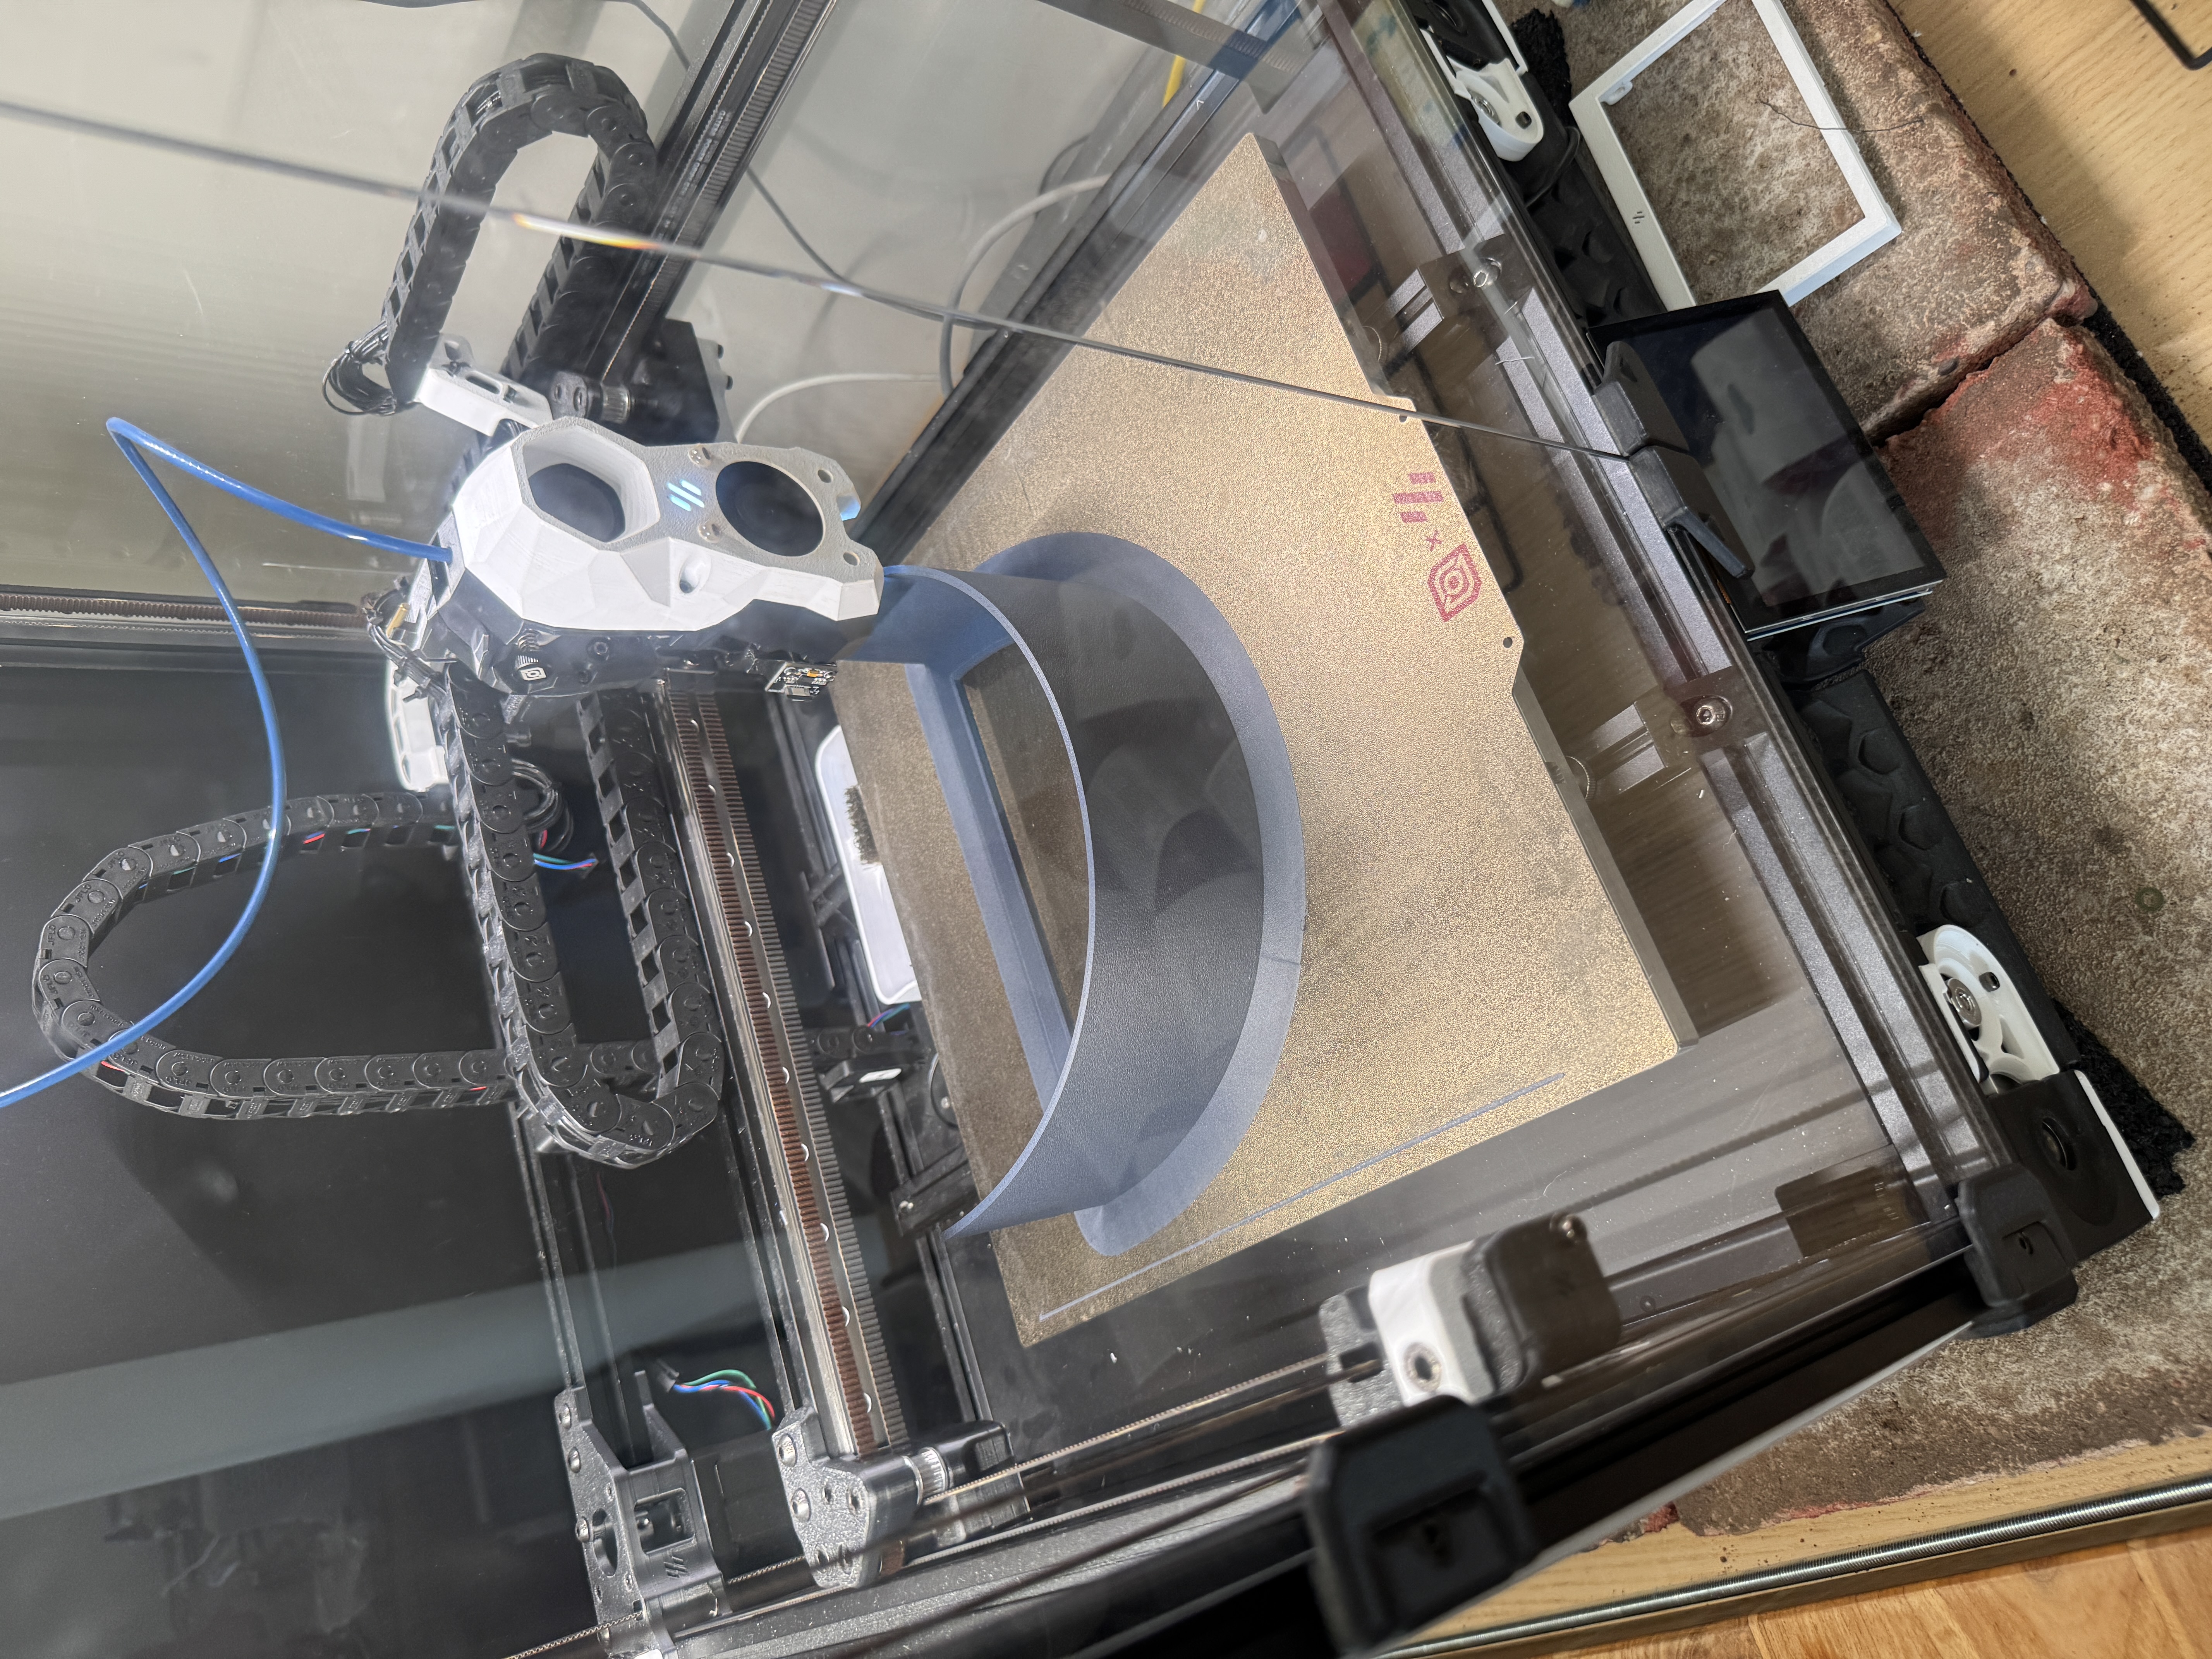
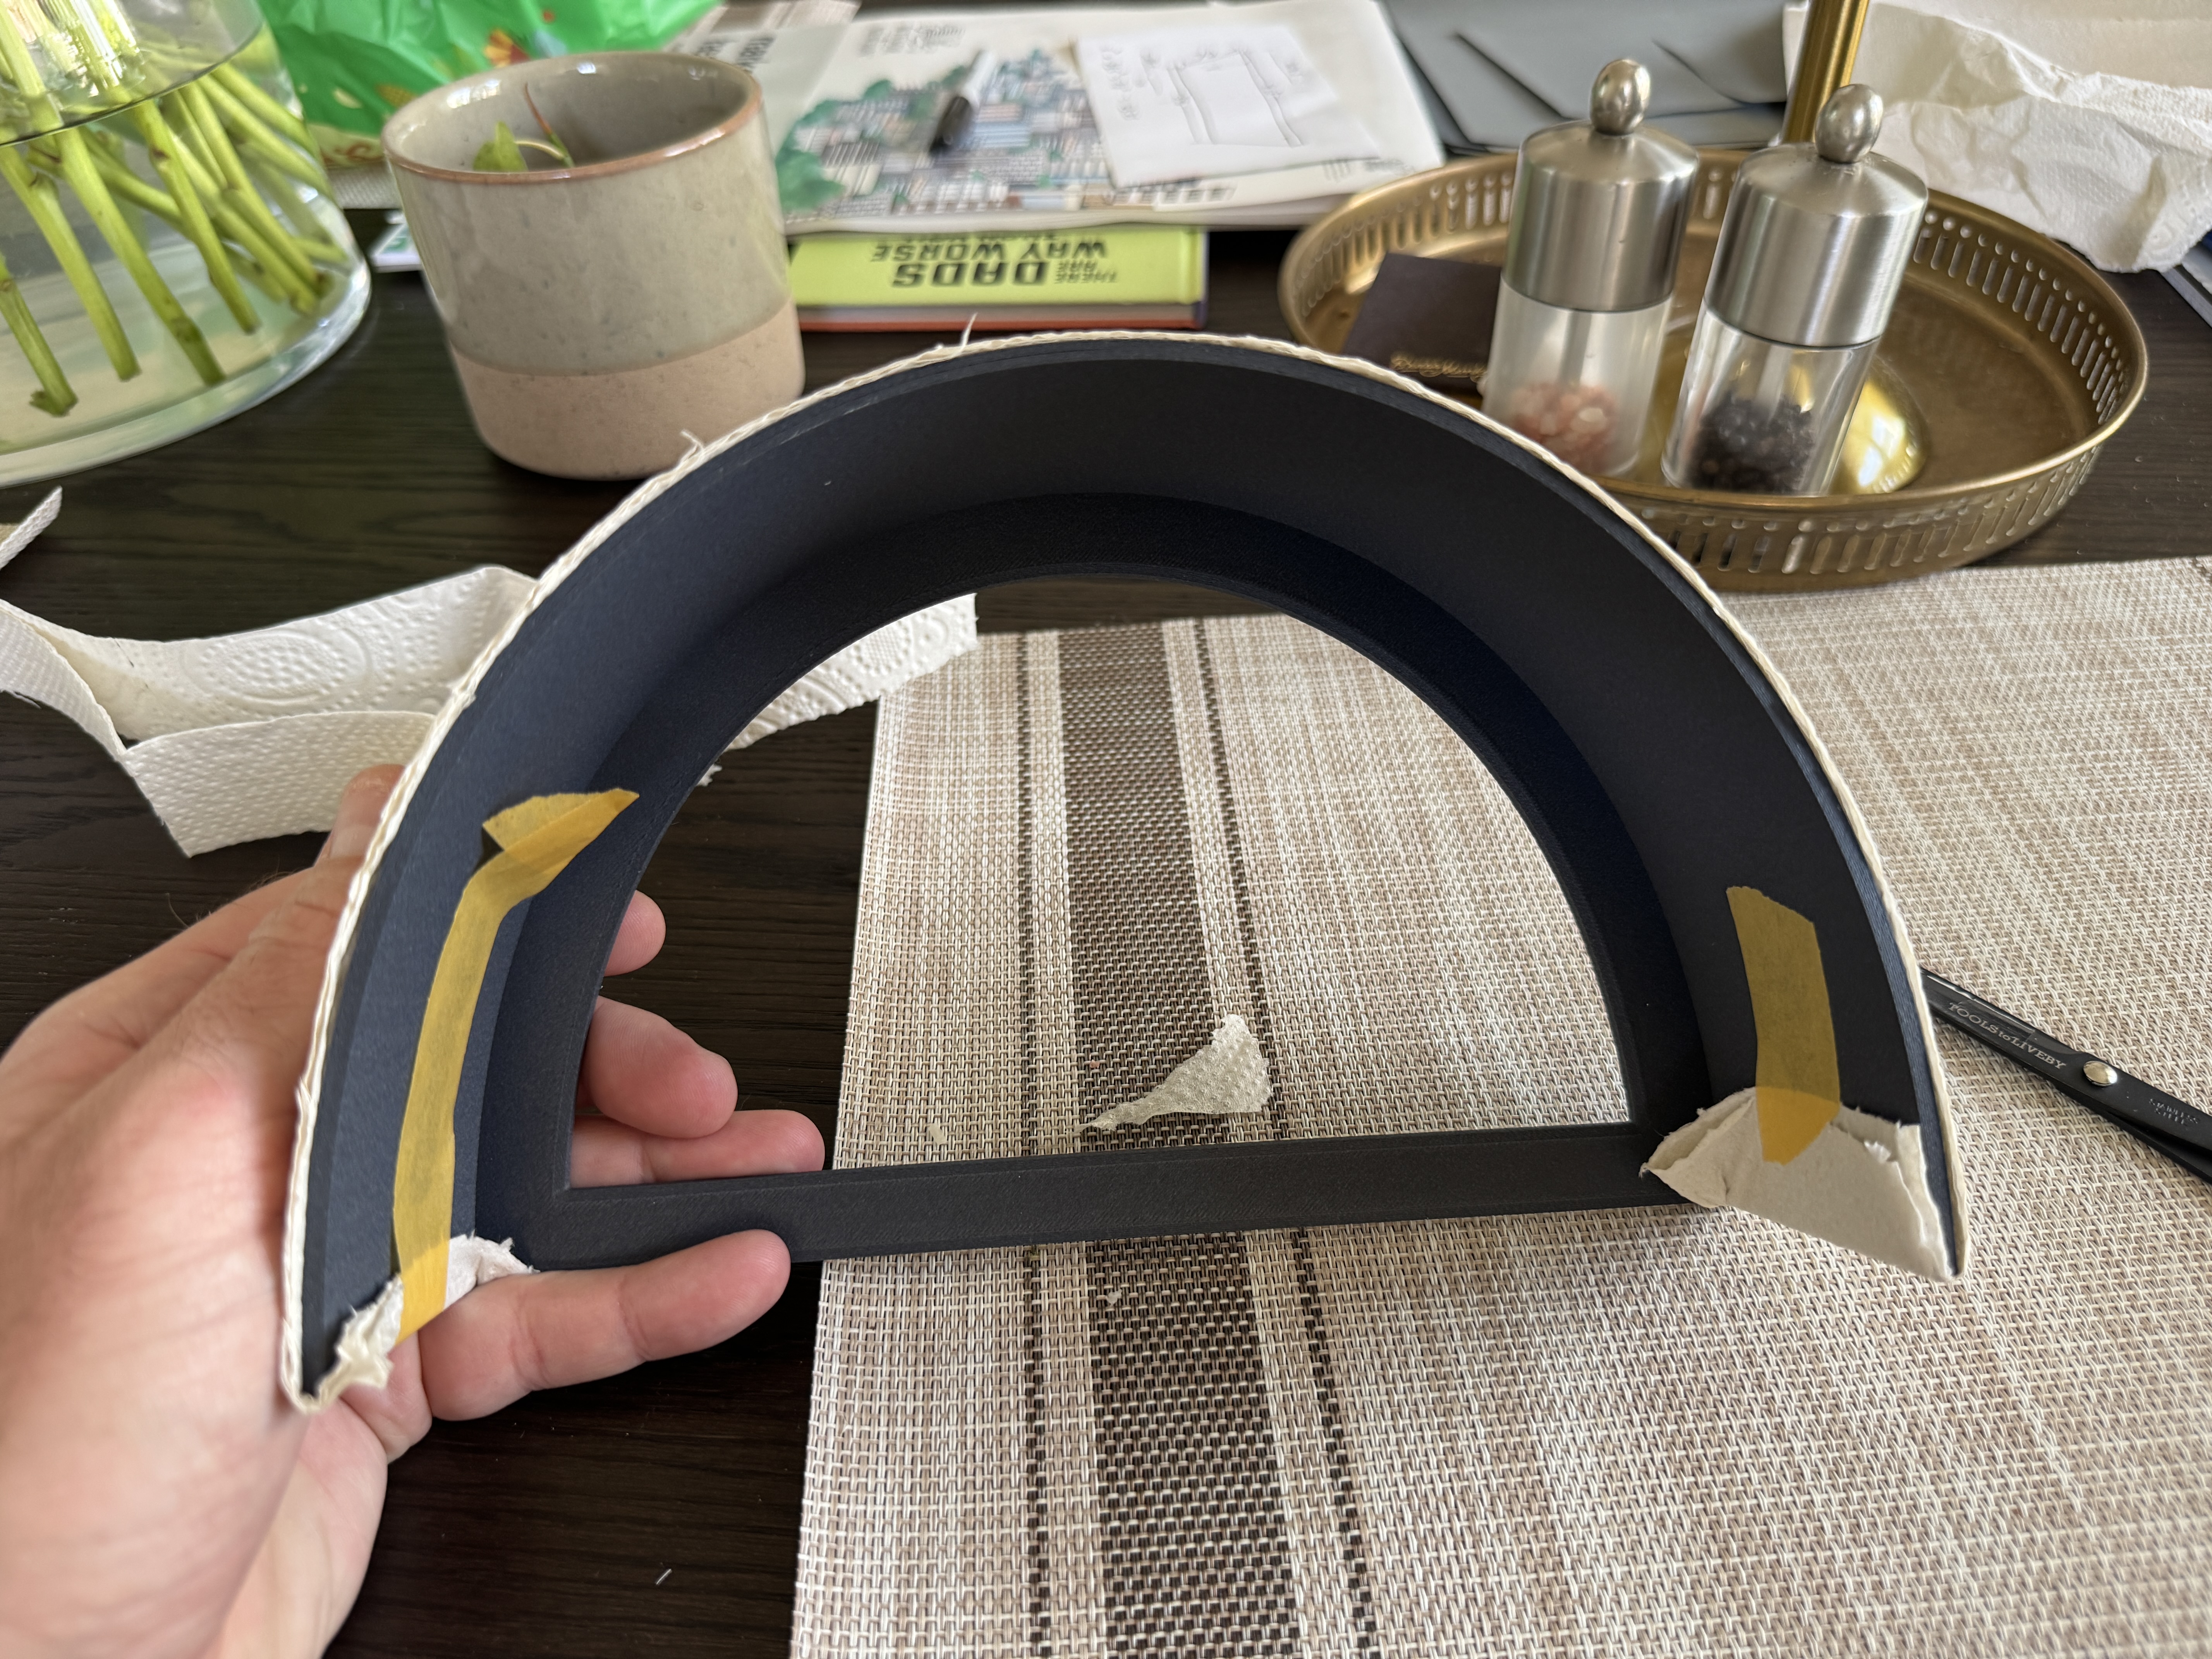
To keep the polycarbonate from bonding to the form under heat, I wrapped the mold with paper towel and then a layer of aluminum foil. The foil also helps distribute heat more evenly across the surface to discourage the form from warping.
Heating and Forming Link to heading
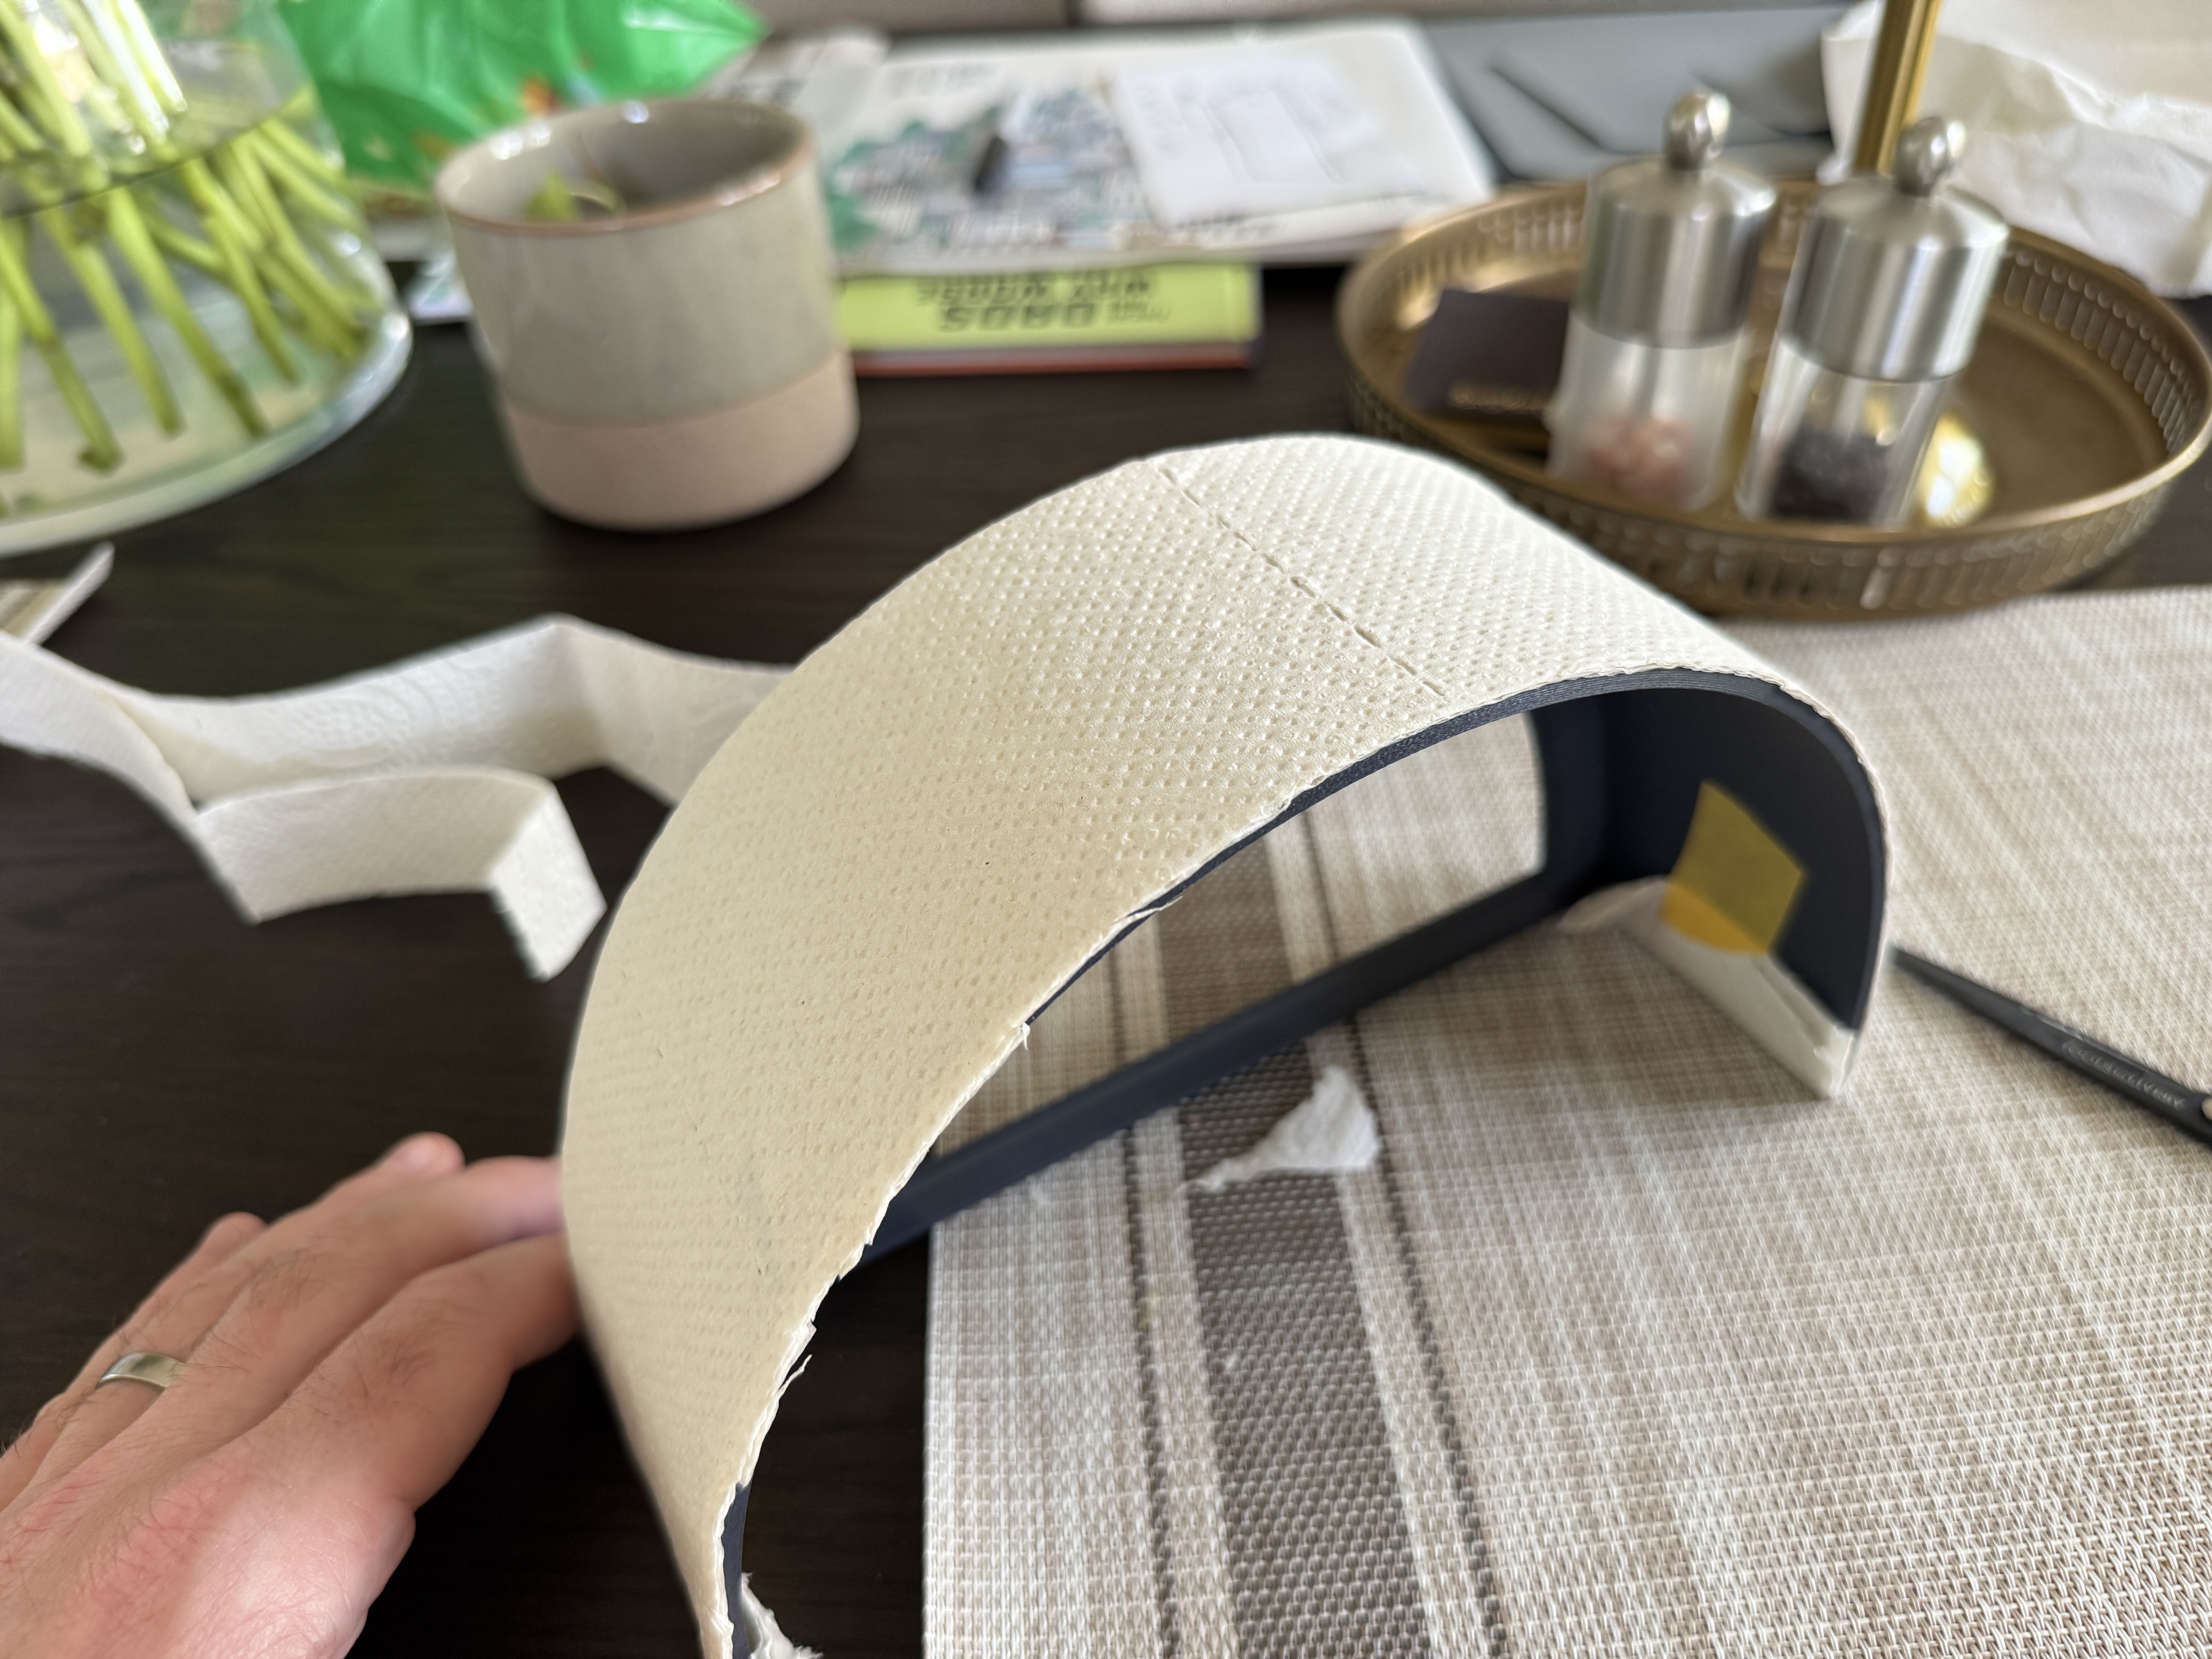
To get the curve I wanted, I clamped one side of the panel to the form, and gently heated it from one end to the other.
Fitting Link to heading
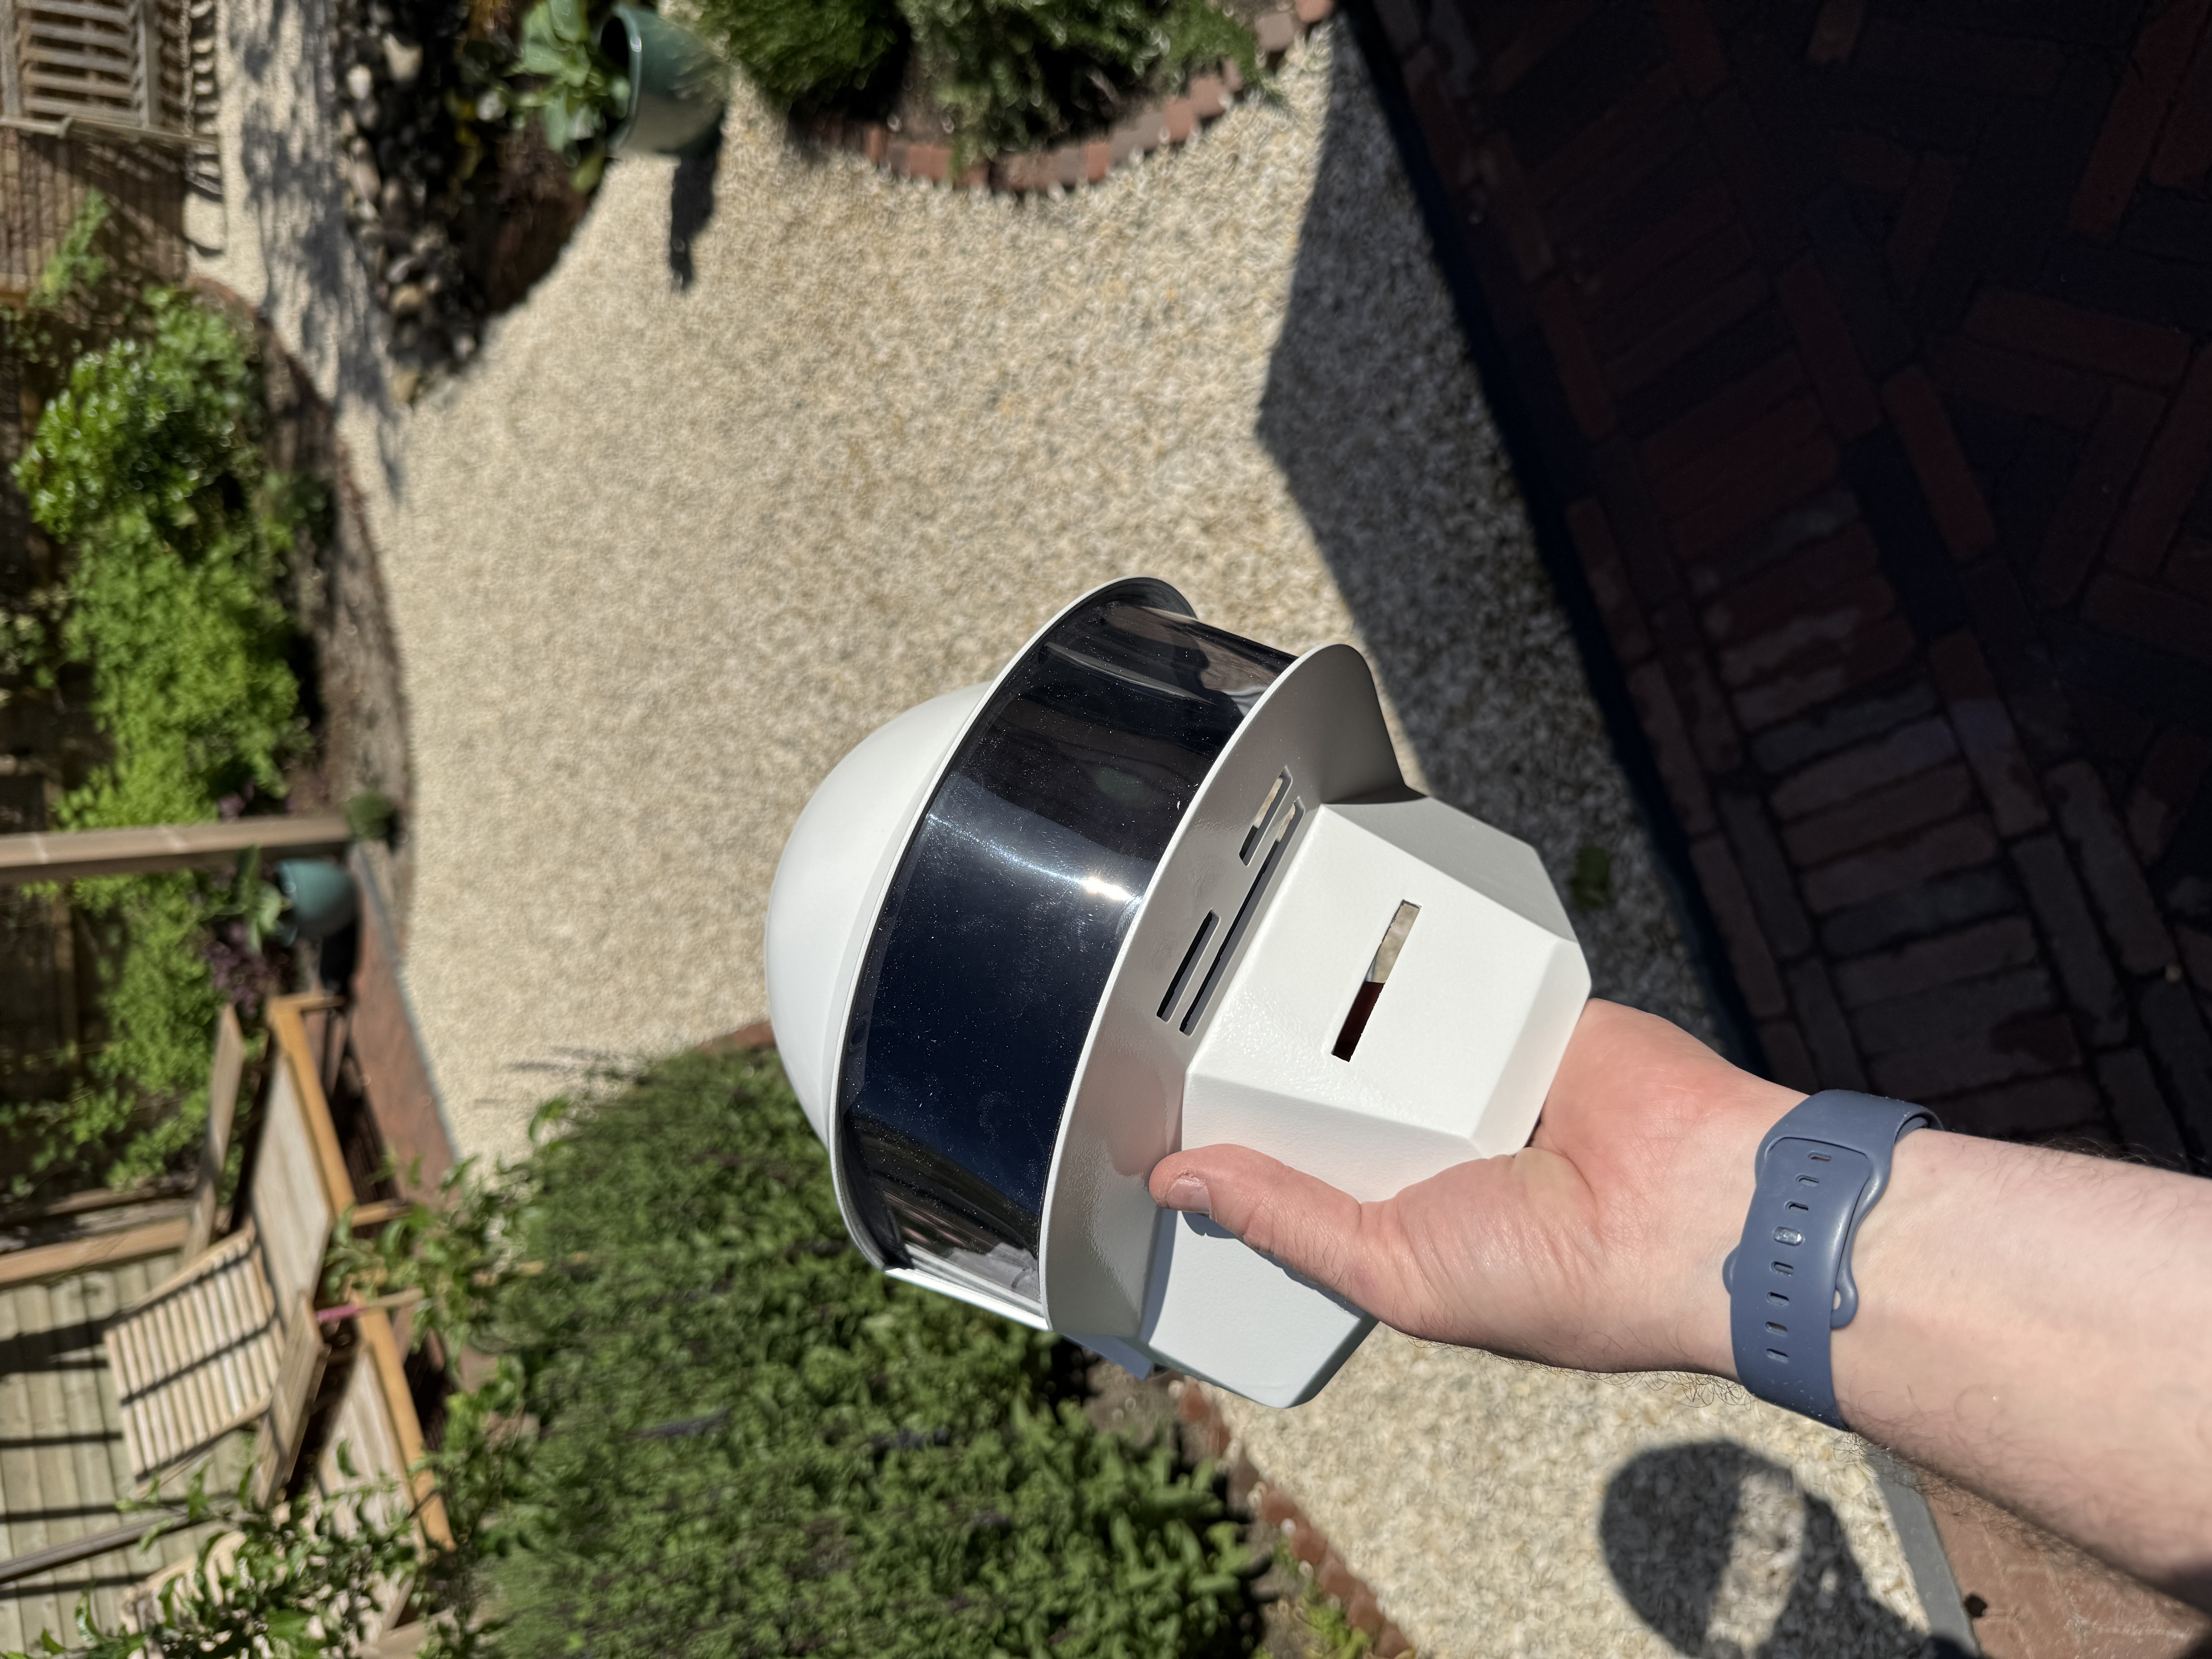
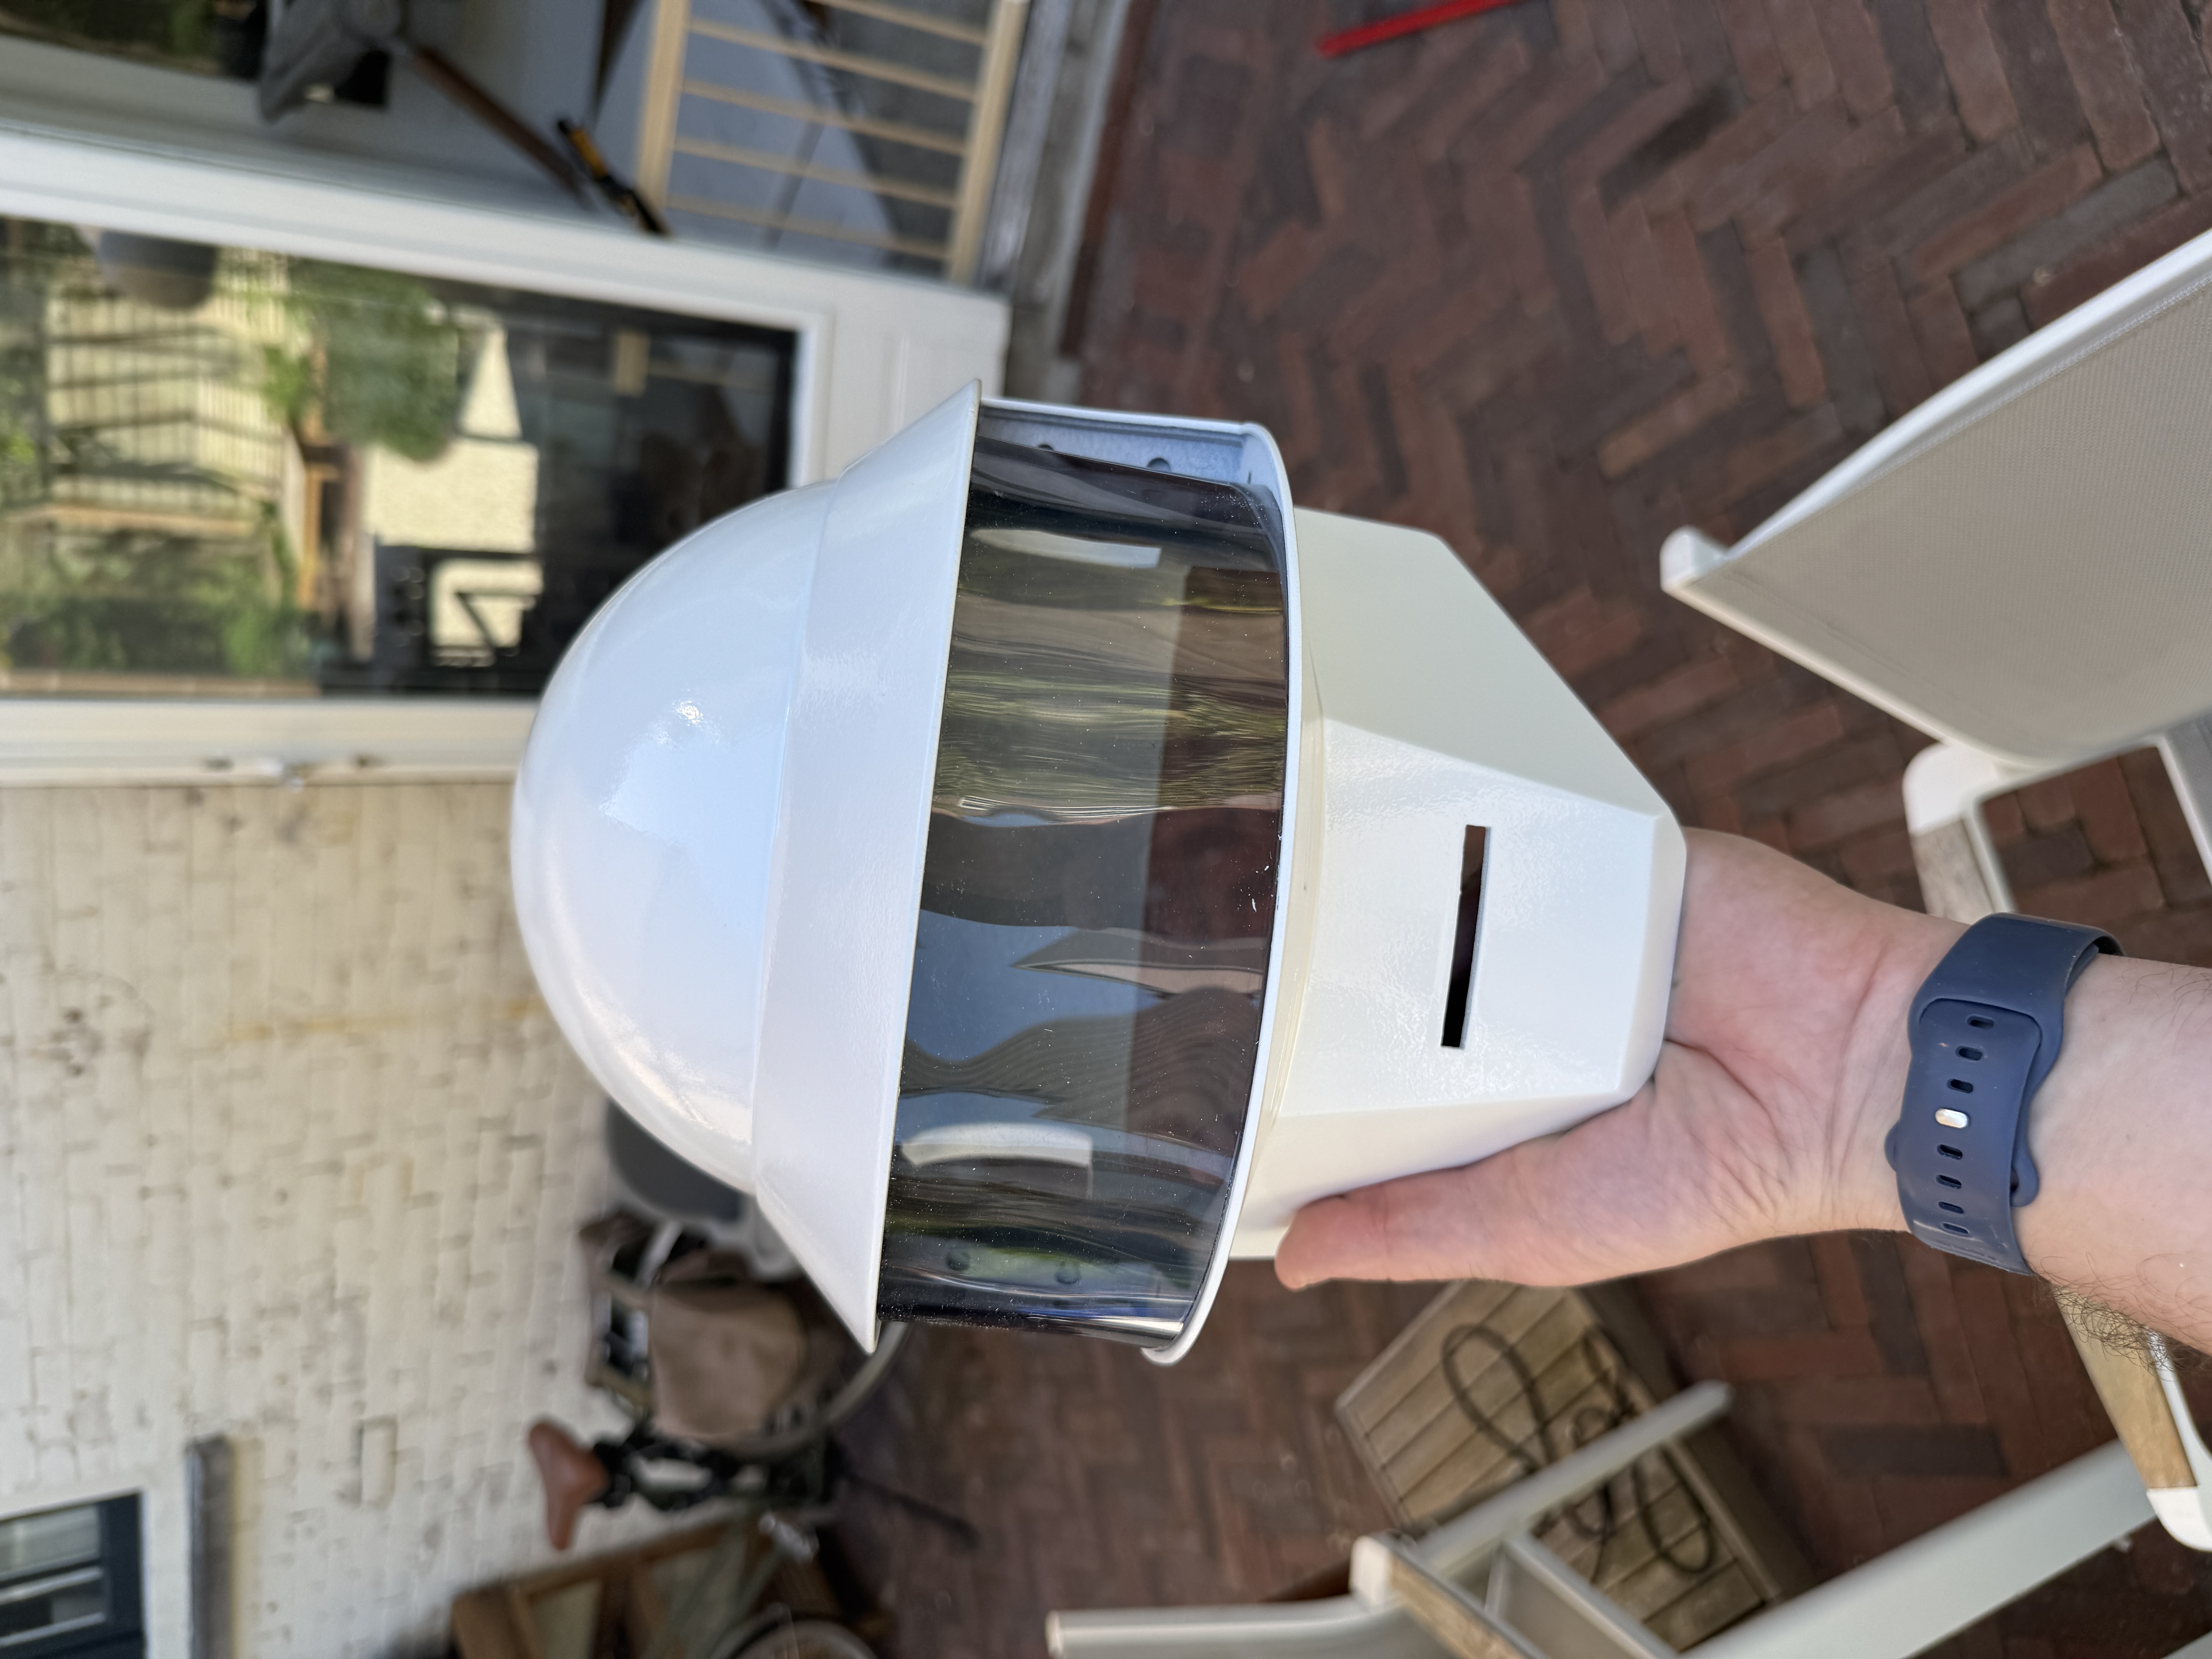
Once it was close, I had to do some trimming around the edges to get it to fit properly. I used sandpaper and a utility knife to trim in tiny increments.
What’s Left Link to heading
There’s still a lot of work to get this across the finish line, roughly in this order:
- Finishing the graphite treatment on the main shell body — the ear pieces are done, the dome still needs full coverage.
- Fitting and gluing the visor — the polycarbonate needs to seat cleanly and be retained without visible hardware.
- Mounting the LED matrix and wiring harness — the electronics from part 3 finally go into the shell.
- Interior padding — foam cut and shaped for comfort and fit, so it can actually be worn.
This is part 4 of an ongoing build log. Part 1 covers the plan; Part 2 covers the shell; Part 3 covers the electronics.