Part 1: The Plan
For many years, I’ve wanted to make a replica of Thomas Bangalter’s Daft Punk helmet — the silver one. Full size, wearable, with working lights. And recently I decided to do something about it. This is one of those projects that floats around in my head in different forms but never materializes because of the scope and complexity. But that ends now.
Why? Link to heading
A lot of elder millennials will remember when Daft Punk first made an appearance. I listened to a huge amount of their music when I was in high school and college, and it’s still on a steady rotation today. I always liked the costumes they wore. I guess it was to help separate their personal identities from the music they created.
The Original Link to heading
The original Bangalter helmet has taken various colors and formats over the years, but the one I want to recreate is chrome, and had an animated LED matrix in the visor. This is the one that comes to mind for me immediately.
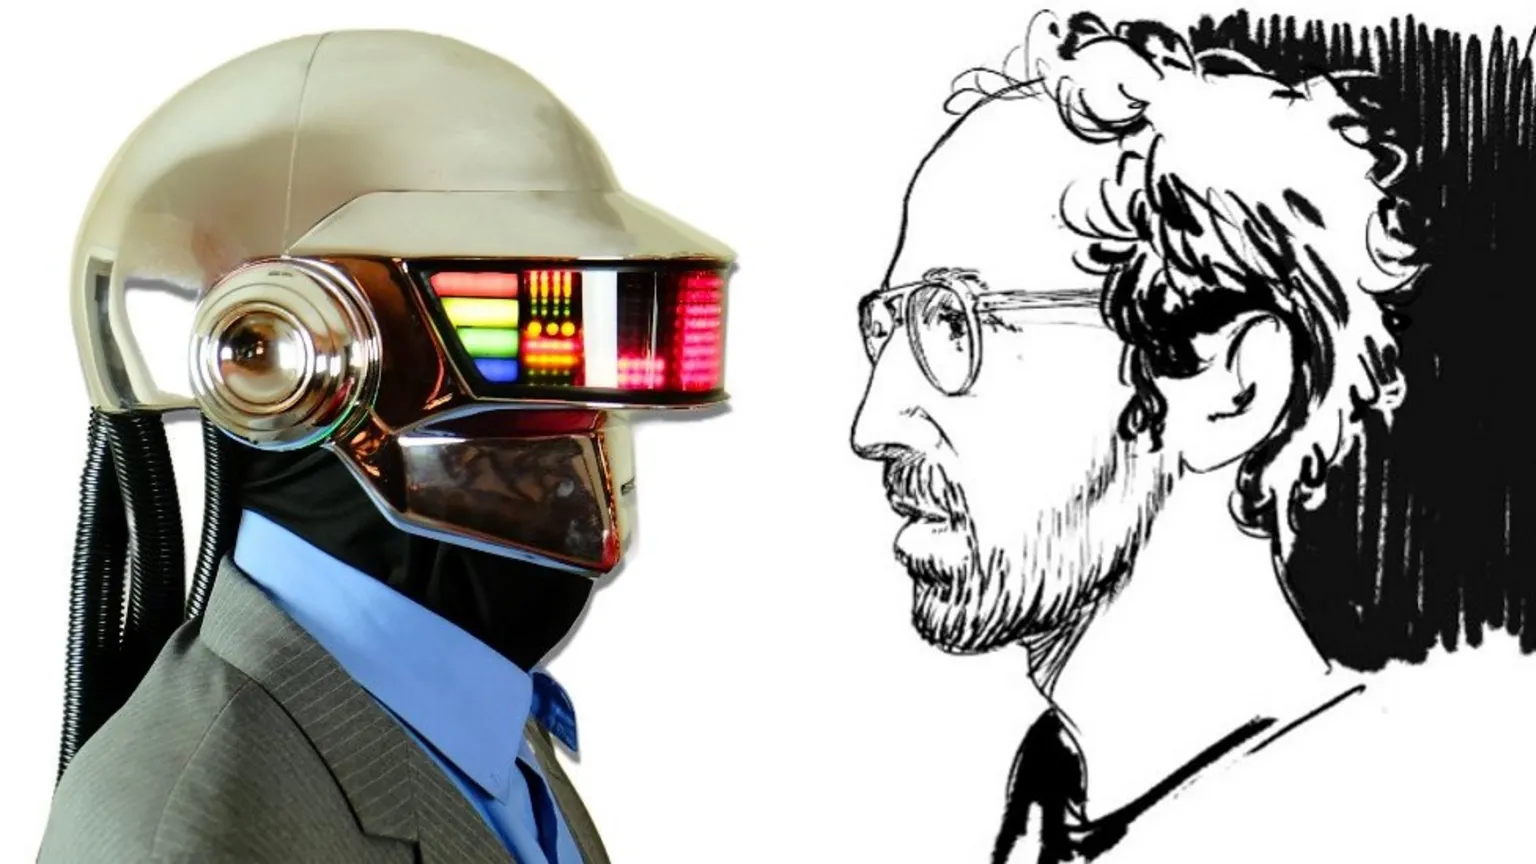 Image: BBC News
Scope Link to heading
Generally speaking, this is what I’m aiming for:
- Shell — 3d printed
- Visor — lexan or acrylic, with window tint applied
- Lighting — home-brewed LED matrix
- Finish — chrome (or something like it)
Tools & Materials Link to heading
Printing the Helmet itself Link to heading
For this project I’m going to rely pretty heavily on my 3d printer. I built a Voron 2.4 about 3 years ago and it’s been a workhorse for many projects over the years. But this is by far the most ambitious one so far. The helmet shell is too large to fit on the build plate in its entirety. So I’ll need to cut the helmet into sections in CAD, print them individually, and bond them together.
Lights Lights Lights Link to heading
One of the things I’ve seen often in other people’s attempts at this project is a whole lot of wiring mess in the helmet. And as I’ve pondered the project, I’ve decided that I want to make the electronic components as streamlined and clean as possible. I think I can dispense with the manually soldered grid of LEDs and replace them with something built directly onto a stack of PCBs. That will be an interesting engineering challenge.
Brains Link to heading
The firmware also presents a challenge for me. I’m imagining a setup where I can control the lights wirelessly, which means I’ll need something more sophisticated than a simple AVR microcontroller. The first thought that comes to mind here is the Raspberry Pi Pico W because it’s cheap, widely available, and offers some flexibility in the way I program it. I also expect to find a lot of resources online for the right way to program it so that will be where I focus my attention.

Unknowns Link to heading
Electroplating Link to heading
I’d really like this thing to have a mirror finish, to achieve the same effect that the original one had. Pulling that off will be tricky, and involve electroplating plastics which is not something I’ve done before.
Firmware Link to heading
I’ll need to write firmware to drive the LED matrix. I haven’t decided if I want it to be fully independent, or driven by some client device somewhere else. If it’s driven by a client, it could be wireless or wired. Wireless would be simpler to integrate into the helmet, but a lot more effort in software. So there are some tradeoffs to consider.
Power Link to heading
I’m expecting the LED matrix to be rather power hungry. Lithium batteries are probably going to play a big role in powering the project, but they make me nervous. I’ll need to spend a lot of time thinking about how to manage the power demands safely, and figure out exactly how much power I’m going to need to drive this thing for reasonable lengths of time.
First Steps Link to heading
The first step in the process is, of course, finding a good model of the helmet to work from. I’ve been scouring the web for files that are easy to work with, and found this one on Thingiverse. It’s got the right level of detail, and I think I can section it into pieces easily. Once I’ve done that, the printing begins.

This is part 1 of an ongoing build log. Part 2 covers the printed shell; Part 3 covers the electronics.